


When I first started painting with watercolors, I had no idea where to begin. (Seriously, I bought the cheapest supplies I could find and ended up frustrated when my paper curled up like a potato chip!) But here’s the good news: watercolor is one of the most beginner-friendly mediums, and once you learn the basics, it’s incredibly fun and rewarding.
If you’ve been wanting to dip your brush into watercolor but don’t know where to start, this guide is for you. From choosing the right supplies to mastering basic techniques, I’ll walk you through the watercolor basics every beginner should know. Let’s dive in!

Choosing the Right Supplies
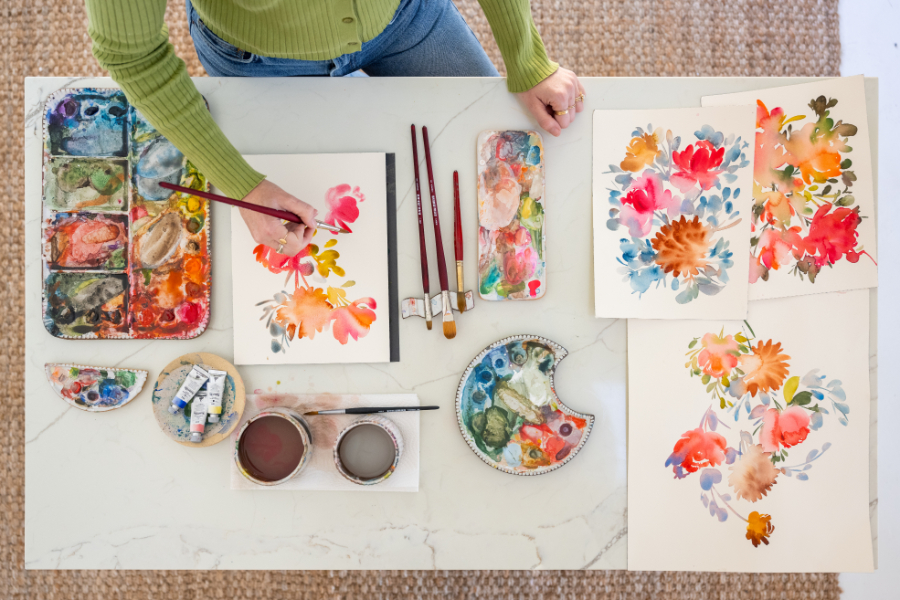
Before you start painting, it’s important to have the right tools. (Trust me, using the wrong paper or brushes can make things so much harder than they need to be!) Here’s a quick breakdown of what you’ll need:
- Paper: Watercolor paper is specially designed to handle wet paint without warping. Look for 100% cotton paper with a weight of at least 140lb (300gsm). Not sure which brand to pick? I’ve created a guide to help you choose the best watercolor paper here.
- Brushes: Start with a round brush (size 6 or 8 is a great all-purpose size) and a flat brush for washes. Check out my ultimate guide to watercolor brushes here for more recommendations.
- Paints: You don’t need a giant set to start—just a few quality tubes or pans will do. I’ve compared some of the best watercolor paints here.
(Pro tip: Don’t stress about having the “perfect” supplies right away. Start with what you can afford and upgrade as you go!)
Basic Techniques
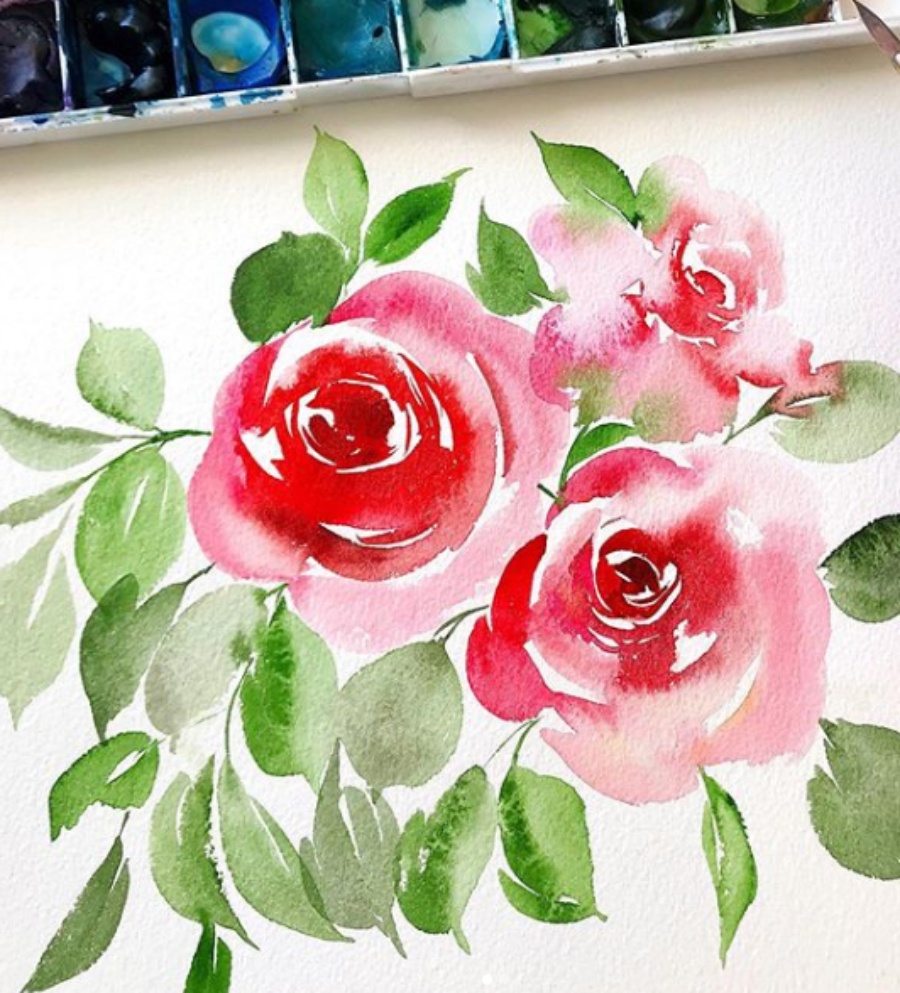
Watercolor painting is all about how water and pigment interact. Once you get the hang of the basic techniques, you’ll be able to create everything from soft, dreamy washes to bold, detailed strokes. Here are a few must-know techniques:
- Wet-on-Wet: This technique involves applying wet paint onto a wet surface. It’s perfect for creating soft, blended backgrounds or skies (I love using it for sunsets and ocean scenes!).
- Wet-on-Dry: Also known as dry brush, this technique uses minimal water for textured, defined strokes. It’s great for adding details like tree bark or fur (ask me how I know 😂)
- Layering: Watercolors are transparent, which means you can layer lighter washes on top of darker ones to build depth and detail. Patience is key here—let each layer dry completely before adding the next!
If you’re a visual learner, my YouTube video, The Complete Beginner’s Guide to Watercolor, walks you through these techniques step by step.
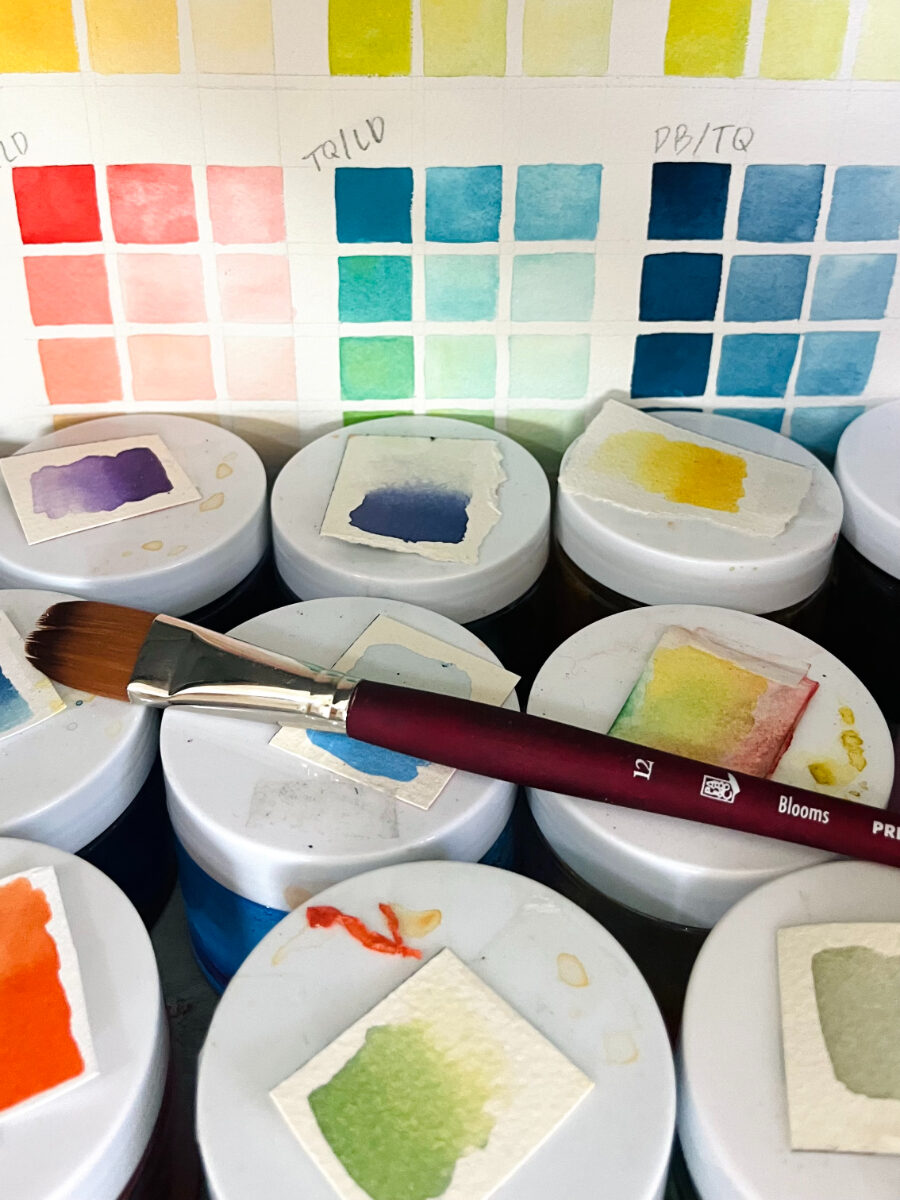
Basic Color Theory and Mixing
Understanding color theory is a game-changer when it comes to painting. With watercolors, you can mix paint directly on your palette or let them blend naturally on the paper (my personal favorite—it’s like magic!).
Here’s a quick primer:
- Primary Colors: Red, yellow, and blue. I know I might be taking you back to elementary school here, but these are your building blocks for mixing other colors.
- Secondary Colors: These are your oranges, greens, and purples—made by mixing two primaries.
- Tertiary Colors: Finally, these colors are created by mixing a primary with a secondary (think yellow-green or blue-purple).
Watercolors are unique because of how they flow and blend. When mixing, keep in mind that less is more—overmixing can muddy your colors.
If you’re curious about how colors interact with water, my video on Understanding How Colors Work When Using Watercolor is a great place to start.

Creative Effects with Salt, Sponges, and Brushes
One of the most exciting things about watercolors is experimenting with different textures and effects. Here are a few fun techniques to try:
- Salt: Sprinkle salt onto wet paint and watch as it creates beautiful, starburst-like textures. (It’s perfect for snowy landscapes or galaxy paintings—check out salt in action here.)
- Sponges: Use a natural sponge to dab paint for realistic foliage or textured backgrounds.
- Brush Techniques: Experiment with different brush strokes, like tapping your brush to create splatter effects or twisting it to form organic shapes.
These techniques are all about play, so don’t worry about “getting it right.” (Some of my favorite pieces started as total experiments!)
Consistency Over Perfection
If there’s one thing I want you to remember about watercolor basics, or honestly just life in general, it’s this: consistency matters more than perfection. You don’t have to create a masterpiece every time you sit down to paint (and honestly, you won’t—no one does!).
What’s important is showing up regularly and allowing yourself to learn through the process. Some days, you might only have time to practice a few brush strokes or color mixes. That’s okay! Each little effort adds up and helps you grow.
If you’re ready to build a consistent painting habit, my Everyday Watercolor Companion Course is designed to guide you through daily exercises and techniques. It’s a wonderful way to stay motivated and improve at your own pace.
Watercolor Basics: Frequently Asked Questions
What’s the difference between pan and tube watercolors, and which one should I start with?
The main difference is how the paint is stored and used. Pan watercolors come in small, solid cakes that are activated with water—perfect for travel or smaller setups. Tube watercolors are creamy and more concentrated, making them great for mixing large amounts of paint or achieving bold, vibrant colors. Beginners often find pans easier to start with because they’re less messy, but tubes are fantastic if you want more control over color intensity.
What’s the best way to clean and care for my brushes?
Taking care of your brushes ensures they last longer and perform better. Always rinse them thoroughly after painting, reshape the bristles with your fingers (while damp), and store them flat. Avoid letting paint dry in the ferrule (the metal part). For a detailed guide, check out my blog on how to clean watercolor brushes.
Can I fix mistakes in watercolor, or is it permanent?
Watercolor is more forgiving than you might think! If you catch a mistake while it’s still wet, you can gently dab it with a clean, damp brush or paper towel to lift the color. For dry mistakes, use a soft, wet brush to rehydrate the area and lift the pigment, or even a kneaded eraser for subtle adjustments. Keep in mind, some staining pigments may be harder to fix, so practice is key!
How do I prevent my paper from buckling or curling?
The key is to use thick, high-quality watercolor paper—140lb (300gsm) or heavier is ideal. For extra protection, tape the edges of your paper to a hard surface like a board or use pre-stretched watercolor blocks. If buckling still occurs, you can lightly mist the back of the painting with water, sandwich it between clean paper, and weigh it down with books to flatten it once dry.
Are there specific beginner exercises to help me get more comfortable with watercolor?
Absolutely! A great way to start is by practicing simple washes (like flat or gradient washes), and experimenting with basic shapes.

Your Watercolor Basics Checklist: Now Go Have Fun!
Watercolor is one of the most versatile and accessible art forms out there, and learning the basics is just the beginning. Whether you’re mastering wet-on-wet techniques, exploring color theory, or experimenting with creative effects, each brushstroke is an opportunity to express yourself and have fun.
Remember, the beauty of watercolor lies in its imperfections—the happy accidents, the unexpected blooms of color, the way it forces you to let go of control (okay, maybe that’s my favorite part). So grab your supplies, embrace the process, and start painting your way into a more creative, colorful life. You’ve got this!


+ show Comments
- Hide Comments
add a comment