


There’s something really special about starting the year with a blank page. Or in this case, twelve of them. A DIY Calendar made with watercolor is one of my favorite creative projects because it’s useful, personal, and full of possibility. You’re not just painting pretty pictures. You’re creating a rhythm for the year ahead.
I’ve made a lot of watercolor projects over the years. Some quick. Some detailed. But this one always stands out. It invites you to slow down, reflect on the seasons, and paint with intention (and honestly, that feels really good).
If you’re craving a project that feels calm, meaningful, and totally doable, this one’s for you.

Why Create a Watercolor Calendar?
Let’s start with the why. Because once you feel connected to the purpose, the painting part feels easier.
First, a DIY Calendar has a handmade touch you just can’t get from something mass produced. Every brushstroke shows your personality. Every month feels thoughtful instead of generic.
Second, it gives you a chance to reflect on the seasons as they come. January doesn’t have to look like July. Each month gets its own mood, colors, and story. That’s where seasonal watercolor really shines.
Third, this project is perfect for mindful watercolor. You’re not rushing to finish one big piece. You’re revisiting your practice again and again. Month by month. Page by page.
And finally, this is a great family or kids friendly project. You can simplify the designs, let little hands help, or make it a shared tradition. Creative projects like this are more fun when they’re flexible.
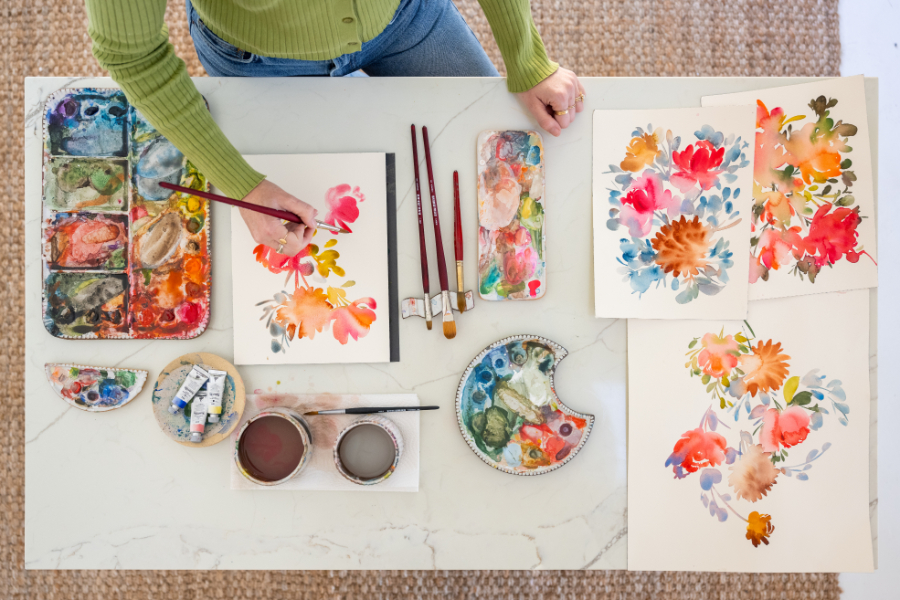
Art Supplies You’ll Need
Before we get into ideas, let’s talk supplies. Keep this simple. The goal is watercoloring made easy, not overwhelming.
Here’s what I recommend:
- Watercolor paper. Something sturdy so it can handle water.
- Watercolor paint. A basic set works great. Limited palettes are your friend here.
- A few round brushes. One medium, one small.
- Pencil and eraser for light sketches.
- Black pen if you like line work. Totally optional.
- Ruler for light calendar lines.
- Paper towels and water. Always nearby.
That’s it. You don’t need fancy tools to make a beautiful DIY Calendar. Approachable beginner watercolor projects are all about using what you already have.
Monthly Theme Ideas for Your Calendar
This is where the fun really starts. Choosing themes gives your calendar cohesion and makes it feel intentional.
Here’s a simple breakdown you can use or tweak.
| January | Soft blues. Cozy mugs. Snowy branches. Think quiet and calm. |
| February | Hearts, florals, warm pinks. Keep it loose and playful. |
| March | Green starts showing up. Little leaves. Rainy vibes. |
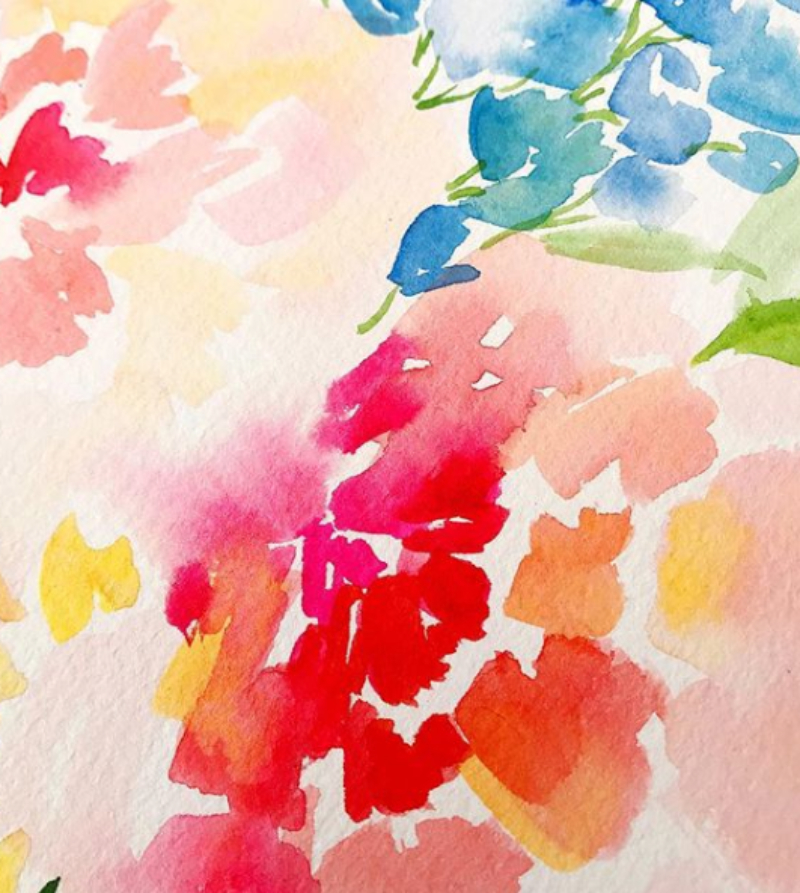
| April | Florals everywhere. Daisies. Tulips. Watercolor hydrangeas. Easy watercolor paintings work beautifully here. |
| May | Full blooms. Bright but soft colors. Light backgrounds. |
| June | Sunshine. Citrus. Simple summer shapes. |
| July | Bold colors. Fireworks. Patriotic palettes if that’s your thing. |
| August | Warm neutrals. Late summer florals. Think golden tones. |
| September | Leaves. Muted oranges. Cozy energy creeping in. |
| October | Pumpkins. Moons. Deep purples and blacks. |
| November | Nature. Gratitude themes. Earthy color mixes. |
| December | Evergreens. Stars. Simple winter magic. |
These themes make watercolor painting ideas easier because you’re not starting from scratch each month.
How to Layout Each Month
Layout can feel intimidating, but it doesn’t have to be.
Start with one page per month. Or two if you want more space. Keep it consistent. That’s what makes the calendar feel polished.
I like to place the illustration at the top or side, then add the dates below. You can write the month by hand or keep it super simple.
Here are a few layout tips:
- Leave white space. It helps everything breathe.
- Keep the calendar grid light so the art shines.
- Stick to the same font style for all months.
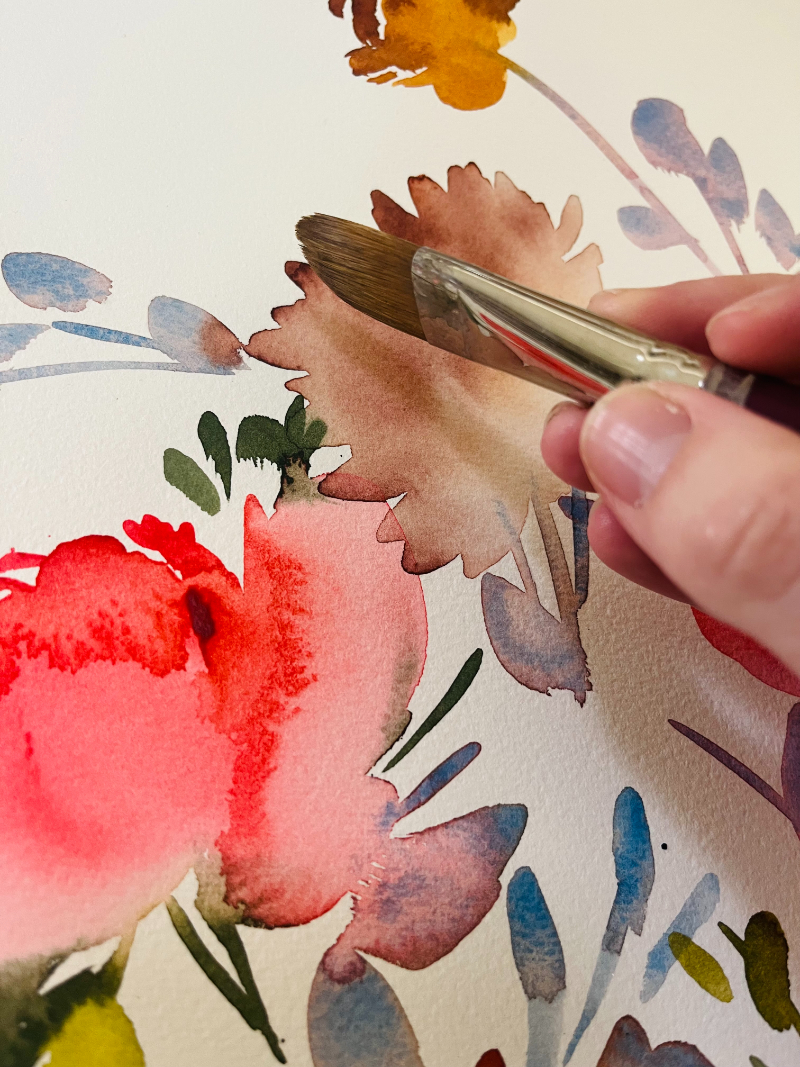
This is a great chance to practice easy watercolor paintings that don’t need to be perfect. Loose is good here. Really good.
Tips for a Successful Calendar Project
Let’s talk real talk tips. These will save you time and frustration.
First, don’t paint the entire calendar in one weekend. This is a long term project. Let it unfold slowly.
Second, keep your color palette limited for each month. Seasonal watercolor looks best when it feels intentional.
Third, test colors on scrap paper first. Especially if you’re new to watercolor for beginners projects.
Fourth, let some pages be simpler than others. Not every month needs to be a masterpiece.
And finally, enjoy the process. This is mindful watercolor at its best. You’re showing up. That’s enough.
Display and Gift Ideas
Once your DIY Calendar is done, you’ve got options.
You can bind it with rings. Use a clipboard. Hang each month with washi tape. Frame pages as you go.
It also makes a thoughtful gift. Birthdays. Holidays. New years. Handmade watercolor art ideas always feel personal.
You could even make mini versions as gifts for friends or teachers. Keep it simple and sweet.

A Gentle Conclusion and Next Steps
Creating a DIY Calendar with watercolor is more than just a craft. It’s a way to slow down, notice the seasons, and build a steady creative habit. Month by month, you’ll see your confidence grow. Your brush control improves. Your color choices get stronger.
If you’re just starting out, this is an approachable beginner watercolor project that grows with you. If you’ve been painting a while, it’s a beautiful way to reconnect with your practice.
And if you want more support as you paint, I’ve got you covered.
If you’d love step by step guidance while reinforcing the foundations you’re building with seasonal themes, my Everyday Watercolor Companion Course is a perfect next step. It deepens the skills you’re using here and helps you feel confident with watercolor techniques in lots of different projects.
No matter where you go next, keep painting. Keep experimenting. And let your calendar be a reminder that creativity doesn’t need to be rushed. It just needs to be practiced.


+ show Comments
- Hide Comments
add a comment