


If you’ve ever struggled with painting shadows, I promise you’re not alone. Shadows are one of those watercolor painting techniques that feel confusing at first. But once you understand a few simple principles, they become one of the most powerful tools for creating watercolor depth and dimension.
Today I want to walk you through five common mistakes artists make when painting shadows, along with simple fixes you can start using right away.
If you're still getting comfortable with watercolor painting basics, I also created a free Beginner’s Guide to Watercolor that walks you through supplies, techniques, and beginner-friendly exercises.

Why Painting Shadows Feels So Tricky (You’re Not Alone!)
Let’s start with a little reassurance.
Painting shadows feels tricky for almost everyone in the beginning. I struggled with it as well while learning watercolor on my own.
Why?
Because shadows aren’t just “dark spots.” They’re part of the story your painting tells about light.
When you start understanding watercolor light and shadow, everything begins to click. Shadows create:
- Watercolor depth
- Watercolor realism
- Stronger composition
- Mood and atmosphere
Without shadows, paintings look flat. With the right shadows, your artwork suddenly feels three-dimensional.
The good news is you don’t need complicated theory. You just need a few reliable watercolor techniques and lots of gentle watercolor practice.
Let’s dive into the mistakes I see most often.
Mistake #1: Making Shadows Too Dark (or Too Flat)
One of the most common issues with painting shadows is going too dark, too fast.
When beginners start a watercolor shadow study, the instinct is often to grab the darkest paint right away. Sometimes that means reaching for black or loading the brush with a heavy mix.
The result?
Flat, lifeless shadows that overpower the painting.
In watercolor, shadows work best when they’re built gradually.
How to Fix It
Instead of one dark wash, try this approach:
- Start with a light transparent layer
- Let it dry completely
- Slowly deepen the shadow with watercolor layering
- Use watercolor glazing (wet-on-dry) to build depth
This technique helps you maintain beautiful watercolor values instead of creating harsh blocks of color.
If you want a deeper dive into this process, I walk through it in my guide on painting watercolor light to dark, which shows exactly how to layer without muddying your painting.
And if watercolor layering or value control still feels confusing, my book Everyday Watercolor and its video sidekick course breaks down foundational strokes, patterns, and layering techniques step by step so you can build confidence with watercolor light and shadow.

Mistake #2: Using Black Instead of Mixing Shadow Colors
Let’s talk about black paint.
There’s nothing technically wrong with black watercolor. But when it comes to painting shadows, it can make shadows look dull or muddy.
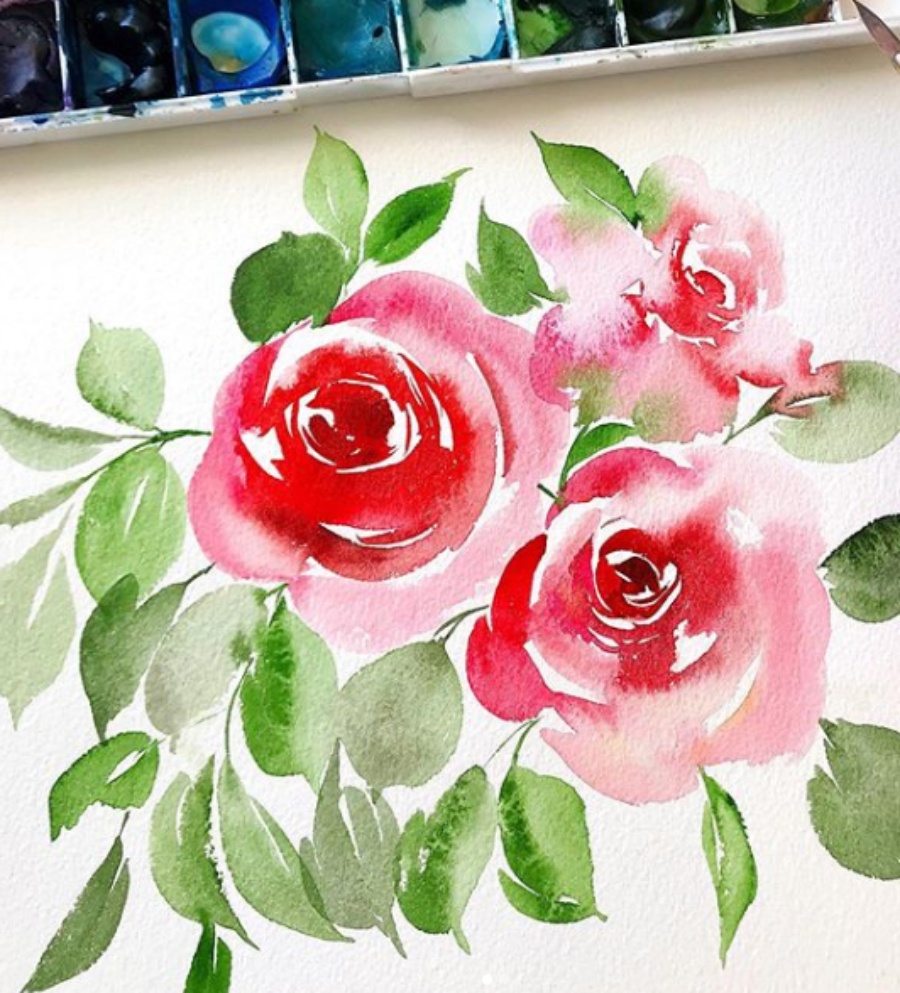
Real-life shadows are actually full of color.
When artists start exploring shadow color mixing, their paintings suddenly feel more vibrant and natural.
How to Fix It
Instead of black, try mixing shadow colors using:
- Blues
- Purples
- Browns
- Complementary colors
This approach creates color-rich watercolor shadows that feel connected to the rest of the painting.
For example:
- Yellow objects often have purple shadows
- Red objects may create deep burgundy or cool violet shadows
- Green objects often produce blue-toned shadows
The key is keeping the shadow related to the local color of the object.
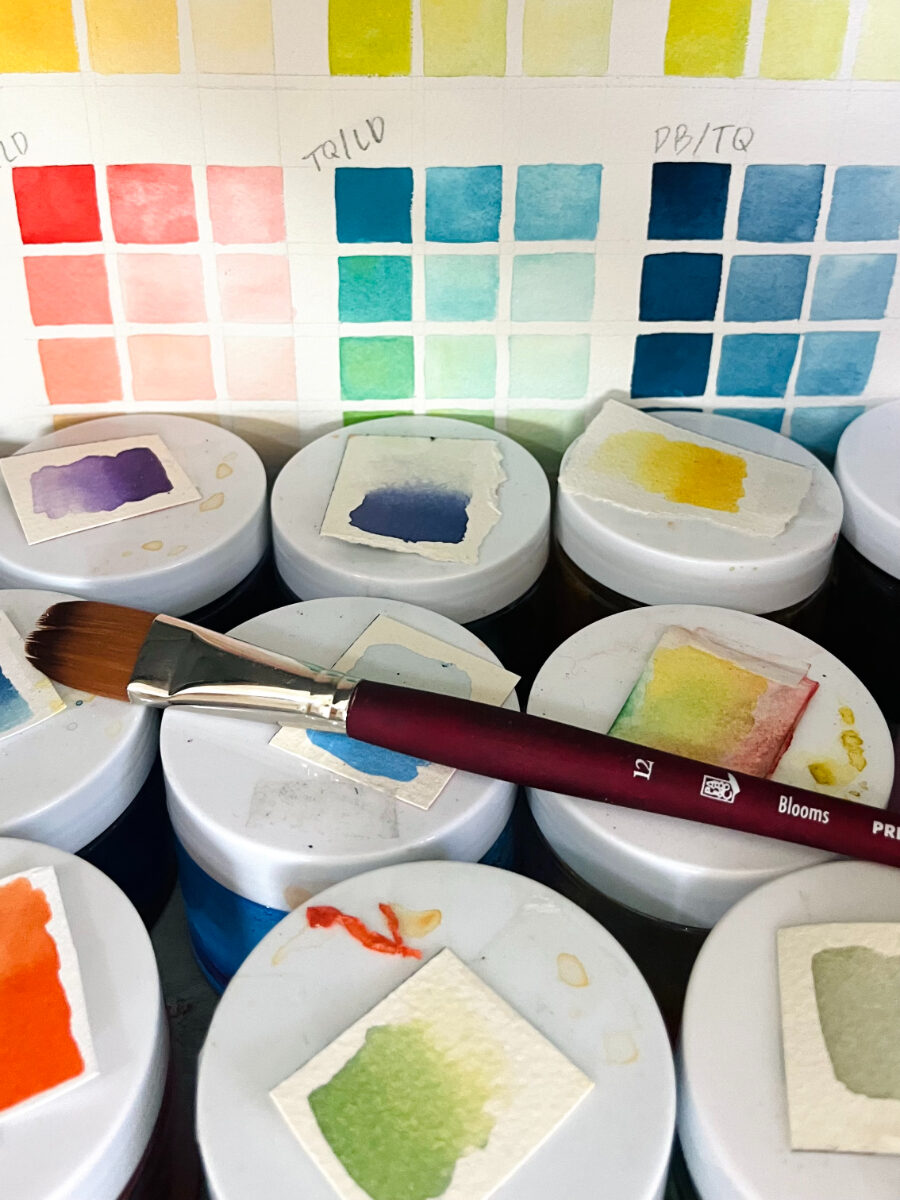
This is where watercolor color mixing becomes such a helpful skill. If you want help choosing colors that mix beautifully for shadows, building a thoughtful palette makes a huge difference.
Mistake #3: Ignoring the Light Source
Here’s a mistake I see constantly in beginner watercolor painting.
Shadows going in multiple directions.
When the watercolor light source isn’t clear, shadows stop making sense. The viewer’s eye immediately feels something is off.
Before I start painting shadows, I always pause for a moment and ask myself one question:
Where is the light coming from?
How to Fix It
A simple habit can completely change your results.
Before painting:
- Identify a single light source
- Sketch a quick watercolor value study
- Lightly pencil where the shadows will fall
Even a 30-second sketch can improve your watercolor shading dramatically.
This small step helps you understand watercolor shadows before the brush even touches the paper.
And trust me, slowing down here saves a lot of frustration later.

Mistake #4: Forgetting That Shadows Have Color Temperature
Another big misconception when painting shadows is assuming shadows are always gray.
They’re not.
Shadows have temperature.
Understanding warm and cool shadows is a huge step forward in watercolor learning.
How to Fix It
A helpful rule of thumb:
- Warm light creates cool shadows
- Cool light creates warm shadows
So if your painting has warm sunlight, your shadows might lean toward:
- Blue
- Indigo
- Cool violet
If your scene has cooler lighting, shadows might contain:
- Warm purples
- Deep reds
- Soft browns
One of my favorite watercolor exercises for this is working with a limited palette. When you restrict your colors, you start seeing subtle temperature shifts much more clearly.
These little discoveries are what build confidence in watercolor painting techniques.
Mistake #5: Overworking Shadows Until They Lose Life
Ah yes. The classic watercolor trap.
You add a shadow.
It looks good.
Then you think, “Maybe just one more layer…”
And suddenly the area looks heavy and chalky.
When it comes to painting shadows, watercolor really rewards restraint.
How to Fix It
A few habits can help protect your shadows:
- Let each layer dry completely
- Stop after two or three layers
- Allow soft edges and lost details
- Avoid constant brushing over the same spot
One of the beautiful things about watercolor is how watercolor shadows can feel soft and atmospheric.
They don’t need perfect edges or extreme detail.
Sometimes the best thing you can do for your painting is simply stop sooner than you think.

Simple Shadow Exercises to Practice (Without Pressure)
The fastest way to get better at painting shadows is through simple, low-pressure watercolor practice.
You don’t need a full painting. Just a few focused watercolor exercises.
Here are some ideas to get you started:
1. Paint a Simple Sphere
This is one of the best watercolor exercises for understanding light.
- Draw a circle
- Choose one light source
- Build the shadow gradually
- Observe how the value changes
This exercise teaches watercolor depth and dimension quickly.
2. Monochrome Shadow Studies
Choose one color and create a watercolor value study.
Use only:
- Light wash
- Medium value
- Dark shadow
This helps train your eye to see watercolor values clearly.
3. Shadow-Only Sketches
This is a fun one.
Instead of painting objects, paint only the shadows you see around them.
It’s a fantastic way to understand light and shadow without worrying about detail.
If you enjoy structured watercolor practice, my Everyday Watercolor Sketchbook includes prompts and QR code tutorials designed to help artists build skills like light, value, and composition through approachable exercises.

Final Thoughts: Painting Shadows Gets Easier with Practice
If painting shadows feels frustrating right now, that’s completely normal.
Every watercolor artist goes through this stage.
The good news is that shadow skills grow surprisingly fast when you focus on a few core ideas:
- Building shadows with watercolor layering
- Practicing shadow color mixing
- Paying attention to the watercolor light source
- Studying watercolor values
Over time, your shadows start feeling more natural. Your paintings gain watercolor depth, softness, and realism.
And one day you’ll realize something funny.
You’re no longer afraid of painting shadows.
You’re actually excited to paint them.
If you're ready to keep growing your understanding of color, light, and personal style, my course The Art Within walks artists step by step through developing confident watercolor painting skills.
Until then, here’s a small challenge.
Try just one of these shadow fixes in your next painting session.
Not all five. Just one.
Small steps and playful experimentation are where the real magic happens.


+ show Comments
- Hide Comments
add a comment