


Hey friend! Can I tell you about the single biggest “aha” moment I see beginners have over and over again? It's when they finally understand what a focal point in art really is and how to use it. Seriously, this one little concept changed the way I approach every single painting. And I think it's going to do the same for you.
Here's the thing. When I was first teaching myself watercolor, I used to try to make every part of my painting equally detailed and equally “impressive.” Spoiler alert: it didn't work. Everything competed for attention, and the whole piece just felt… off. It wasn't until I learned how to guide the viewer's eye to one main spot that my paintings started to actually feel finished.
So let's break this down together, nice and easy.
What Does “Focal Point in Art” Actually Mean?
A focal point in art is simply the main star of your piece. It's the area your eye goes to first when you look at a painting. Think of it like the lead singer in a band. The rest of the band matters, but your attention naturally goes to the person at the mic.
Every successful piece of art needs somewhere for the eye to land. Without that anchor, the viewer's gaze just kind of wanders around with nowhere to rest. And that can make even a beautifully painted piece feel a little confusing.
If you're a beginner, please hear me on this: understanding the focal point in art isn't about memorizing stuffy composition “rules.” It's about giving your painting clarity and intention. That's it. You've totally got this.
Why the Focal Point in Art Matters More Than You Think
So why does this matter so much? Because a focal point guides your viewer's eye through your painting. It tells them, “Hey, look here first.” And from there, their eye can travel around and enjoy the rest of your work.
Without a focal point, things can feel like visual chaos. You know that feeling when you walk into a really cluttered room and you don't know where to look? That's what happens in a painting without a clear focal point. Your viewer feels lost.
On the flip side, when you nail the focal point in art, your painting instantly feels more intentional and complete. It doesn't matter if it's a simple watercolor exercise or a big landscape. That sense of purpose comes through.
And here's the encouraging part: this one concept can level up your art faster than almost anything else. I've seen it happen with my students again and again.
Common Beginner Misconceptions About the Focal Point in Art
Let's clear up a few things I hear all the time:
- “The focal point has to be in the center.” Nope! Placing your focal point slightly off-center actually creates more visual interest. Try shifting it a little to the left or right, up or down, and see how much more dynamic your painting feels.
- “Everything should be detailed.” This is a big one. If every area of your painting has the same level of detail, nothing stands out. Your focal point gets lost in the noise.
- “More detail means better art.” I get why this feels true, but it's actually the opposite. Pulling back on detail in the supporting areas is what makes your focal point pop. Less really is more here.
The trick is giving yourself permission to leave some areas loose and unfinished. I know that feels scary at first, but trust me, it makes a huge difference.
Different Ways to Create a Focal Point in Art
There are a bunch of ways to draw attention to your focal point, and you definitely don't need to use all of them at once. Pick one or two and run with it.
- Contrast: Place your lightest light next to your darkest dark. That area of high contrast will naturally pull the eye in. This is one of the most important watercolor techniques to understand early on.
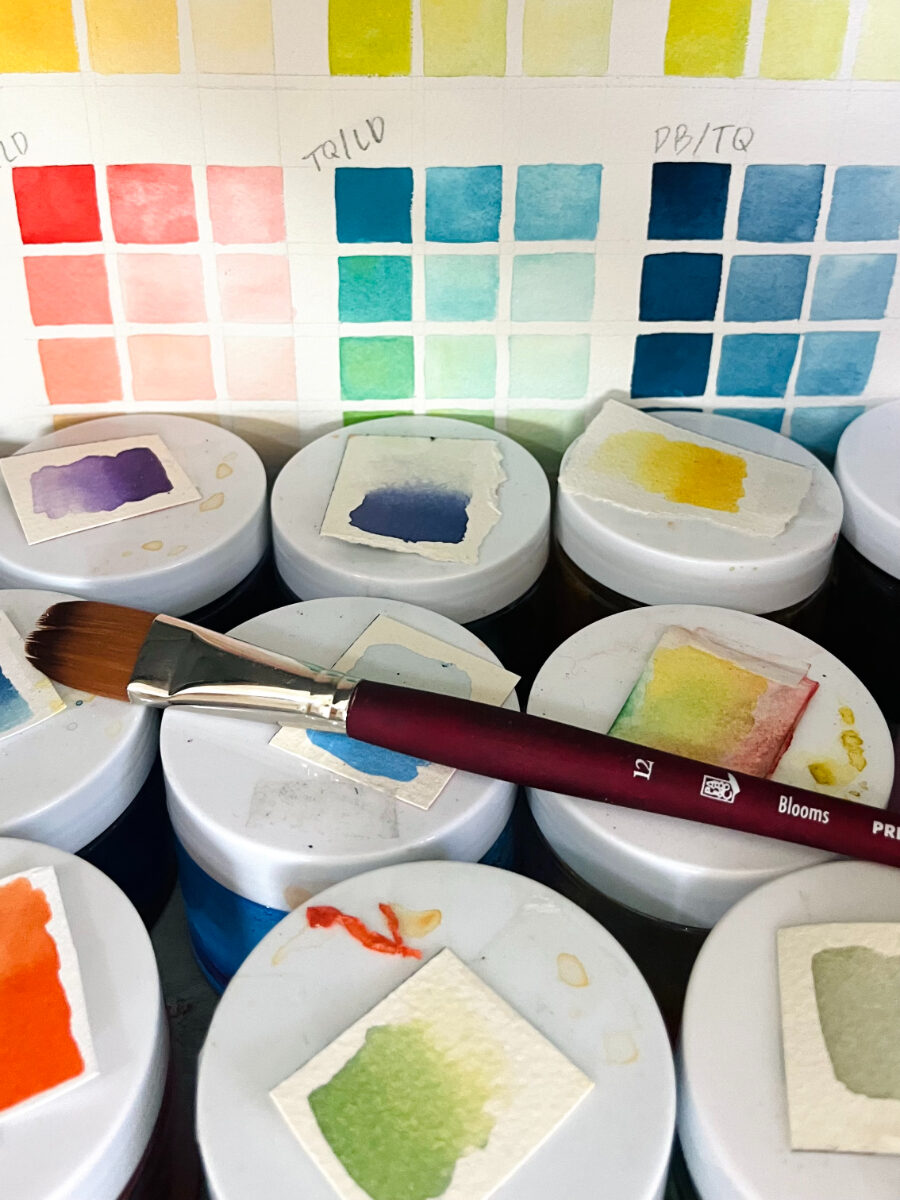
- Color: Use your brightest or most saturated color at the focal point. Let the surrounding areas stay more muted or neutral.
- Detail: Add your sharpest edges and finest details right at the focal point. Keep everything else softer and looser. If you love painting loose watercolor flowers, this one's your best friend.
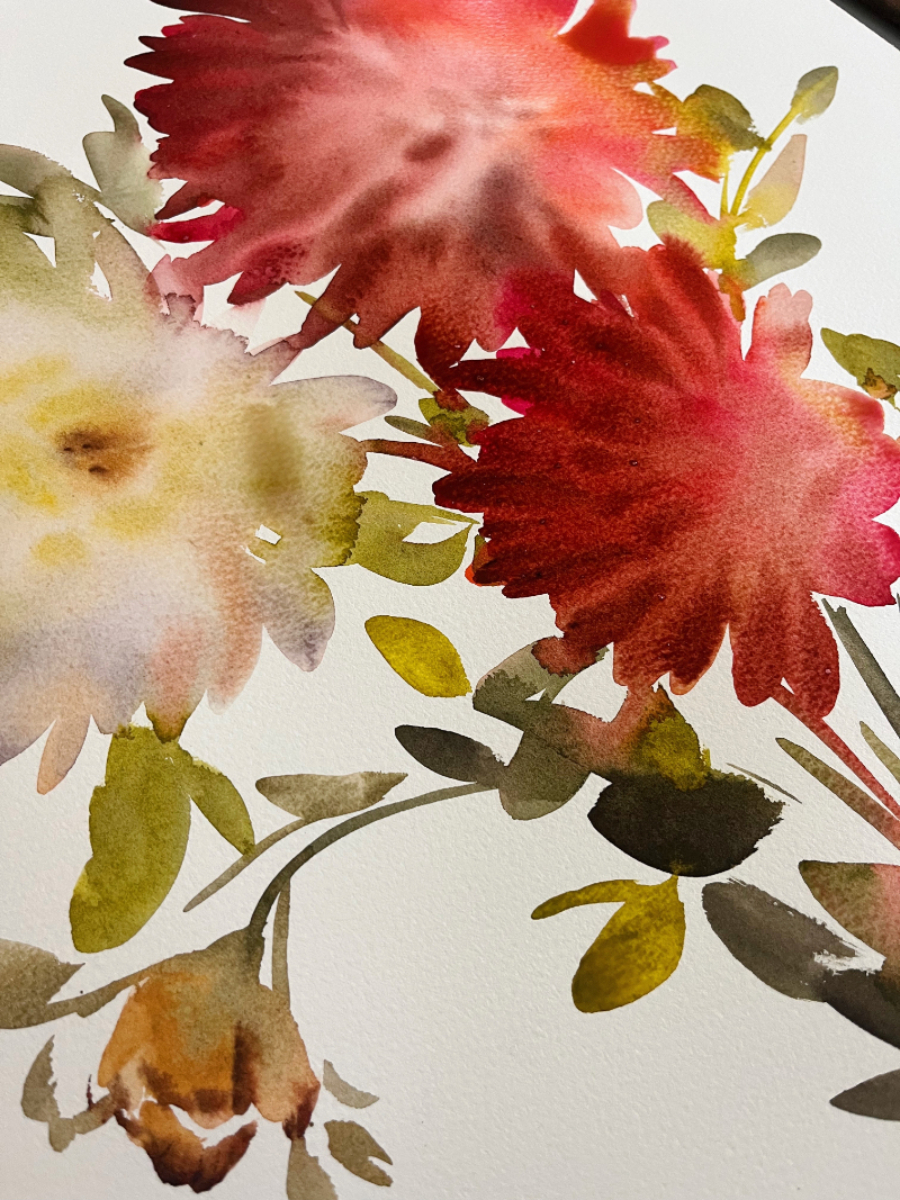
- Size and scale: A larger element surrounded by smaller ones naturally becomes the star. Think of one big bloom surrounded by smaller buds and leaves.
- Placement: Putting your focal point slightly off-center, rather than smack in the middle, adds energy and movement to your watercolor composition.
Start simple. Try using just contrast and detail in your next painting and see what happens. You can always layer in more tools as you get comfortable.
How to Choose the Focal Point in Art Before You Start Painting
One of the best things you can do is decide on your focal point before your brush ever touches the paper. I like to ask myself two quick little questions:
- What do I want people to notice first?
- What's the story of this piece?
That's it. Nothing complicated. Just those two questions can totally shift how you plan your painting.
I also love doing quick little sketches before I start. Just tiny, rough thumbnails to figure out where things will go. They don't need to be pretty. They're just for you to get a feel for the layout and figure out where your focal point in art is going to live.
And please don't feel like you need to over-sketch or plan every single detail. A loose plan is all you need to paint with more confidence. If you want to strengthen your planning skills, my course The Art Within goes deep into composition and building your creative instincts.
Focal Point in Art Examples (Without Getting Technical)
Let's keep this super relatable. Here are a few everyday examples:
- Landscapes: Maybe it's a single tree catching the light, or a little house on a hillside, or the bright spot where the sun hits the water. In my book Everyday Watercolor Seashores, I walk through a lot of these kinds of scenes and how to make one area the star.
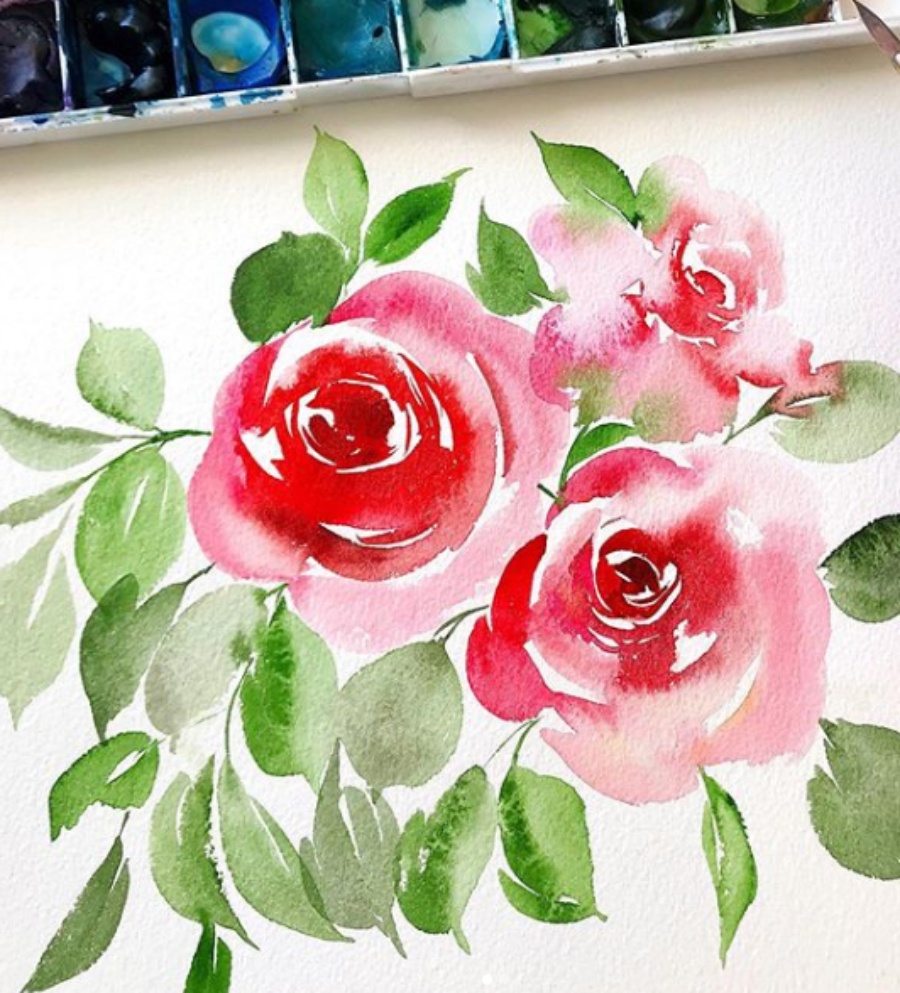
- Florals: One main bloom that's bigger, brighter, or more detailed than the rest. The supporting flowers and leaves stay loose and soft around it. I talk a ton about this in my floral painting composition video if you want to dig deeper.
- Portraits: The eyes almost always become the focal point. That's where we naturally look when we see a face.
- Cards or illustrations: The main message, symbol, or central image. Everything else frames it.
See? Nothing fancy. Just a clear decision about where you want the viewer to look first.
How to Support the Focal Point Without Overworking the Rest
This is where a lot of beginners struggle, and honestly, I did too. The temptation to keep adding detail everywhere is real. But here are some easy watercolor ideas to help you pull back:
- Keep backgrounds softer, lighter, or less detailed.
- Lose your edges as you move away from the focal area. Let things get blurry and loose.
- Let your supporting elements do their job, which is to support, not compete.
- Trust the viewer's eye. People are naturally drawn to areas of contrast and detail. You don't have to spell everything out.
If you're working on building these instincts, my watercolor basics post is a great place to start. And if you're brand new to all of this, grab my free Complete Beginner's Guide to Watercolor e-book. It covers supplies, techniques, and all the foundational stuff you need to get rolling.

Final Thoughts: Using the Focal Point in Art with Confidence
Here's what I want you to walk away with: the focal point in art is not some intimidating, advanced concept. It's one of the most beginner-friendly tools you can add to your creative toolkit. And it gets easier every time you practice it.
So the next time you sit down to paint, try this. Just pick one spot to be your star. Give it the most contrast, the most detail, or the brightest color. And then let everything else take a supporting role.
If it doesn't turn out the way you imagined? That's totally fine. That's how you learn.
I'd love to see what you come up with. And if you want to keep building your skills, my Beginner's Guide to Watercolor video is a total game-changer for getting your foundations solid.
Now go grab your brushes and give it a try, friend. You've got this.


+ show Comments
- Hide Comments
add a comment