






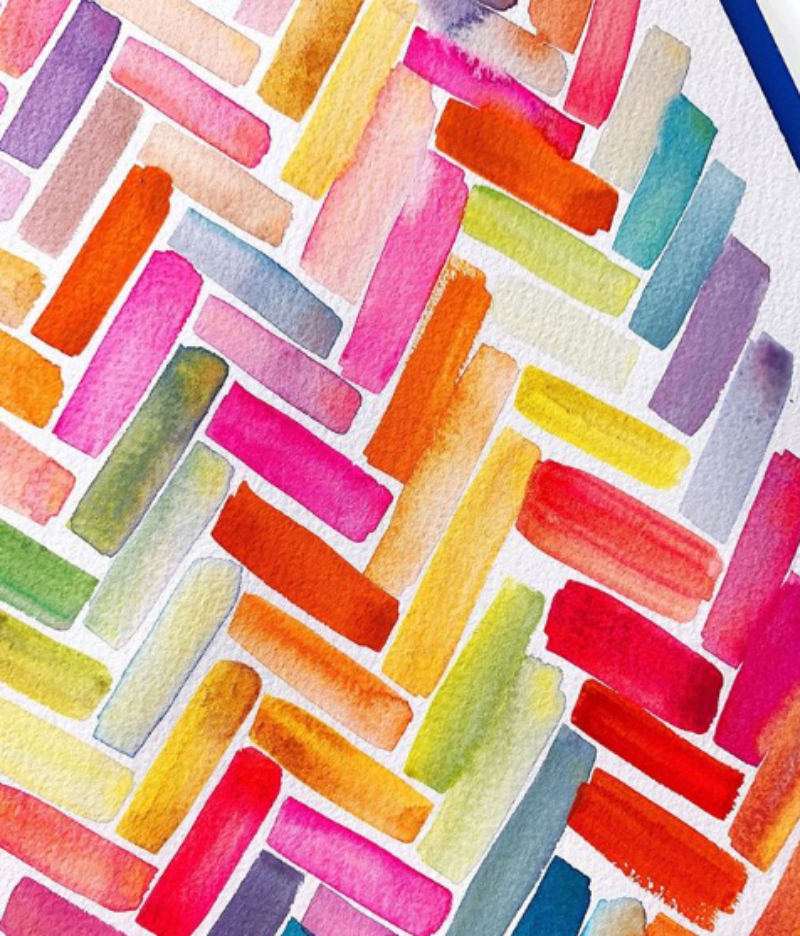
Hey there friend! If there's one skill that shows up in every watercolor painting you'll ever make, it's the wash. Skies, florals, backgrounds, ocean scenes: all washes.
And most of the frustrations beginners run into (streaky backgrounds, hard lines you didn't ask for, colors that went muddy when you tried to blend) are wash problems in disguise. Once you understand what's happening on the paper, they're completely fixable.
So today I'm walking you through the three fundamental watercolor washes: flat, graded, and variegated. What each one is, when to use it, how to do it, and how to fix what goes sideways. Because it will, and that's fine. Every wash teaches you something about your paint, your paper, and your water (yes, even the ugly ones).
If you're brand new to watercolor, grab my free Complete Beginner's Guide to Watercolor e-book first. It'll make everything in this post click faster.
Quick Hello If We Haven't Met
I'm Jenna Rainey, a self-taught artist, mom, and author of the Everyday Watercolor book series. Since 2012, I've helped millions of people learn watercolor through my YouTube channel, courses, and books, and I'm hell-bent on teaching everyone how to find their inner creative voice. Want to learn with me? Come say hi.

Before You Start: It's Almost Always a Water Problem
Most wash problems aren't technique problems. They're water problems.
- Too much water gives you puddles, blooms, and streaks that run wherever they want (rude).
- Too little water makes your brush drag and leaves scratchy texture and hard edges you never planned.
I teach paint consistency on a spectrum I call Tea to Butter. Tea is very diluted, flows easily, and looks translucent, which is perfect for light watercolor washes. Butter is thick, creamy, and barely moves, which is what you want for concentrated detail drops. The sweet spot for most watercolor washes sits in the middle: paint that flows when you guide it but doesn't run off on its own.
Before any wash, test your color on scrap paper at a few consistencies and watch how it behaves. Five minutes of this saves hours of frustration. I teach the full Tea to Butter exercise (with a video) in my Color Mixing for Beginners post, and my Watercolor Techniques Cheat Sheet covers water control too.
The Supplies That Make Washes So Much Easier
A few things genuinely matter for smooth watercolor washes:
- Cotton watercolor paper, 140lb (300gsm) minimum. Cheap paper is the #1 culprit behind streaky washes. It pills, warps, and absorbs unevenly.
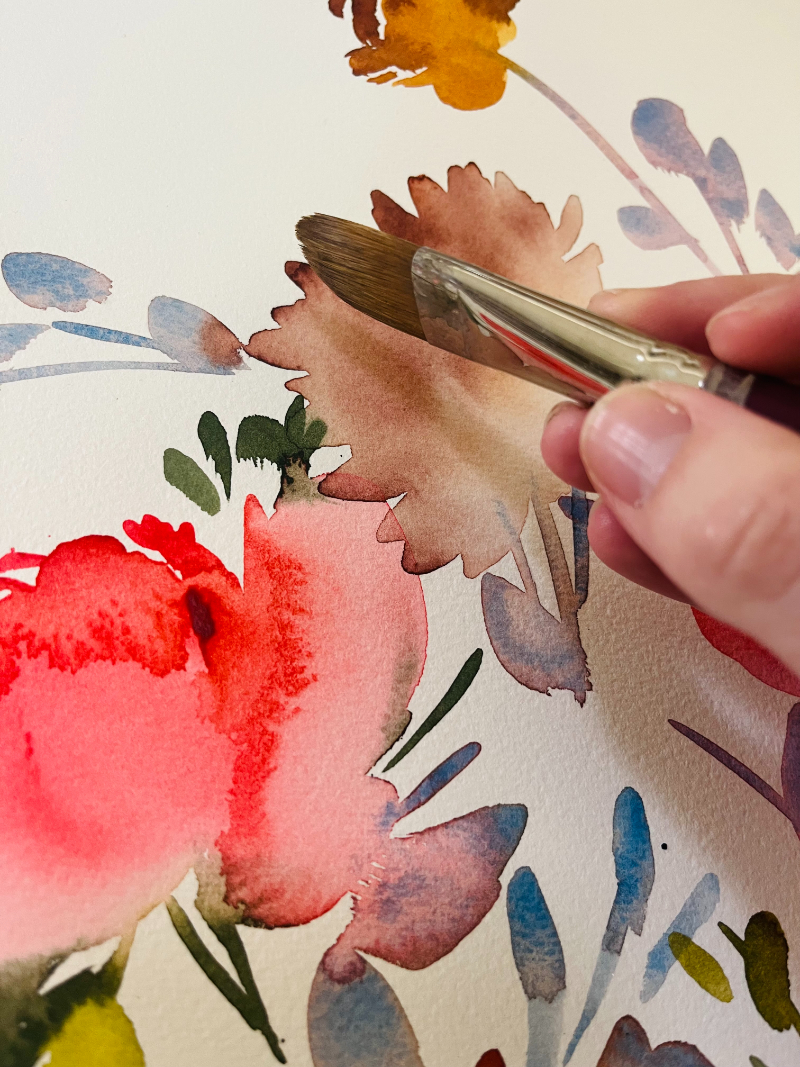
- A large flat wash brush. My go-to is the Princeton Aqua Elite 1.5″ Mottler. A large round works too, it just takes more passes. (More in my Ultimate Guide to Watercolor Brushes.)
- Enough paint, mixed before you start. Running out mid-wash and stopping to remix is how you get hard lines. (More in How to Build a Watercolor Palette.)
- A slight tilt and two water jars. Prop your board up 10 to 15 degrees so gravity pulls the paint downward, and keep one jar for rinsing and one for clean mixing so your washes don't go muddy.
Want the full rundown? Start with Watercolor Supplies 101.
Wash #1: The Flat Wash
A flat wash is a single, even layer of one color with uniform tone across the whole area. No value changes, no visible brushstrokes. One uninterrupted breath of color on the page.
Use it for: solid backgrounds behind florals or text, a simple shape like a leaf, or a base layer under detail work.
How to do it:
- Mix a generous amount of paint (more than you think you need).
- Pre-wet the paper for soft edges, or leave it dry for crisp ones. My wet-on-wet and wet-on-dry posts break down both.
- Load your brush fully, start at the top, and pull one horizontal stroke edge to edge.
- While that edge is still wet, reload and pull the next stroke just below it, overlapping slightly. Keep moving in one direction, and never backtrack over drying areas.
- At the end, dab away the pooled bead at the bottom with a barely damp brush.
When it goes wrong: Streaks mean not enough paint or backtracking over semi-dry areas. Dark edges mean an overloaded brush, so dab it on a paper towel before each stroke. Uneven tone means your strokes aren't overlapping enough.
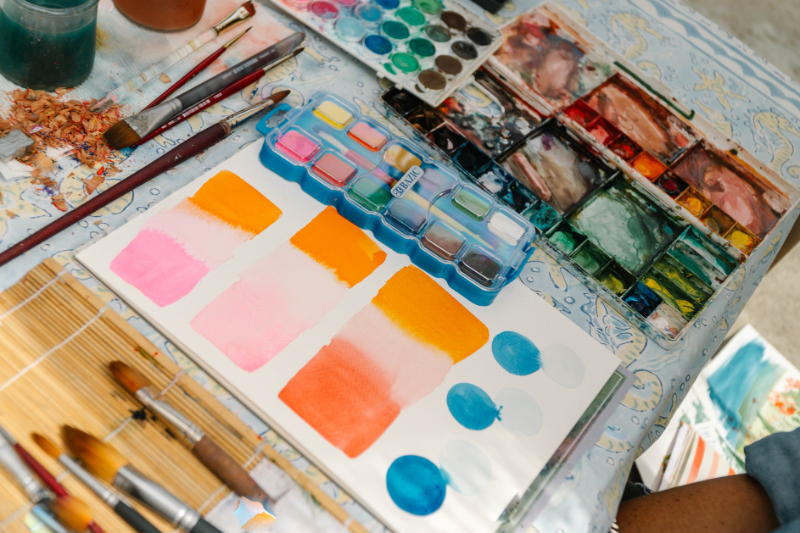
Wash #2: The Graded Wash
Of all the watercolor washes, this is the one I teach most. A graded wash transitions from dark to light in one continuous movement. The color stays the same; only the value changes. It creates depth, atmosphere, and that glow you see in skies and water.
Use it for: skies (dark at the top, light at the horizon), ocean scenes (dark up front, lighter in the distance), or petals where one edge is deeper than the other.
How to do it:
- Mix a strong, saturated version of your color.
- Apply your first stroke at the top, fully loaded and full strength.
- Before the next stroke, dip your brush in clean water instead of reloading with paint.
- Keep pulling strokes downward, adding more water and less pigment with each pass. Keep the leading edge wet and work quickly.
- Finish with a nearly clean water stroke at the bottom for your lightest value.
When it goes wrong: A hard line in the middle means you paused and an edge dried, so work faster or pre-wet the whole area first. Backruns (those annoying blooms) happen when wet paint touches a semi-dry area. A backwards gradient means each stroke is picking up pigment instead of losing it.
This technique is the foundation of my ocean work. There's a reason Part 1 of my Ocean Landscape Series on YouTube is titled “Gradient Wash.” Pair it with How to Paint Water in Watercolor and Painting Watercolor Light to Dark.
Wash #3: The Variegated Wash
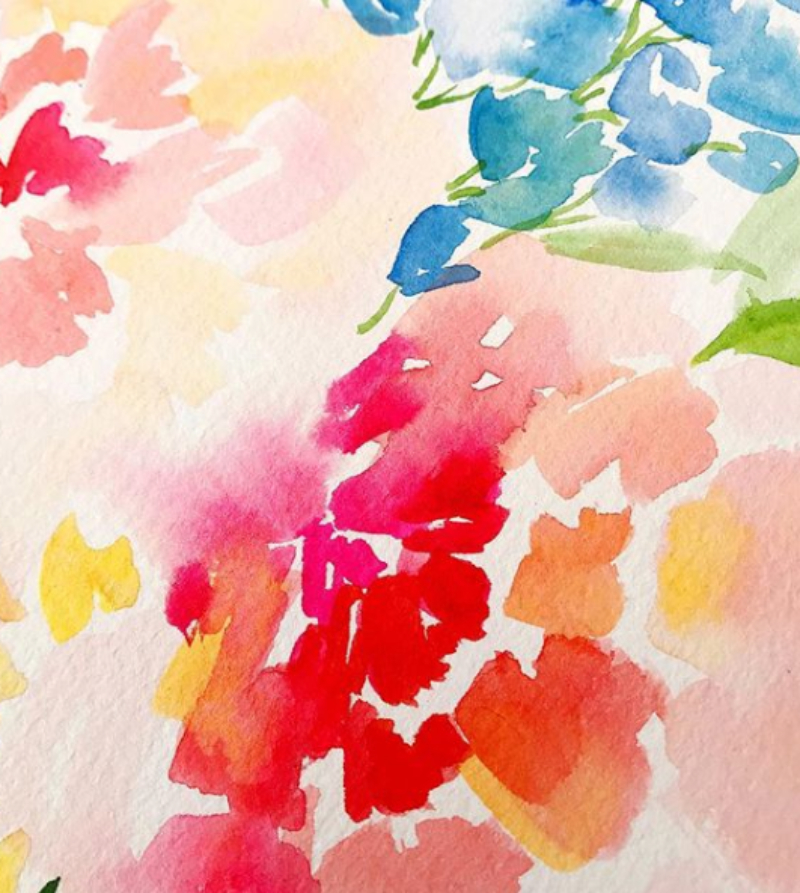
This is where watercolor washes get magical. A variegated wash blends two or more colors on the paper while everything is still wet. Unlike a graded wash (which changes value), a variegated wash changes color. The blend happens on the paper, not in the palette, which gives it the luminous quality watercolor is famous for.
Use it for: watercolor sunset skies (coral into pink into lavender), backgrounds behind loose watercolor flowers, and abstracts.
How to do it:
- Mix all your colors separately before you start. Don't wing it mid-wash.
- Pre-wet the paper with clean water. It buys you time and softens the transitions.
- Apply your first color from one side using full, confident strokes.
- While it's still wet, bring your second color in from the opposite side with a clean brush.
- Let the colors meet and blend on their own. Nudge them with a barely damp brush if needed, but don't overwork it.
- Then put the brush down and walk away. Seriously. Fussing with a drying wash is how you ruin one.
When it goes wrong: Mud means the colors mixed too much or don't play nicely together, so test combos on scrap paper first (warm and cool versions of the same hue often blend better than pure complements). A hard line between colors means one dried before the other arrived. And if the wash looks flat instead of luminous, it needs more water. Tea, not butter.
My Color Mixing Watercolor Tips for Beginners post goes deeper on which colors blend cleanly.
Your Homework: The Wash Sampler
Divide a sheet of scrap watercolor paper into three sections. Paint one flat wash, one graded, one variegated. Then don't judge them. Just observe. Where did it streak? Where did it flow? What surprised you?
Do this before every painting session for a week. Watercolor washes improve dramatically with repetition, because your hands learn what the water is doing. And nothing is wasted: layer a flower over a dried swatch, or use a flat wash square as a color test. (My Watercolor Basics post has more on building a low-pressure practice habit.)
Where You'll Use Washes in Real Paintings
- Skies: flat for clear midday, graded for golden hour, variegated for a dramatic sunset.
- Water: the graded wash is my go-to for open water, like in my Ocean Landscape tutorial.
- Florals: a soft variegated background makes flowers pop without competing.
- Abstracts: variegated washes are the entire foundation. Everything else is details.

You've Got This, Friend
Watercolor washes are the foundation. Every glowing sky, every soft floral background, every stretch of ocean you've ever admired started with a wash. And you don't have to be great at washes before you start painting. Every painting session is wash practice if you look at it that way. From here, layering, wet on wet watercolor details, and texture all start to make sense. It builds, one brushstroke at a time.
Ready for your next step? Grab my free Complete Beginner's Guide to Watercolor e-book, keep my Watercolor Techniques Cheat Sheet handy while you practice, and when you want me walking you through it all on video, the Everyday Watercolor Companion Course is like having me right there next to you.
Now go make something, even if it sucks. That's the whole point.










+ show Comments
- Hide Comments
add a comment