







You know what wet-on-wet means. You know what wet-on-dry means. And still, there you are, brush loaded, hovering over the paper, thinking okay but… now?
Wet brush on wet paper? Dry paper? Is it dry enough? When do the details go on? And why did a bloom show up in the exact spot you didn't want one?
Hey friend, the missing piece is almost never more technique knowledge. It's decision-making.
Short version: use wet-on-wet for soft, blended first layers. Use watercolor glazing (a thin, see-through wash over a fully dry layer) to build shadow, form, and depth. Use wet-on-dry for crisp final details. Most good paintings use all three, in that order.
That third term trips people up, so let's clear it up now. Glazing isn't a new, complicated thing to go learn. It lives inside the wet-on-dry family, same core condition, just used with a plan. This post puts all three in one place and gives you a way to choose between them.
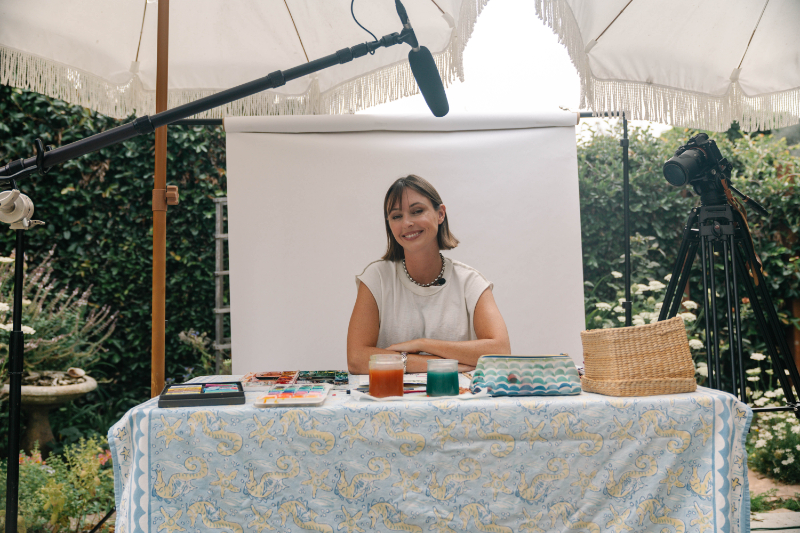
Hi, I'm Jenna
I'm a self-taught artist, a mom, and the author of the Everyday Watercolor book series with Penguin Random House. I've been teaching people to paint since 2012, mostly through YouTube and my courses.

What Is Wet-on-Wet and When Should You Use It?
Wet paint on a wet surface. That's either paper you pre-wet with clean water, or a layer of paint that's still shiny. Colors bloom, bleed, and travel on their own. Edges dissolve.
Use it for:
- Sky washes and backgrounds
- Floral base layers, where petals melt into each other
- Misty trees, soft horizons, light on water
- Sunsets and any soft color transition
What goes wrong: cauliflower blooms appear when wet paint touches a spot that's half dry. Work fast enough that everything stays equally wet, or wait until it's bone dry.
Colors can also run farther than you planned. That's a water problem. Tea consistency travels aggressively. Butter barely budges. (I break down the whole scale in my color mixing guide.)
Skip it when you need a crisp edge. Stems, veins, and outlines will betray you here.
My wet-on-wet tutorial covers pushing, pulling, and poking, three ways to steer wet paint without bossing it around. Then practice big with my guide to watercolor washes.
What Is Wet-on-Dry Best For?
Wet paint on completely dry paper, or on a layer that's completely dry. Paint lands exactly where you put it. Edges stay sharp.
Use it for:
- Stems, branches, and thin lines
- Leaf veins and petal creases
- Silhouettes and hard-edged shapes
- Any mark that has to stay put
What goes wrong: backruns. You touch a surface that isn't fully dry, fresh paint pushes into the damp spot, and you get a bloom you didn't order. Press the back of the paper to the back of your hand. If it feels cool, it's still wet. (Patience is a technique. I learned that one the hard way.)
The other trap is detail creep. Wet-on-dry works so well that you want it everywhere. Save it for the last 10 to 20 percent of a painting.
Skip it when you want soft edges or a smooth large wash. Big areas come out streaky.
See both side by side. My post on the two watercolor techniques you have to know demos them back to back, and the wet-on-dry tutorial goes deeper on layering.

What Is Watercolor Glazing?
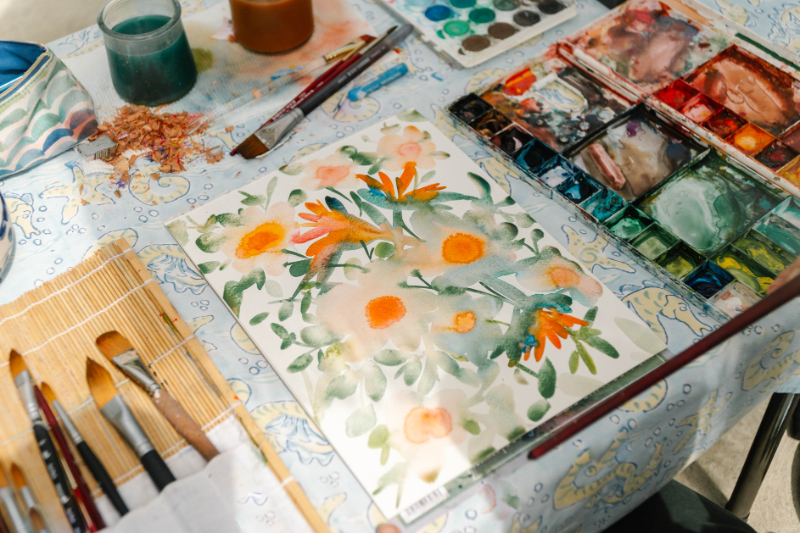
Watercolor glazing is laying a thin, transparent wash over a completely dry layer, on purpose, to deepen value, add shadow, shift color temperature, or build glow.
Quick but important note: glazing is wet-on-dry. If you've practiced wet-on-dry, you've already been glazing. You just weren't calling it that.
The difference is purpose. Wet-on-dry answers how do I make this stroke? Glazing answers how do I build this painting? Every glaze is wet-on-dry. Not every wet-on-dry stroke is a glaze.
Transparency is the whole ballgame. A glaze has to be diluted enough that you clearly see the layer underneath, like tinted glass. Heavy paint covers. It doesn't glaze.
What Glazing Does to Your Painting
Deepens color without muddying it. Each layer dries fully before the next goes on, so the layers stay separate. They stack instead of mixing, and your eye blends them into something richer than one wash could be.
Makes shadows glow. A cool glaze over a warm base gives a shadow with temperature in it. That's the difference between a dark blob and something that reads as light. (More on that in my guide to color temperatures and undertones.)
Builds luminosity. Light passes through every transparent layer, hits the white paper, and bounces back up through all of them.
Fixes things. Too pale? Glaze it. Too warm? Cool it with a thin wash.
Where Glazing Goes Wrong
- Glazing over a damp layer. The most common mistake by far. You get muddy blending instead of clean stacking.
- Paint that's too thick. If you can't see through the wash once it's down, it's a cover-up, not a glaze.
- Glazing everywhere. Glazes belong in shadow zones and on the turn of a form. Coat the whole surface and you've just made a darker, flatter painting.
- Layers with no job. Each glaze should do one thing: deepen this shadow, cool that midtone. Random extras only add mud.
Skip it when you want loose, spontaneous passages. Glazing is patient and sequential.
The exercise I'd start with. My post on painting watercolor light to dark is the sequencing rule glazing depends on. Light base first, transparent layers after.
How Do You Use All Three in One Painting?
They aren't competing options. They're stages.
- Wet-on-wet sets the feeling. A loose, light, blended first layer. It should look good on its own. Don't overwork it.
- Then you wait. Fully. This isn't a coffee break, it's part of the technique. Rushing here is the number one reason paintings lose their glow.
- Glazing builds the form. Transparent layers add shadow and dimension, placed only where the form needs them. The base still glows through.
- Wet-on-dry finishes it. Crisp details and dark accents. Small amount, big payoff.
Try It on a Flower
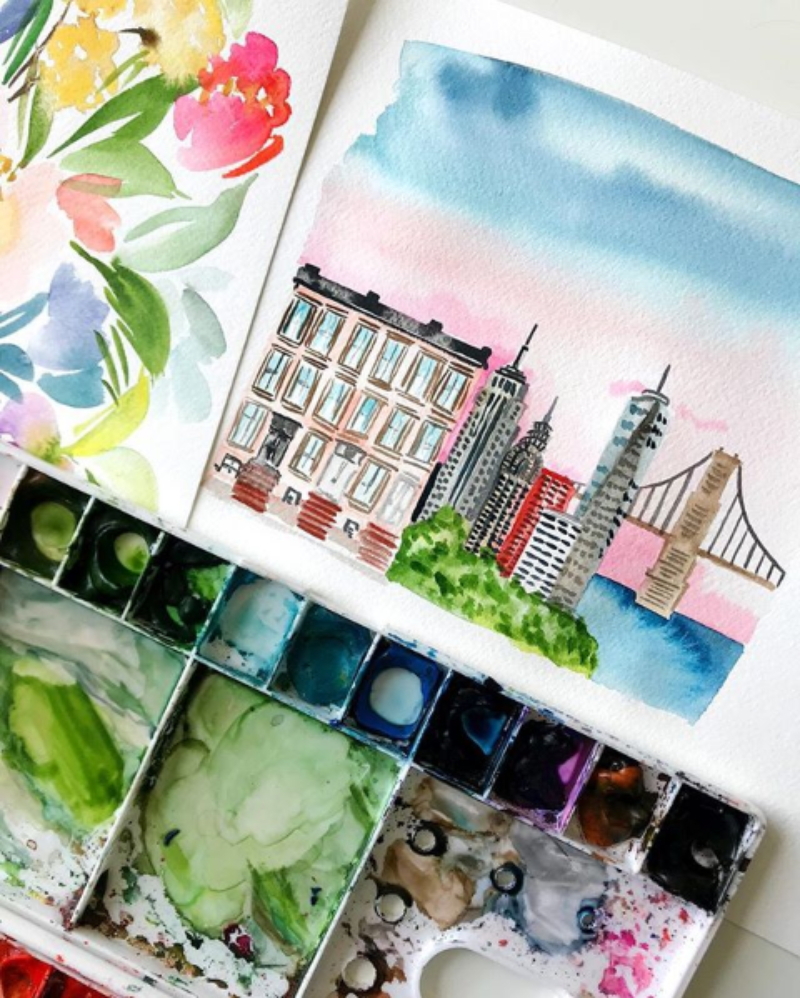
- Wet-on-wet base. Pre-wet the petal shape. Drop in your lightest color, very diluted. While it's wet, touch a deeper version of that same color at the petal base and let it bloom toward the center. Then walk away and let it dry all the way.
- First glaze. Same color, a little more pigment. Still see-through. Brush it only on the shadow sides, where petals curve away from the light or tuck behind each other. You're nudging the value, not changing the color.
- Second glaze if needed. Peonies and roses want one more pass in the deepest shadows. Dry between layers.
- Details last. Stems, veins, the dark center, on a fully dry surface.
The full floral version. My 5 principles of watercolor flowers covers detail at the right time and place, and my beginner's guide to watercolor flowers walks the sequence start to finish.
Which Technique Should You Use Right Now?
Screenshot this one. Before a stroke, ask:
- Wet or dry surface? Wet and shiny, wet-on-wet or wait. Fully dry, glazing or wet-on-dry.
- Building or refining? First layer, wet-on-wet. Over a dry layer, glazing or wet-on-dry.
- Soft edge or crisp edge? Soft, wet-on-wet. Crisp, wet-on-dry.
- Form and shadow, or fine detail? Form and shadow, glazing. Fine detail, wet-on-dry.
- Early, middle, or end? Early is wet-on-wet. Middle is glazing. End is wet-on-dry.
The through-line: wet-on-wet creates the feeling. Glazing creates the substance. Wet-on-dry creates the precision. The only real question is timing.
Keep the system handy. My watercolor techniques cheat sheet is the bigger reference this post lives inside, with quick fixes for each one.
Tutorials to Practice Each One
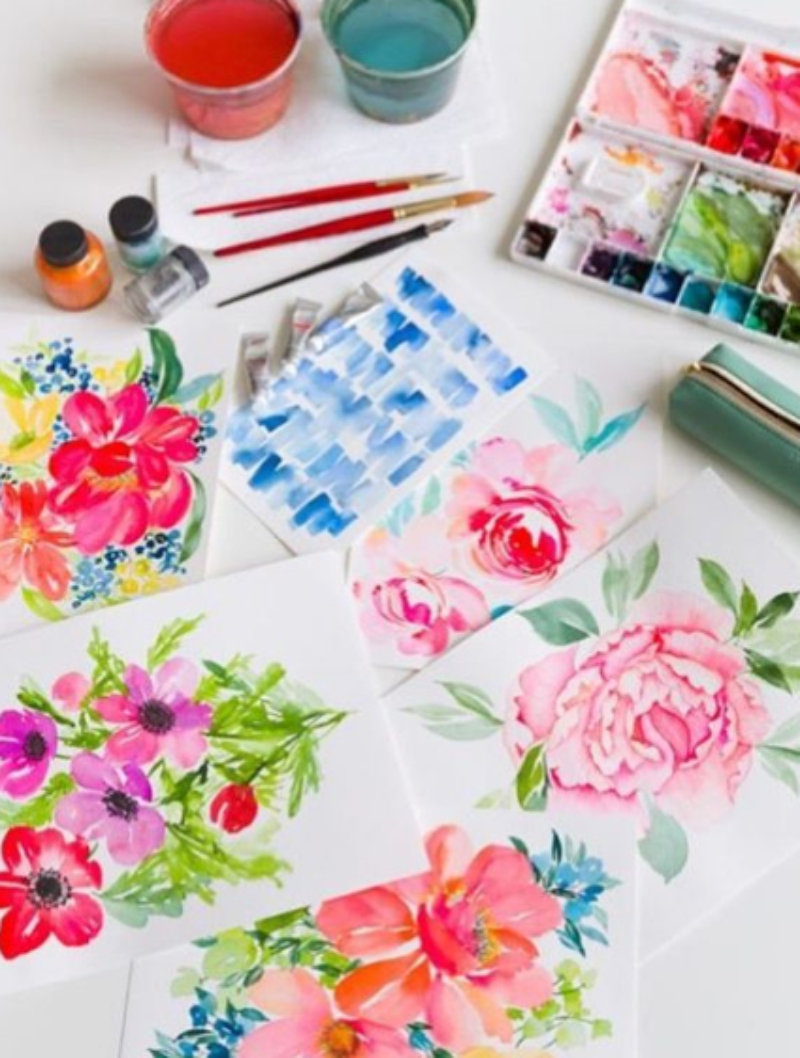
- Wet-on-wet: ocean landscape part 1, the gradient wash
- Wet-on-dry: sketch and paint watercolor flowers, for compound strokes and petal detail
- Glazing: fall leaves for warm tones in sequence, how to paint a pumpkin for curved form, and pumpkins with eucalyptus and berries for depth
- All three together: mountain lake landscape and my ocean landscape tutorial
Watercolor Glazing FAQ
Is glazing the same as wet-on-dry?
Not quite. Glazing is a type of wet-on-dry. Both put wet paint on a dry surface, but a glaze is specifically a thin transparent layer applied to build depth, shadow, or glow.
How long should you wait between glazes?
Until the paper is completely dry, which depends on paper weight, water, and climate. Touch the back of the paper. If it feels cool, wait longer. A hair dryer on low works, just keep it moving.
How many layers can you glaze?
Most subjects need two or three. More layers help only if each one has a job. Once you're adding glazes just to add them, you're heading toward mud.
Can you glaze with any watercolor paint?
Transparent and semi-transparent paints work best. Opaque ones sit on top and hide what's underneath. Most brands print a transparency rating on the tube, so check before you build a glazing palette.
Why does my glaze lift the layer underneath?
Either the bottom layer wasn't fully dry, or you scrubbed instead of floating the wash. Load the brush, lay the color down in one pass, and resist going back over it.

Start With One Painting
Knowing the techniques is the starting line. Knowing when to reach for each one is where painting actually begins.
Wet-on-wet, wet-on-dry, and watercolor glazing aren't three choices. They're a sequence, a back and forth between loose and precise. Most watercolors you love use all three, often within the same hour.
The real goal isn't to paint with these techniques. It's to paint until they disappear, until your hands just know. That takes reps, not talent.
So go make something today, even if it sucks. (You know the rule.)
Want me right there with you? The Everyday Watercolor Companion Course is the video sidekick to my books, walking you through these techniques on real paintings, from flowers to sea life. Just getting started? Grab my free 40-page Complete Beginner's Guide to Watercolor. Supplies, techniques, color theory, composition, all of it, for exactly nothing.










+ show Comments
- Hide Comments
add a comment