





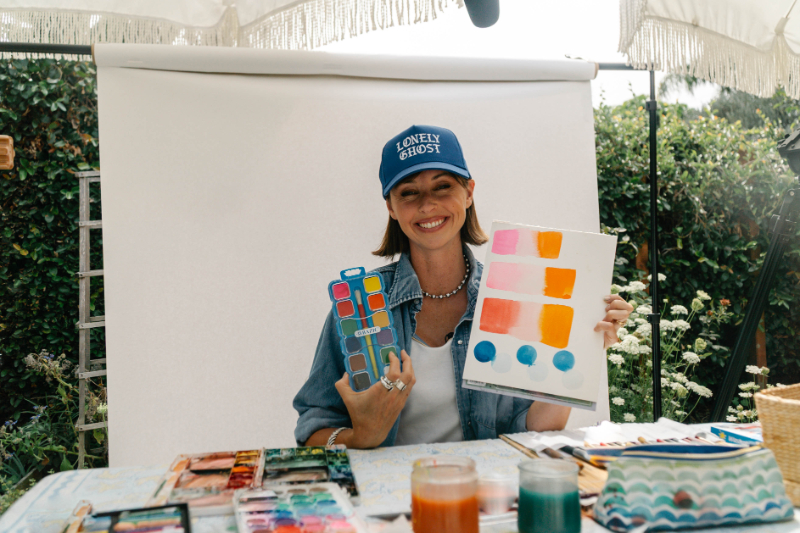
Hey friend. There's a moment in almost every beginner's watercolor journey that goes exactly like this.
You're trying to keep one tiny spot white. A star. The shine on someone's lip. One little dot in the middle of a flower. So you paint around it very slowly, holding your breath, brush hovering. Then your hand twitches and the white is gone.
That specific flavor of torture is what masking fluid solves.
Masking fluid is a liquid latex you apply to dry watercolor paper before you paint. It dries into a rubbery film that blocks paint completely. When your painting is dry, you rub the film off and the bright white paper underneath is perfectly preserved. That's the whole trick.
It feels a little like cheating the first time you try it (in the best possible way).
Below, I'm covering what masking fluid actually is, which tools to use (including the pen I reach for), when it's the right call and when it isn't, a step-by-step process, the mistakes that trip people up, and how it stacks up against white gouache.
Psst: Masking fluid is one trick of many. My Watercolor Techniques Cheat Sheet covers the rest, from wet-on-wet to lifting to glazing.
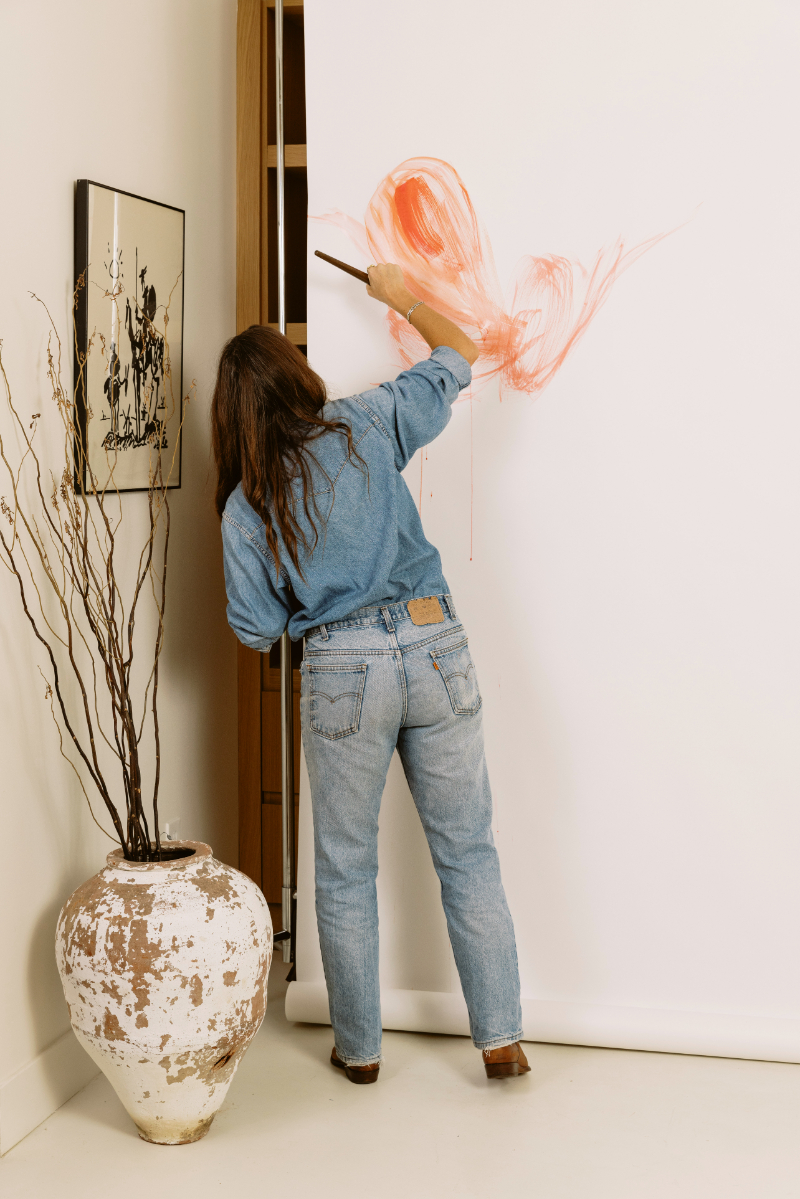
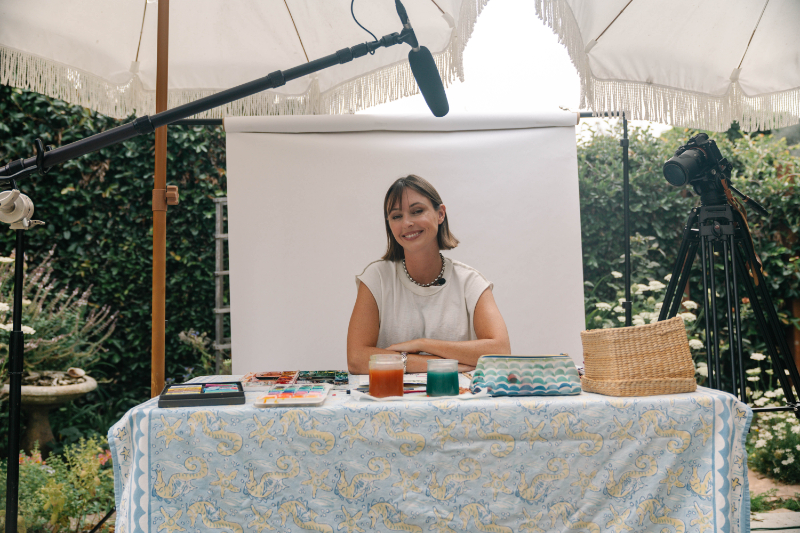
Hi, I'm Jenna!
I'm a self-taught watercolor artist, a mom, and the author of the Everyday Watercolor book series. I've been teaching this stuff since 2012, mostly to people who were convinced they weren't “the creative type.” I'm hell-bent on proving that wrong.
If you want the foundations under everything I'm about to show you, that's what my Everyday Watercolor books are for. Everyday Watercolor is thirty days of building your basics, and Everyday Watercolor Seashores is where you'll put tricks like masking fluid to work on foam and wave crests.
So… What Is Masking Fluid, Exactly?
Here's the thing about watercolor that trips up new painters: you can't paint white. Not really. Watercolor is transparent, so any white in your painting is just the paper showing through.
Which means white isn't something you add. It's something you protect.
Masking fluid is how you protect it on purpose. You paint it onto the spots you want to keep white, let it dry into that rubbery film, then paint over the whole surface without a second thought. When everything's dry, you peel the film away and the paper is exactly as white as the day you bought it.
As I put it in my special effects video below: you can use masking fluid whenever you want to retain the white of the paper. A highlight in a portrait. A pattern. The foam on a wave.
Ever muddy a painting and not know why? Usually it's the order you laid your layers in. My guide to painting light to dark explains it.
Masking Fluid vs. Gouache vs. Leaving the Paper Blank
You've got three ways to get white into a watercolor painting. Knowing which one to grab is most of the battle.
Leave the paper unpainted. The purest option. Plan ahead, paint carefully around the shape. Great for big, simple white areas. Miserable for tiny detailed ones.
Add white gouache on top. Opaque white paint applied over dry watercolor. Lovely for soft highlights and finishing details. But it sits on the paper instead of being the paper, so it never glows quite the same way.
Use masking fluid. Protect first, paint freely, remove at the end. Best when the white shape is small, intricate, or surrounded by areas you want to attack with a big juicy wash.
Prefer no masking at all? In how to paint white flowers with watercolor I define petals with shadows and negative space instead.
What Tools Do You Need for Masking Fluid?
A masking fluid pen (my pick)
This is what I use, and it's what I'd hand a beginner first. The pen gives you the control of a drawing tool, so you can literally draw your white shapes. Fine lines, lettering, tiny highlight dots, detailed patterns. Way easier to steer than a brush.
A cheap, dedicated brush (for bigger areas)
For wide masked shapes, a brush covers more ground. But listen to me on this one.
Masking fluid will permanently ruin a brush if it dries in the bristles. Use a cheap brush you've assigned to this job forever. Never your good rounds. Some painters swipe the brush through a little bar soap first, which helps the fluid rinse out.
Building your kit? Start with my ultimate guide to the best watercolor brushes, then buy one cheap round just for masking.
Something with an edge (for removal)
A pencil eraser, a rubber eraser, the back end of a pencil, or your finger. Anything smooth and firm. That's genuinely all you need.
Watercolor shopping gets overwhelming fast. Here's the short list of supplies I actually use, nothing extra.
How Do You Use Masking Fluid? Step by Step
- Plan your white areas first. You can't mask something you've already painted. Look at your composition and find every spot that needs to stay white. A light pencil sketch helps.
- Apply it to completely dry paper. Damp paper causes the fluid to seep, bond badly, or refuse to come off cleanly. Draw with the pen or dab with your dedicated brush. Neatness isn't the goal here.
- Let it dry all the way. It goes from milky and wet to a pale rubbery film, usually within several minutes depending on brand, humidity, and how thick you laid it on. Touch a corner. If it's tacky, wait.
- Paint over it freely. This is the fun part. Wet-on-wet washes, bold color, loose strokes, whatever you want. The mask shrugs it all off.
- Let the painting dry completely. Both the paint and the mask. Rushing this step lifts pigment and wrecks the area around your highlight.
- Rub the masking fluid off. Small circular motions, or peel from an edge. You can be pretty rough with it once it's dry. Then comes the reveal: bright, untouched white paper exactly where you wanted it.
- Soften the edges if you need to. Freshly revealed white can look stark and graphic. A gentle glaze nearby helps it settle into the painting.
If you want to watch me work through effects like this with commentary, that's basically what my Everyday Watercolor Companion Course is. It's the video sidekick to the books.
When Should You Use Watercolor and Masking Fluid?
- Patterns and illustrations. Spots, stripes, geometric shapes, small florals. Draw the pattern with the pen, then wash right over it.
- Ocean and water highlights. Foam on a wave crest, sparkle on the surface, the bright break of a wave. These are brutal to paint around.
- Portrait highlights. The catchlight in an eye, shine on a lip, a glint in hair. Exactly what the pen format was built for.
- Stars and night skies. Mask the dots, wash a deep sky over everything, rub it off. Instant starfield.
- Lettering inside a painting. Write your words with the pen, then paint the background over the top.
- Botanical details. Stamens, dewdrops, tiny petal highlights, the bright rim of a white bloom against a dark wash.
Quick Decision Guide
| What you're doing | Reach for |
| Tiny, precise highlights before painting | Masking fluid pen |
| Large white shapes that are easy to avoid | Bare paper |
| Soft highlights added after painting | White gouache |
| Intricate patterns that stay white | Masking fluid |
| Stars in a night sky | Masking fluid |
| Shimmer, glow, or decorative final details | White gouache |
| Fine lettering in a painted background | Masking fluid pen |
Short version: masking fluid happens before you paint. Gouache happens after.
For more ways to add texture to watercolor paintings, read my blog here.
Common Masking Fluid Mistakes
Using a brush you love. I know I already said it. I'm saying it again because I've watched people learn this one the expensive way.
Applying it to damp paper. It won't bond right, it'll creep under the edges, and removal gets ugly. Dry paper only.
Removing it too early. Pulling mask off damp paint lifts pigment with it and damages both the highlight and the wash around it.
Leaving it on too long. Masking fluid gets harder to remove the longer it sits, especially in heat or humidity. Check your brand's instructions and don't let a masked painting sit for too long.
Expecting crisp edges on rough paper. Cold-press texture lets the fluid settle into the valleys, so edges come out a little irregular. Often that's charming. If you need clean edges, smooth hot-press paper behaves better.
Skipping the test stroke. Pens clog. Give it a shake and try a line on scrap before you touch your real painting.
Try It Right Now (Five Minutes, Scrap Paper)
Don't debut this technique on a painting you care about. Do this instead:
- Grab a scrap of watercolor paper and draw a pattern with the pen. Dots, stars, your initials, whatever.
- Let it dry.
- Wash a big dark color over the whole thing. Be bold about it.
- Let the painting dry.
- Rub the mask off.
That peel-back moment doesn't get old. Do it once and you'll start eyeing every painting thinking what could I mask here?
Practice sticks when it's fun. Here are more low-stakes watercolor exercises to keep you painting.
FAQ
Does masking fluid damage watercolor paper?
Not usually, as long as your paper is dry when you apply it and you remove it within a day or two. Cotton paper handles it well. Thin student paper and heavy texture are where you're most likely to see fuzzing or tearing.
Can you use masking fluid on top of dry paint?
Yes. If a layer is fully dry, you can mask over it to protect that color while you paint darker values around it. Just be gentler during removal, since you're rubbing on pigment instead of bare paper.
How long does masking fluid take to dry?
Usually a few minutes to about twenty, depending on brand, humidity, and how thickly you applied it. It should feel smooth and rubbery, never tacky.
What can I use instead of masking fluid?
White gouache after the fact, careful negative painting, or lifting color with a damp brush. None of them give you the same crisp preserved white, but they all have their moments.
Do I need special paper for watercolor and masking fluid?
No, though smoother paper gives cleaner edges. Hot-press is the friendliest surface for detailed masking.
Can masking fluid be used with gouache or acrylic?
It works under gouache the same way it works under watercolor. With acrylic it gets risky, because dried acrylic film can bond to the mask and tear when you remove it.
Go Mask Something
Masking fluid feels more like a discovery than a technique. Paint over it, peel it off, see that clean white shape appear, and you'll wonder why you spent so long painting careful little circles around your highlights.
It doesn't replace negative painting or the softness of gouache. But for its one specific job (protecting small, precise white areas while you paint freely around them) nothing else comes close.
Practice on scrap first. Then try it for real. A night sky full of masked stars. An ocean with masked foam. A dark floral with masked stamens.
And if you're still building your supply kit, grab my free 40-page Complete Beginner's Guide to Watercolor. It walks through supplies, techniques, color theory, and composition, and it costs you exactly nothing.
Now here is your permission to play. Go make something, even if it sucks.










+ show Comments
- Hide Comments
add a comment