







Hey friend. Let's talk about a very specific kind of heartbreak.
You found a beginner painting tutorial you loved. You watched the whole thing. You followed along stroke for stroke, paused the video a hundred times, and did exactly what the artist did. Then you looked down at your paper and thought, what in the muddy brown mess is happening here? The colors went gray. The shapes went wonky. And that little voice showed up right on cue: “Okay, so maybe I'm just bad at this.”
You're not bad at this. I promise. This happens to almost everyone who paints along with a tutorial, including my own students, my YouTube commenters, and (real talk) me, every single time I try to learn a new medium.
Why Doesn't My Painting Look Like the Tutorial?
Here's the short answer, right up front.
Your painting looks different because a beginner painting tutorial only shows you what happened on screen, not the dozens of invisible variables behind it. Different paper, different paint, a different amount of water on the brush, and years of practice you can't see. Those variables change the result far more than talent does.
So the gap between your paper and the demo isn't a skill problem. It's an information problem. And once you know what's actually causing it, you can fix most of it.
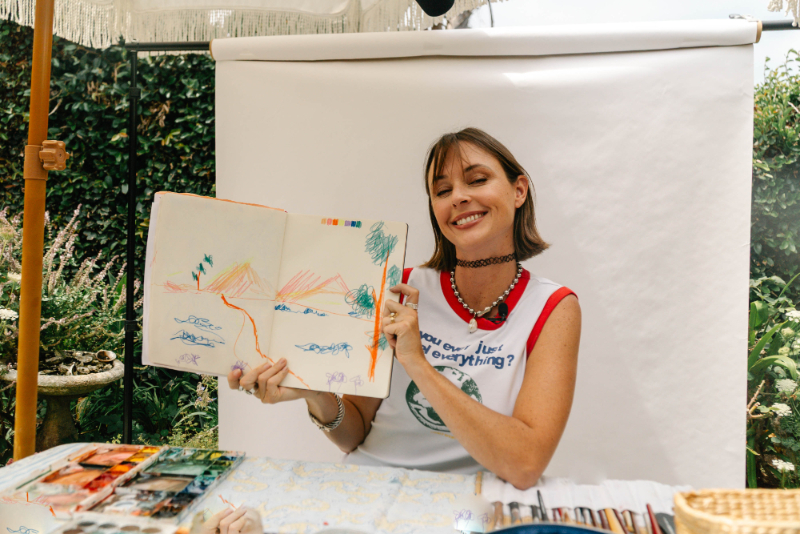
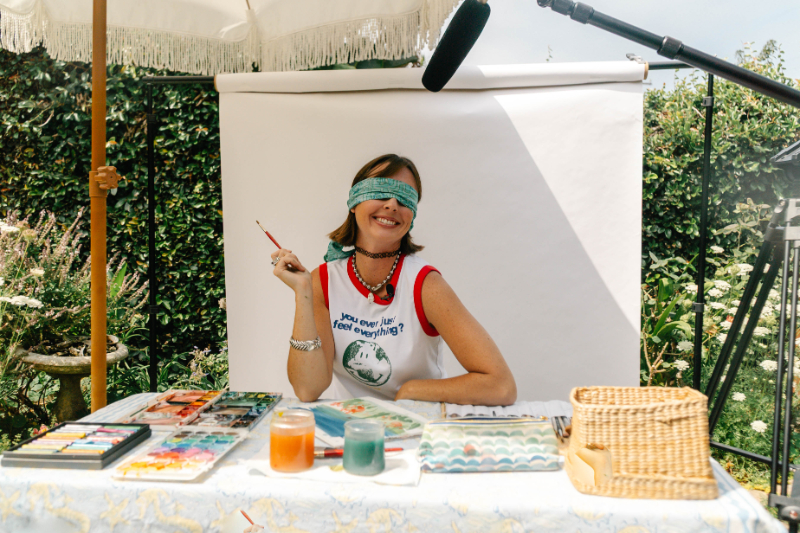
Hi, I'm Jenna
I'm a self-taught watercolor artist, a mom, and someone who is very much hell-bent on teaching everyone how to find their inner creative voice. I've been running this business since 2012, I've written the Everyday Watercolor book series with Penguin Random House, and I share free tutorials with more than 300,000 people on YouTube.
I say self-taught because I want you to hear this part: my early paintings were rough. Genuinely rough. I learned by making a lot of bad ones.

Reason 1: Your Supplies Aren't the Same Ones in the Video
This is the biggest one, and it's usually invisible.
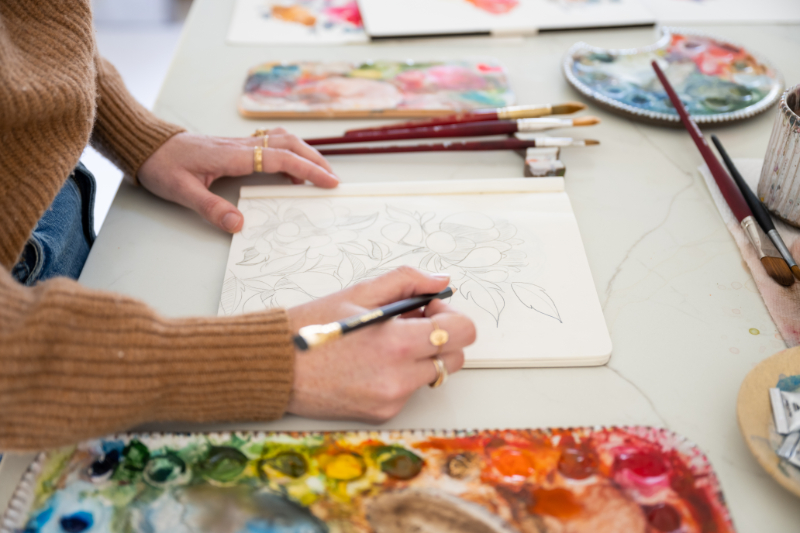
Watercolor is a medium where the materials do a huge chunk of the work. Change the materials and you change the painting, even if your hands do the exact same thing.
- Paper. Student-grade paper and 100% cotton paper behave like two different products. Cotton paper holds water on the surface longer, so colors blend softly and you can lift paint back off. Cheaper wood-pulp paper drinks the water fast, which makes edges harden and colors dry dull. If you change one supply this year, change this one.
- Paint. Pigment quality affects how bright a color stays after it dries. Some pigments also granulate, which means they settle into the texture of the paper and create a speckled look. If the tutorial artist is using a granulating blue and you're not, your sky will never match theirs.
- Brush. A brush that holds a lot of water and springs back to a point gives you long, smooth strokes. A stiff brush that flares out gives you choppy ones. Same motion, different mark.
You don't need to run out and buy everything the artist owns (please don't). But knowing this explains a lot of the gap between your paper and any beginner painting tutorial you follow.
Want to see what I actually use? Here's my Favorite Supplies page and my Amazon storefront.
Reason 2: The Water to Pigment Ratio Is Invisible
Every watercolor tutorial is secretly a water tutorial.
When I load my brush on camera, you can see the color I picked. You can't see how much water is sitting in the bristles. That ratio decides everything: how far the paint spreads, how dark it dries, and whether your wet on wet watercolor blend goes soft and dreamy or turns into a cauliflower-shaped bloom.
And here's the tricky part. Water ratio is a feel thing. It's not a number I can say out loud, because it shifts with your paper, your humidity, your brush size, even how hard you press.
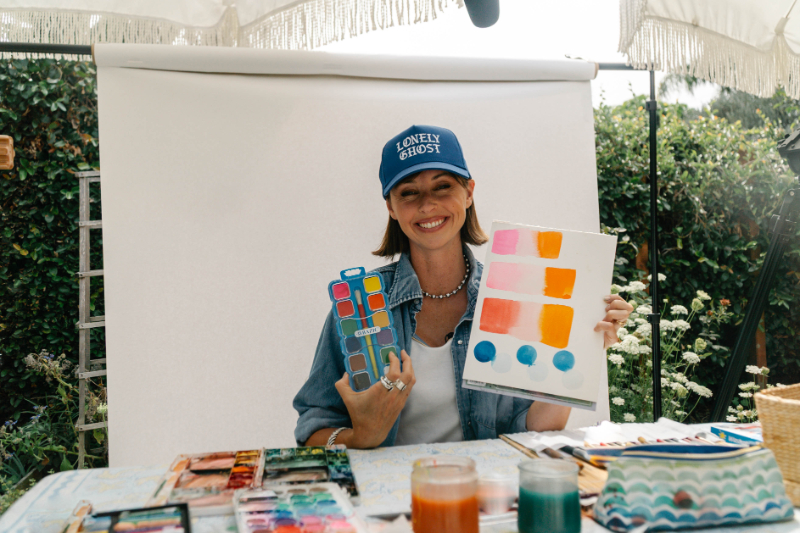
Try this before your next painting: grab a scrap piece of the same paper and make a quick swatch strip. Paint one stripe with a very wet brush, one with a damp brush, and one with a barely-damp brush. Let them dry. Now you know what your supplies do, which is information the video can't give you.
Those little swatch sheets are some of the most useful watercolor exercises there are, and they take about four minutes.
Reason 3: Muscle Memory Doesn't Build in One Sitting
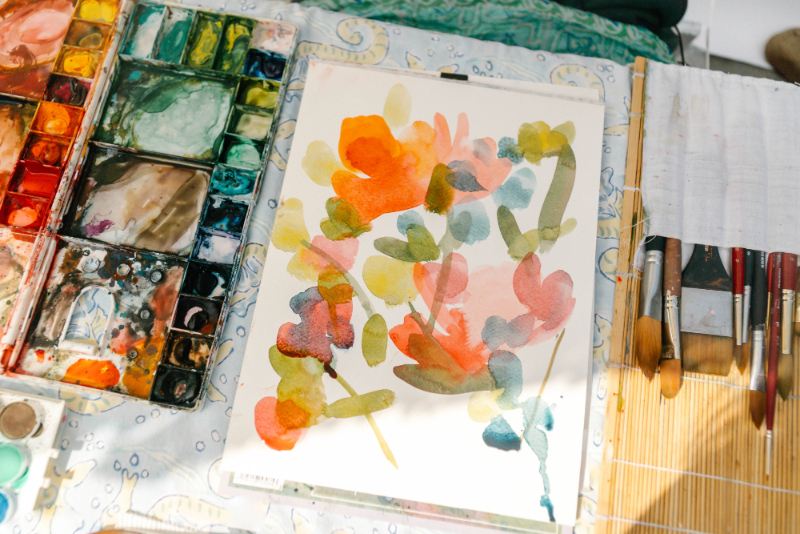
The artist teaching your beginner painting tutorial has painted that leaf hundreds of times. Maybe thousands. That's the whole reason it looks effortless.
Your hand has painted it once.
Nobody's first attempt at a new stroke looks smooth, and that's not a discouraging fact. It's just how skills work. The wobble is the practice happening in real time.
So when your petal comes out lopsided on try number one, you're not failing the tutorial. You're at the start of it.
Reason 4: You're Copying the Steps Before You Understand Them
There's a difference between doing what the artist does and knowing why they're doing it.
Copying a motion gets you through the video. Understanding the technique underneath is what lets you paint something new next week without a video at all.
A few ways to shift from copying to understanding:
- Pause more than feels normal. Ask yourself what just changed on the paper and why.
- Repeat one small piece. Paint just the petal, or just the wash, five times in a row before moving on.
- Say it out loud. “I'm dropping color into a wet area so it spreads.” If you can explain it, you own it.
This is exactly how I structure my Everyday Watercolor Companion Course. It walks through the why behind the techniques in the books, not just the steps. If you liked the book but wanted me sitting next to you while you painted, that's the one.
Reason 5: You're Comparing Your First Try to Someone's Finished Piece
Let's be fair to yourself for a second.
You're looking at a polished final painting, filmed and often reshot, and comparing it to your very first attempt at that subject. That comparison was never going to go your way.
I've absolutely painted a demo more than once before the version that made it on camera. Most artists have.
What to Actually Do About It
Here's the practical part. Three changes that fix most of the frustration:
- Paint the same beginner painting tutorial two or three times. Don't move on to a new one right away. The second attempt is where the technique clicks, and the third is where it starts feeling like yours.
- Do a swatch sheet first. Test your paper, your water, your colors. Five minutes of testing saves an hour of frustration on the “real” piece.
- Adapt instead of replicate. Change the colors. Change the size. Paint a different flower with the same technique. You have permission to make it different, because different was always the point.
Your Painting Was Never Supposed to Be a Copy
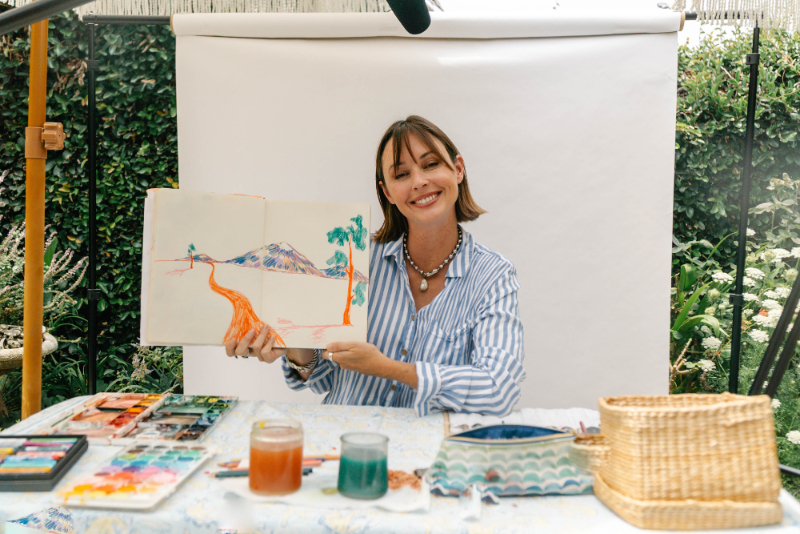
The goal of following along was never a matching image. It was learning something new about how this medium behaves, and you did that, even if the paper in front of you looks nothing like the screen.
Create something every day even if it sucks. That motto exists for days exactly like this one.
Ready for the version where you understand what you're doing? Grab my free 40-page Complete Beginner's Guide to Watercolor e-book. It covers the supplies, the techniques, and the color theory that videos usually skip right over. It's free, and it'll make your next beginner painting tutorial go a whole lot better.
Then go paint it again. (Your second attempt is going to surprise you.)
Want more structured practice? My Patreon community has 50+ exclusive tutorials starting at $5 a month, plus personalized art reviews at the higher tier if you want actual eyes on your work.









+ show Comments
- Hide Comments
add a comment