Watercolor painting is a magical and expressive art form, especially when it comes to painting flowers. If you’ve been a follower of mine for a while, then you know my go to subject is flowers! The fluidity of watercolors perfectly captures the delicate and ethereal nature of floral subjects. In this post, we’ll explore some basic techniques and tips to help you get started with painting watercolor flowers.
Understanding Watercolors
Before diving into painting, it's crucial to understand the medium. Watercolor paints are known for their translucency and ability to blend seamlessly on paper. They come in tubes or pans and can be mixed with water to achieve various levels of intensity.
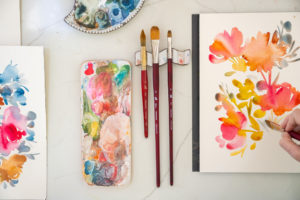
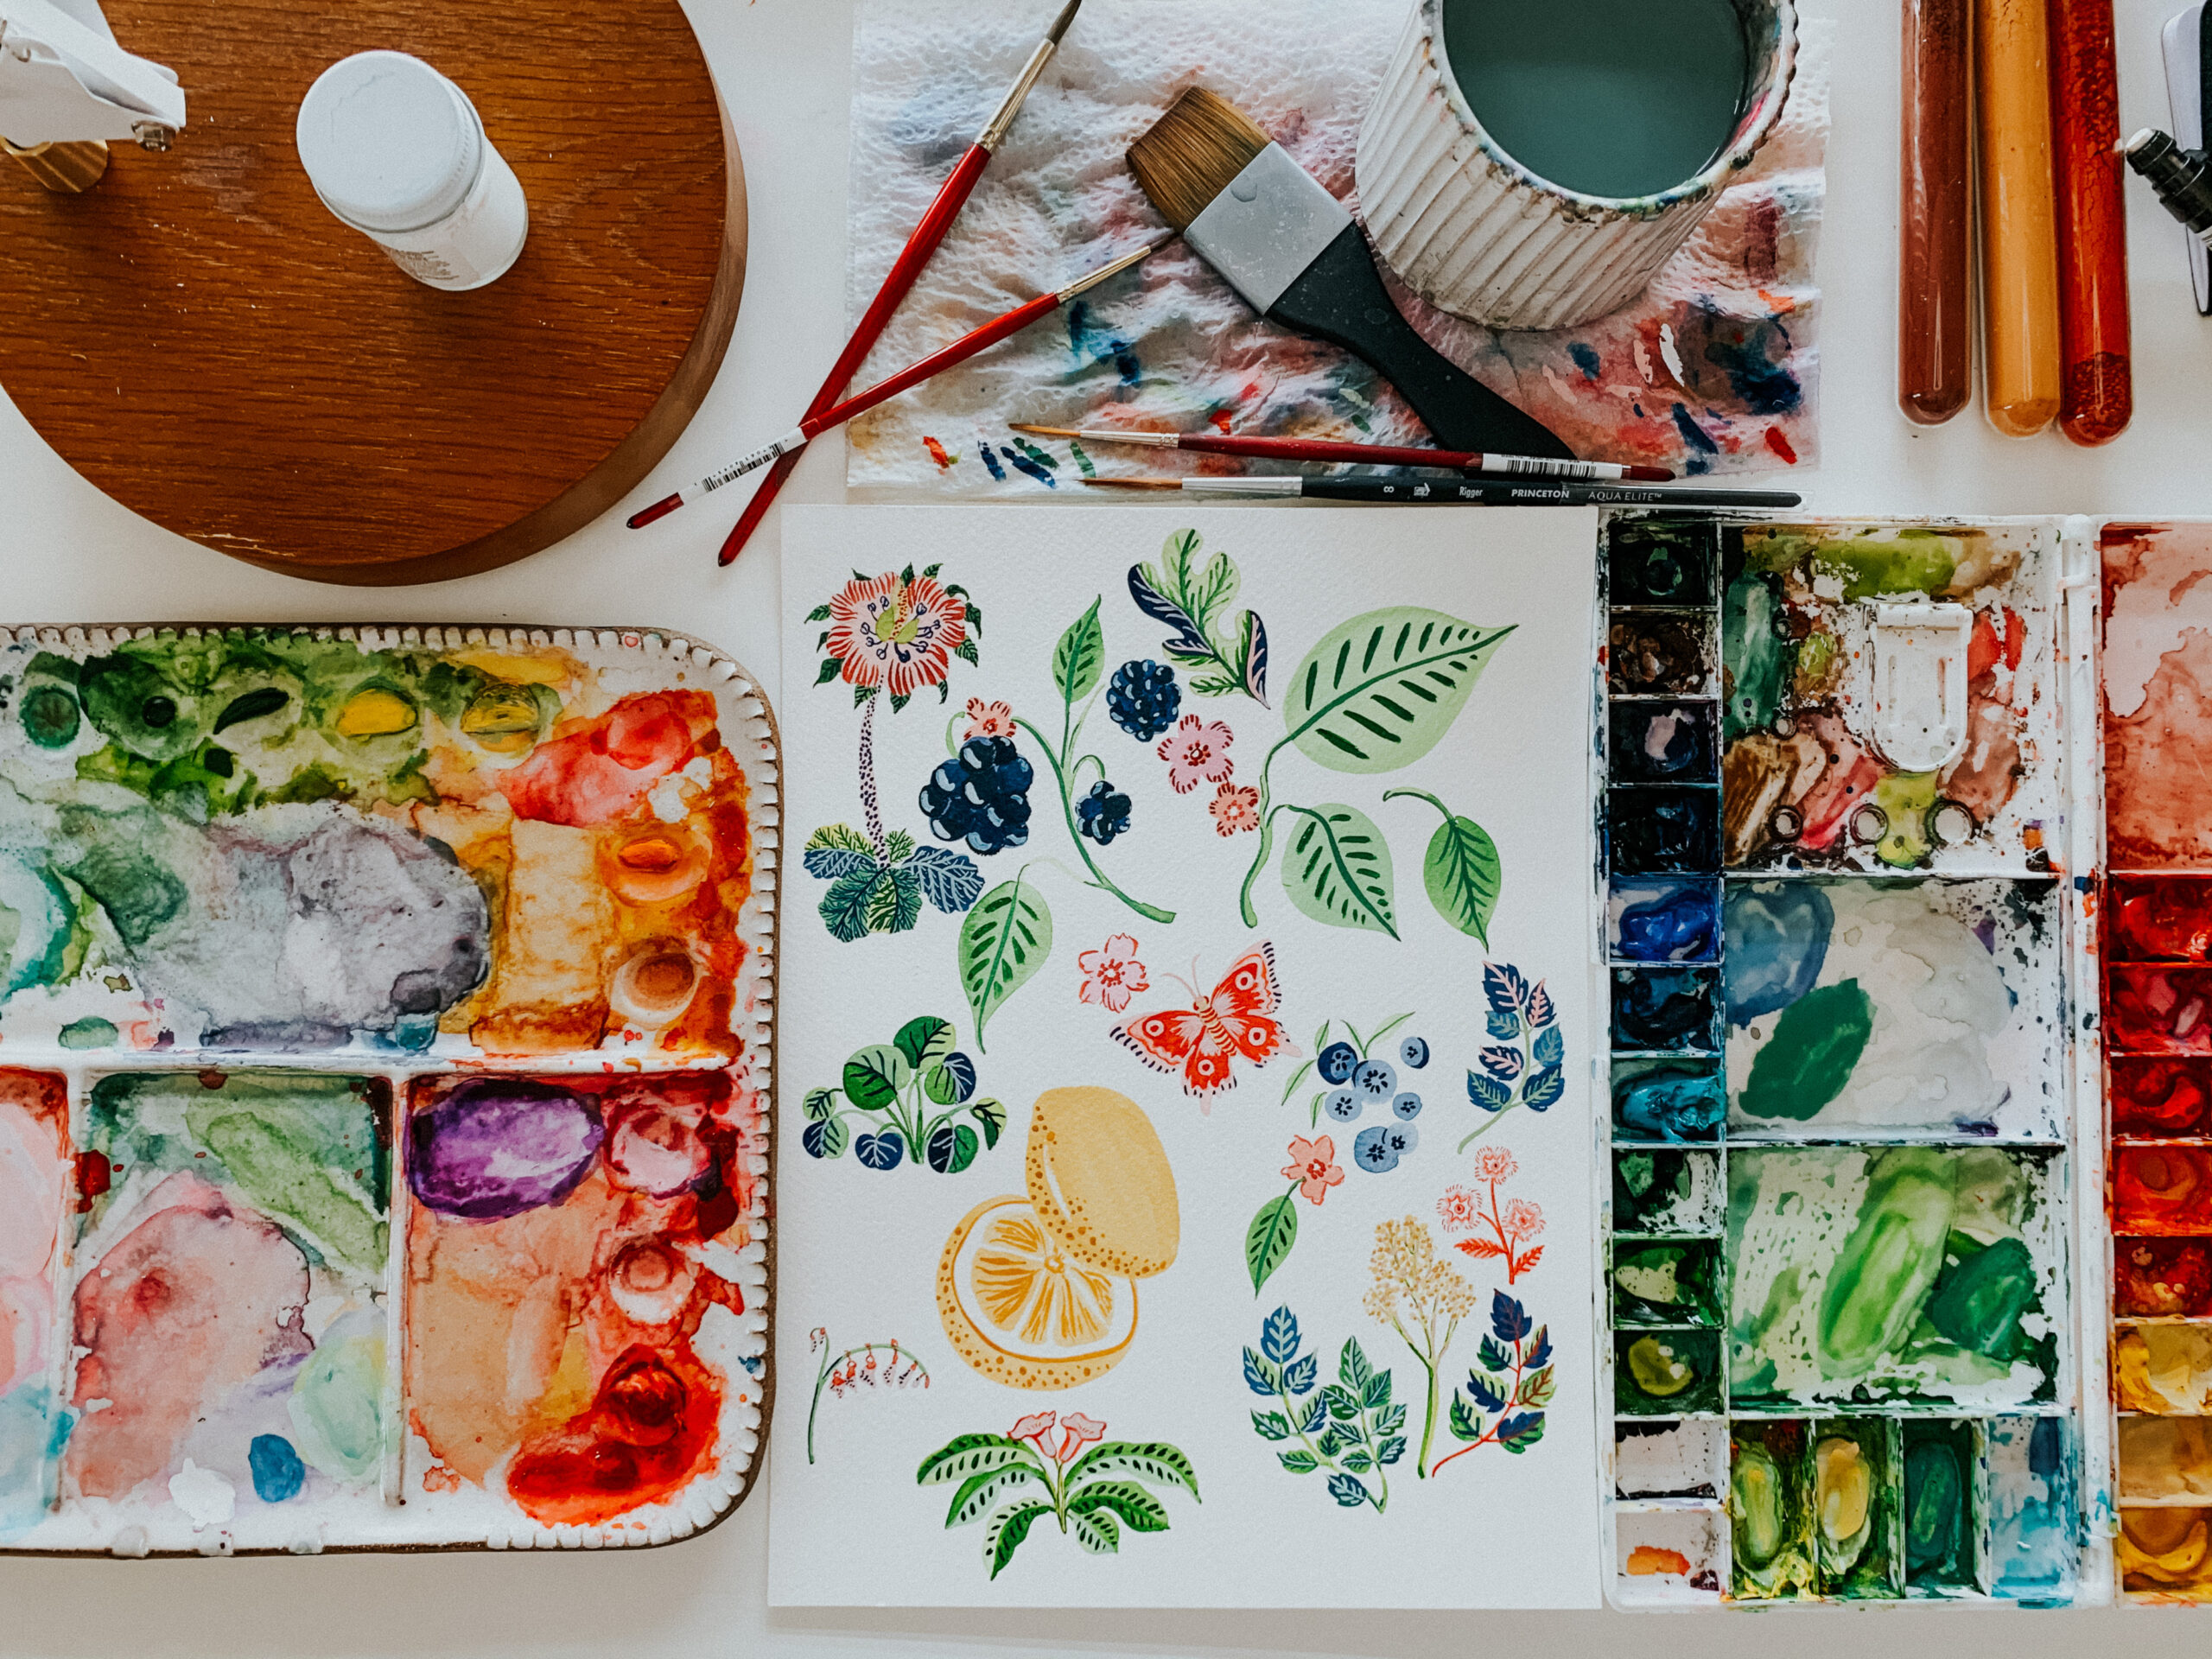
Materials You’ll Need:
Watercolor paints (tubes or pans)
Watercolor paper (cold press is ideal for beginners)
Brushes (a range of sizes)
A palette for mixing colors
Two jars of water (one for cleaning brushes, one for mixing)
Paper towels or a rag
If you need links and a full list of supplies, check out my recommendations HERE!
Basic Techniques
Wet on Wet:
This technique involves applying wet paint onto a wet surface. It allows colors to blend naturally on the paper, creating soft, diffuse edges. It's perfect for creating backgrounds or a base layer for your flowers.
Wet on Dry:
Apply wet paint onto a dry surface for more control and sharper edges. This technique is great for adding details and defining shapes.
Layering:
Build up color gradually through layers. Allow each layer to dry before applying the next. This technique adds depth and richness to your flowers.
Step-by-Step Guide to Painting Watercolor Flowers
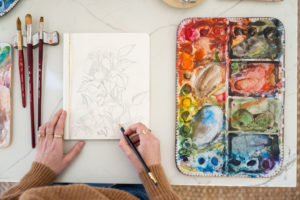
Step 1: Sketch Your Design
Start with a light pencil sketch of your flower composition. Keep it simple and focus on the basic shapes. If you’re painting loose style flowers, you’ll skip this step!
Step 2: Lay Down the First Wash
Using the wet on wet technique, apply a light wash of color to the petals and leaves. Choose light, diluted colors for this step.
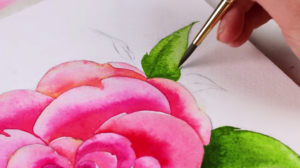
Step 3: Add Details
Once the first layer is dry, use the wet on dry technique to add details like veins in leaves or petal lines. Use a smaller brush for precision.
Step 4: Deepen the Colors
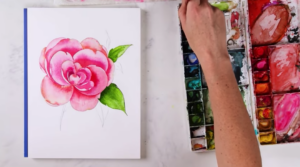
Layer more intense colors to create depth, especially in the shadowed areas of your flowers. Remember to let each layer dry.
Step 5: Add Final Touches
Use a fine brush to add any last details or textures. This could include stamen details, texture on the petals, or sharpening the edges.
Tips for Success
- Always start with lighter colors and gradually add darker tones.
- Keep your brushstrokes loose and expressive for a more natural look.
- Practice mixing colors on your palette to find the perfect shades for your flowers.
- Use photographs or real flowers as a reference to understand shapes and shadows.
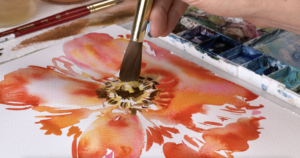
Learning from the Experts
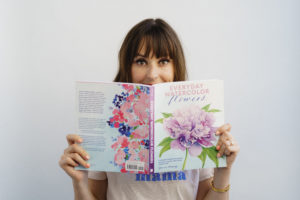
If you want some expert guidance on how to paint flowers, I have a detailed, step-by-step course called The Everyday Watercolor Companion Course that will teach you all of the main techniques and components to watercolor, along with instruction on flowers, animals, landscapes and more!
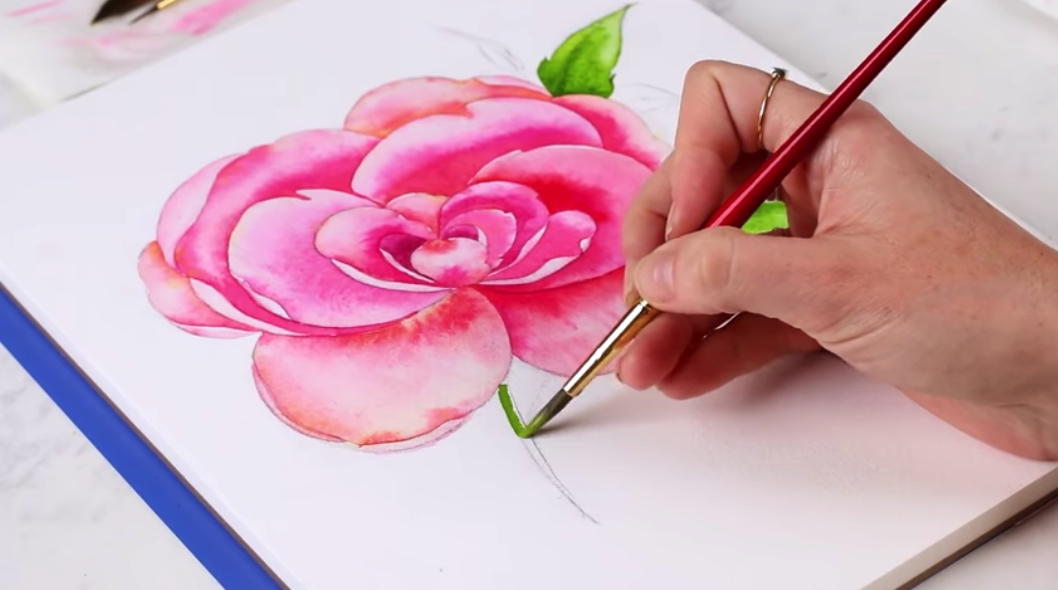
Also, check out my YouTube Channel where I have some more step-by-step tutorials, like this one called “Ten Easy Watercolor Flowers”!
Painting watercolor flowers is about experimentation and enjoying the process. Each flower you paint will teach you something new about the medium and your personal style. Remember, practice is key, so don’t be afraid to make mistakes and learn from them. Happy painting!



+ show Comments
- Hide Comments
add a comment