







Hey friend, painting water reflections is one of those things that looks way harder than it actually is.
I think it's because most people approach it like a copying exercise. They stare at a reference photo and try to recreate every single detail they see in the water. Every tree, every cloud, every ripple. And then it looks overworked and nothing like water.
Here's what actually helps: understanding a few simple principles about how reflection in water works, and then letting your watercolor do most of the job for you.
We're covering the core rules of painting water reflections, then walking through how to apply them to three specific water types: calm lakes, oceans, and puddles. Each one behaves a little differently, and has its own approach using straightforward techniques. You'll be surprised how quickly it starts to click.
If you're completely new to painting water, start here first: How to Paint Water in Watercolor. It lays the groundwork for everything we're about to cover.
Hi, I'm Jenna Rainey, a self-taught watercolor artist, best-selling author, and creative educator who's been helping people find their inner creative voice since 2012. If you want to go deeper on technique, color, and building your own style, check out my courses.
How Reflections Actually Work (The Short Version)
Before we get into the three water types, let's talk about what's actually going on with reflections. Because once you get this, everything else makes sense.
Water reflects what's above it. Sky, trees, buildings, light. Whatever's up there shows up in the water below, just a little looser and softer. It's not a copy. It's more like a blurry impression of the scene above.
Two things are almost always true: the reflection is slightly darker than the real thing, and the edges are softer. Water absorbs a little light, so even on a perfectly calm day it won't be an exact match.
Movement matters too. Still water holds shapes pretty clearly. A tree reflects straight down and stays recognizable. Moving water breaks everything into horizontal fragments. The choppier the water, the more broken and shimmery those reflections get.
One tip that helps with how to paint water reflections from any reference photo: squint. Seriously. Squinting blurs out the detail and lets you see the reflection as basic shapes and values instead of a thousand little things to recreate. Paint what you see when you squint.
Part 1: Lake Reflections — The Mirror Effect
Calm lake water is the easiest place to start with painting water reflections, and that's exactly why I'm putting it first. Still water is predictable. Mountains, trees, and sky drop straight down into it, edges stay soft, and the shapes stay pretty readable.
How to Paint It
1. Paint the landscape first. Sky, mountains, trees, get it all down and let it dry completely before you go near the water area.
2. Flip your palette for the water. Use the same colors from your sky and landscape, but mix them slightly darker and cooler. That one adjustment does most of the work.
3. Wet the water area with clean water first. You want a wet-on-wet application so the reflection colors bloom and soften on their own instead of landing with hard edges. My wet-on-wet technique guide is a good place to get comfortable with this if you haven't already.
4. Drop in horizontal strokes of your reflection colors. Start at the horizon line and work downward. Don't try to recreate every detail, just bring in the general shapes and values.
5. Let the wet-on-wet do its job. Put the brush down. Seriously. Let it blur.
6. Once dry, add a few light horizontal lines. A slightly darker mix wet-on-dry suggests gentle ripples and breaks up the water reflection just enough to make it feel real.
One thing to remember: the horizon line is your dividing point. Keep it clean. Everything above it reflects directly below it.
Want to see the whole process? Here's my mountain lake tutorial covering clouds, mountain shading, and painting water reflections all in one scene:
And if you want to keep going I've got a whole round-up of favorite scenery tutorials too.
Part 2: Ocean Reflections — Movement & Light on Water
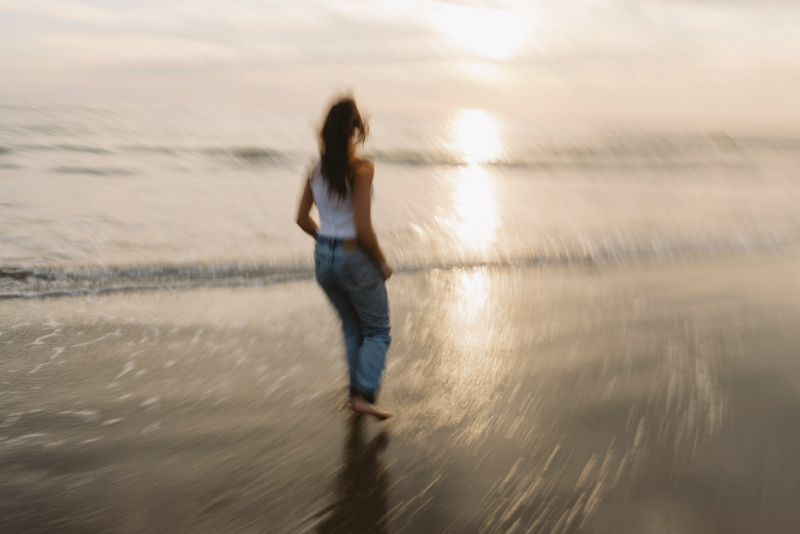
The ocean is trickier because it never sits still. Reflections are broken, shimmery, and always shifting. So the mindset shift here is a big one: you're not painting a reflection, you're painting the feeling of light on moving water.
How to Paint It
1. Let the sky set the tone. Warm sunset sky means warm golds and pinks in the water. Bright midday sky means cool blues and greens. The sky and water need to feel like they're lit by the same source. If the temperatures don't match, the scene falls apart.
2. Lay in the watercolor with loose horizontal wet-on-wet strokes. Keep it loose. Don't fuss with it. You're just getting color and value down, not painting every ripple.
3. Paint the path of light. You know that shimmery column of reflected sun that runs from the horizon toward you? That's what you're after. Paint it with a lighter, more concentrated version of your sky color using a few short, broken horizontal strokes. Broken is the key word. Too even and it looks flat.
4. Leave white paper for your brightest highlights. Foam edges, glints, wave tops, these all come from unpainted paper, not white paint added later. If you want to protect those whites from the start, masking fluid is your friend.
5. For wet sand near the shoreline: while the sand wash is still slightly damp, drop in a diluted version of your sky color horizontally and leave it alone. The soft bloom you get is exactly what wet sand looks like. Do not go back in.
The biggest mistake with ocean water reflection painting is overworking it. Two or three confident strokes will always beat ten fussy ones.
A few more worth bookmarking:
- How to Paint Water in Watercolor covers ocean reflections with a full four-part Ocean Landscape Series included
- Ocean Landscape Tutorial shows the wet-on-wet water technique with full tonal shifts
- Loose-Style Beach Scene is a great example of looser, more expressive ocean water
And if you want to go really deep on coastal painting, my Everyday Watercolor Seashores book covers beach light, ocean scenes, shells, sea life, all of it.
Part 3: Puddle Reflections — The Overlooked Gem
Here's the one nobody talks about enough: puddles.
A puddle is a small, contained mirror sitting flat on the ground. Because of that flat angle, puddles reflect the sky almost perfectly. They're often the clearest reflection in water you'll find in any scene. A rainy street, a garden path, a forest floor after a storm… add a puddle with a little sky color in it and the whole painting comes alive.
They're also a genuinely great practice exercise for painting water reflections. Low stakes, quick to paint, and they teach you to observe reflections without the pressure of a full scene.
How to Paint It
1. Paint the scene above first, then come back to the puddle area.
2. Wet the puddle shape with clean water and drop in your sky colors in simplified form. You don't need to recreate every cloud, just the general color and value. Wet-on-wet gives you that soft, glassy quality.
3. Add a broken, slightly darker edge around the puddle shape. This grounds it on the surface and stops it from looking like it's floating.
4. Add a few very light horizontal lines inside the puddle to suggest the water surface. Without them, even a beautiful color wash can read as a flat blue shape instead of water.
5. Notice what's nearby. If there's a lamp post, a red building, or colorful foliage right next to the puddle, a small sliver of that color near the puddle's edge makes the water reflection painting feel incredibly real. Puddles don't just reflect the sky, they reflect whatever is closest and directly above them.
For the underlying technique, the wet-on-wet guide and my post on painting watercolor light to dark are both helpful here. Getting the value relationship between the puddle and its surroundings right is what makes or breaks it.

Quick Tips for Any Water Type
These work for any type of water reflection painting, so keep them handy:
- Wet-on-wet is your best friend. It's what gives water that soft, diffused quality. Nothing else does it quite the same way.
- Horizontal strokes only. Reflections run along the surface of the water. They don't go diagonal, they don't go vertical.
- Match your palette to the sky. The colors above the water live in the water too. Keep them connected and the whole painting feels cohesive.
- Don't overwork it. A little unfinished usually reads as water. Overworked never does.
- Leave white paper for your highlights. Foam edges, light glints, bright reflections, these come from unpainted paper, not white paint added after the fact. If you want to protect those spots from the start, lay down masking fluid before you begin.
Now Try One
Start with the mountain lake. It's the most forgiving because the water is still and the reflection behaves predictably. Get comfortable with the wet-on-wet wash and the horizon line rule, then work your way up to ocean reflections, then try a puddle scene.
One exercise worth trying is painting the same simple scene twice. Once without thinking about reflections at all, then again using everything from this post. The difference will be obvious, and it's honestly one of the fastest ways to make the technique stick.

Go Paint Some Water
Reflections are one of those things that level up a painting. Not because they're technically hard, but because they show you've learned to see. To notice what's actually there instead of what you assume should be there.
Once that clicks, you start spotting reflections everywhere. Your morning coffee. A rain-soaked parking lot. The window of a passing car. Everything starts looking like a painting opportunity.
If you want to keep building your foundation, grab my free Complete Beginner's Guide to Watercolor e-book. It covers supplies, techniques, color theory, and a lot more, all in one free download.
For coastal and ocean painting specifically, Everyday Watercolor Seashores goes deep on beach light, sea life, and all the scenes where water reflection painting really shines.
And if you want feedback on your actual paintings, come join my Patreon community. I do live classes and art reviews every month and would genuinely love to see what you create.
Now go get your paper wet. You've got this.












+ show Comments
- Hide Comments
add a comment