


Hey friend! Can I tell you something kind of embarrassing? I once spent two full hours on a painting (careful brushwork, a lovely little tree line, some really solid foreground detail) and then slapped a rushed, muddy gray blob on top as the sky and called it done. The whole painting fell flat. Not because the rest of it was bad, but because the sky looked like an afterthought.
Lesson learned the hard way: the sky makes or breaks a painting. And once I started treating the watercolor sky with the same intention as everything else, my landscapes completely transformed.
I'm Jenna Rainey, self-taught watercolor artist, best-selling author, and creative educator who's been painting and teaching since 2012. I've helped millions of people learn watercolor through my YouTube channel, online courses, and my Everyday Watercolor book series.
If you're ready to stop avoiding the sky in your paintings, you're in the right place. And if you're brand new here, grab my free 40-page beginner's guide before you dive in, it'll set you up with everything you need to paint with confidence.
Why the Sky Sets the Mood for Your Entire Painting
Think about the last time you looked up at the real sky. A heavy, dark sky before a storm feels tense. A pale, barely-there morning sky feels peaceful. A blazing sunset sky feels electric. That mood carries over directly into your painting.
The watercolor sky is often the largest single area in a landscape, and it sets the color temperature and emotional tone for everything beneath it. If your sky reads as cold and gray, your whole scene will feel cold and gray. If it glows warm and golden, even your trees and ground will feel lit up.
This is why you should always plan your watercolor sky first, before you paint anything else. It's the emotional anchor. Once it's down, everything else responds to it.

The One Rule That Makes or Breaks Watercolor Skies
Here it is, plain and simple: paint wet on wet, and don't touch it while it dries.
I know. It sounds almost too easy. But this is where so many people go wrong with the watercolor sky. They add color, then go back in with the brush to “fix” something while the paper is still wet, and they end up with muddy streaks, hard edges, and textures that look nothing like sky.
Wet-on-wet means wetting your paper with clean water first, then dropping in your pigment and letting the colors flow and blend on their own. Watercolor moves. It does things you didn't plan. And for skies specifically, that organic movement is exactly what you want.
The rule is: lay it down, then leave it alone. Trust the process. If you're not sure when your paper is truly dry, wait longer than you think. A slightly damp surface will cause new paint to bloom in ways that are usually hard to control. When it doubt, wait it out.
For a deeper dive into this technique, my wet-on-wet and wet-on-dry breakdown covers both methods side by side so you can see exactly when to use each one.
Easy Watercolor Sky Techniques for Beginners
If you're just getting started with painting skies, start here. These are the foundational approaches I teach in basically every landscape-related lesson I do.
The flat wash sky is the simplest watercolor sky you can paint. Wet the entire sky area with clean water. Load a large brush (I love my Princeton Aqua Elite Mottler for this) with a single color at consistent water-to-paint ratio, and sweep across the paper in even horizontal strokes, working top to bottom. Keep the brush moving and don't re-stroke areas you've already covered.
The gradient wash sky is the same idea, except you start with your darkest value at the top and gradually add more water as you move down. This gives you that beautiful light-at-the-horizon look that reads as natural and airy. You can find my full breakdown on watercolor gradient washes here.
The two-color blend is where things start to get really fun. Wet the paper, drop in your first color at the top, add your second color lower, and let them meet in the middle. Don't stir them together. Just let them find each other. This is how you get those dreamy, painterly skies that look like they took forever but actually take about four minutes.
Watch me walk through all of these in this beginner-friendly sky tutorial:
How to Paint a Sunset Sky Without Muddy Colors
A watercolor sunset sky is one of the most-requested tutorials I get, and honestly, it's also one of the most common places people end up with that dreaded muddy brown situation. Here's what causes it and how to avoid it.
Mud happens when complementary colors mix wet. Orange and blue are complements. Pink and green are complements. If those hit each other while they're both wet and pigment-heavy, they neutralize each other into brown. Not the sunset vibe we're going for.
Here's how to paint a clean, glowing watercolor sunset sky:
- Work light to dark. Start with your lightest, warmest colors (pale yellow, soft peach) near the horizon. Let those go in first.
- Add your oranges and pinks next, overlapping slightly into the yellow while things are still wet.
- Add your blues and purples at the very top, and let them creep toward the pinks, but stop before they fully meet.
- That narrow band where the colors are about to touch? Leave it. Let the paper do the blending.
The other thing that kills sunset skies is overworking. You add the colors, they look light and fresh, and then you go back in with the brush to “blend” them and suddenly everything looks muddier than before. More brushstrokes do not equal better blending in watercolor. Fewer strokes, more trust.
For color mixing help with your sunset palette specifically, I'd also recommend doing a quick color chart with your warm colors before you start so you know exactly how they behave together.
Here's a tutorial you can follow along with to get you started.
Creating Clouds That Feel Soft and Natural
Clouds are tricky because beginners tend to paint them as shapes, white puffy blobs outlined on a blue background. But realistic, soft clouds are actually about what you remove and what you leave alone, not what you add.
The lift-out method is the most beginner-friendly way to create clouds in a watercolor sky. While your sky wash is still wet, take a clean, barely-damp brush or a crumpled tissue and gently dab or lift out areas of pigment. The paper underneath shows through as white (or near-white), giving you that soft cloud shape without any hard edges. It looks like you know exactly what you're doing, and honestly, it's hard to mess up.
The negative painting method is the other main approach: paint the sky color around where the clouds are, leaving the white of the paper as the cloud shape. This takes a bit more planning. You need to visualize the cloud shapes before you start laying down color.
A few things that keep clouds looking natural:
- Keep the edges soft at the top and base of the cloud. Hard edges make clouds look cut out.
- Vary the cloud sizes. Same-sized clouds in a row looks cartoonish.
- Add a small amount of your sky color into the shadowed underside of clouds to ground them in the scene.
Take a look at this video to see it in action.
Using Value Changes to Add Depth to the Sky
This is the part that separates a flat watercolor sky from one that genuinely looks like it recedes into the distance.
Value is just how light or dark something is. And in a natural sky, value shifts predictably:
- The sky is darkest and most saturated at the top (directly overhead), where you're looking through the least amount of atmosphere.
- It gets progressively lighter as it moves toward the horizon, where you're looking through more air, haze, and moisture.
Most beginners paint the sky as one consistent value from top to bottom, which makes it look flat. The fix is simple: more water and less pigment as you work toward the horizon. Just that one change adds a sense of depth and distance that makes a landscape feel like it actually goes somewhere.
You can apply the same principle to clouds. The clouds closer to you (lower in the sky, near the horizon) should be smaller, lighter, and less detailed. Clouds overhead should be larger and have more contrast. This is called aerial perspective, and it works in both oil and watercolor painting.
If you want to go deeper into value and how it shapes your entire painting, my course The Art Within covers this in depth alongside color theory, composition, and style development. It's honestly the most thorough thing I've ever put together.
Common Watercolor Sky Mistakes (and How to Fix Them)
Here are the ones I see most often, and what to do about them:
Hard lines and tide marks. This happens when you add fresh paint to an area that's partially dried. The wet paint hits the damp edge and creates a bloom or hard line. Fix: always work into fully wet paper, or wait until things are completely dry before adding another layer.
Colors turning brown or gray. Usually means complementary colors mixed wet, or you used too many colors at once. Fix: limit yourself to two or three colors per sky wash, and check if any of them are complements before combining them.
Streaky, uneven washes. Usually a brush issue or not enough water on the paper. Fix: try a larger brush and make sure your paper is evenly wet before you start. A watercolor brush guide can help you pick the right tool for washes versus detail work.
Overworking. You can feel this one happening, you keep going back into the painting trying to fix something and it just gets worse. Fix: walk away. Seriously. Let it dry completely, assess with fresh eyes, and if it needs another layer, add it then.
Painting the sky last. I mentioned this at the top, but it bears repeating. The sky influences the light in your entire painting. Trying to match it to finished foreground elements is harder than building everything else around the sky from the beginning.
Practicing Watercolor Skies Without Pressure
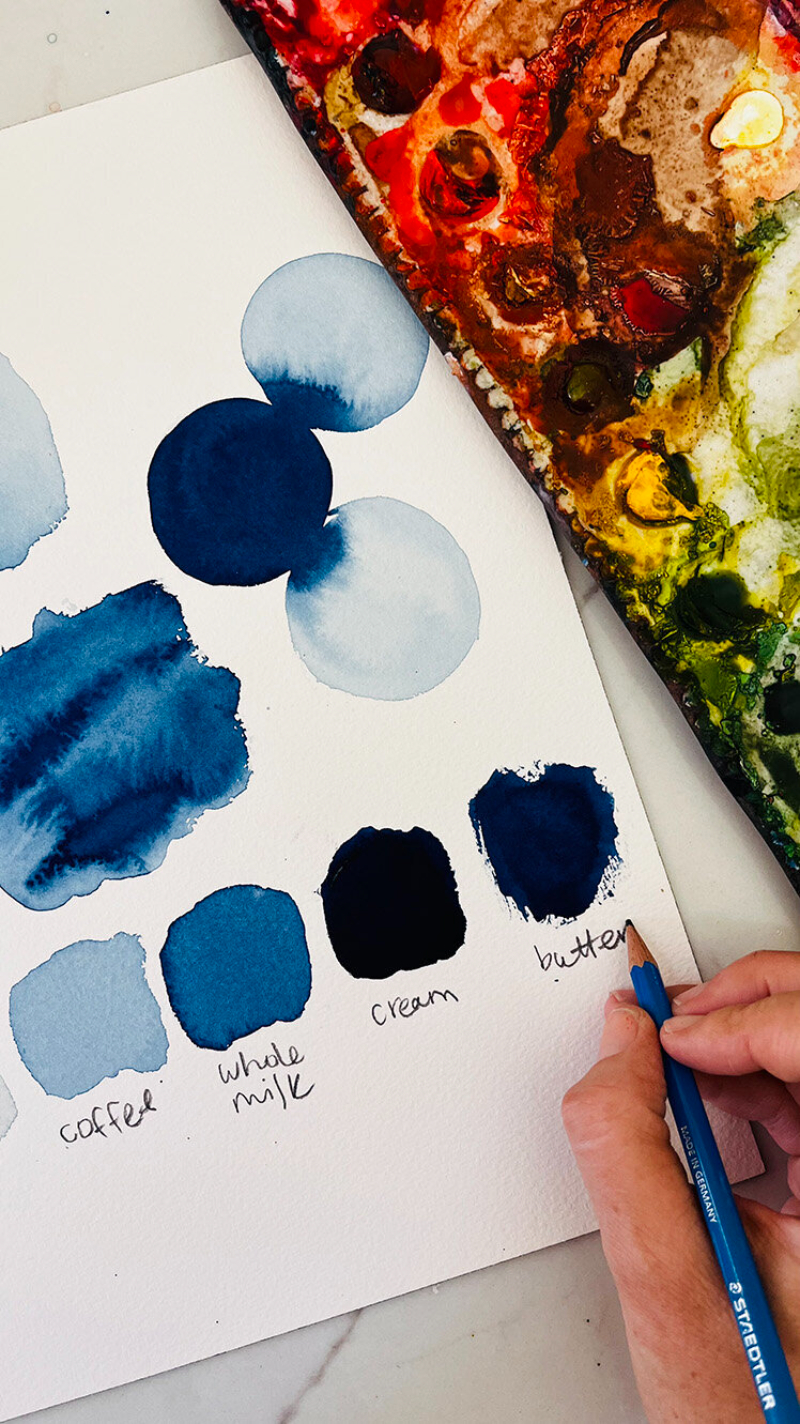
Here's my favorite low-stakes way to practice the watercolor sky: just do sky swatches. Not full paintings. Not anything with a horizon line or trees or foreground. Just the sky itself, in a small rectangle, over and over.
Try a flat wash. Try a gradient. Try dropping in two colors and seeing what happens. Try lifting out clouds. Try a sunset blend. Each one takes maybe five minutes. You're building muscle memory, learning how your specific paints behave, and getting comfortable with the wet-on-wet timing. All without the pressure of ruining a “real” painting.
This is exactly the kind of low-pressure practice I talk about in my free Creative Recovery Challenge. If you've been feeling stuck or like you're not improving, that challenge will help you reconnect with the process in a way that feels good again.
And if you want a structured place to practice all of this alongside me, the Everyday Watercolor Companion Course has dedicated exercises for exactly this kind of skill-building. It's the video companion to my book series, and it walks you through techniques step by step so you're never guessing.
Finishing Up: Watercolor Sky Techniques
The watercolor sky is one of those things that can feel intimidating right up until it clicks. And when it does? It's honestly one of the most satisfying things to paint. A glowing sunset sky, soft clouds lifting out of a wash, a moody blue-gray horizon, all of it is completely within reach.
Start with the wet-on-wet basics. Practice in small swatches. Keep your color palette limited. And leave. it. alone. while it dries.
You've got this, friend. Now go make something.
Want to keep building your watercolor skills? Grab my free 40-page beginner's guide, it covers supplies, techniques, color theory, and more. It's free, it's thorough, and it's a great companion to everything we covered here.


+ show Comments
- Hide Comments
add a comment