


When I first dipped a brush into watercolor, I had no idea what I was doing. I thought I could grab some cheap supplies, splash some paint around, and end up with a masterpiece. Spoiler alert—there was a lot of trial and error before I discovered the magic of watercolors.
Looking back, there’s so much I wish I’d known when I started. Watercolor is a beautiful and forgiving medium, but like any craft, it comes with its quirks. If you’re just beginning your journey, let me save you some time and frustration with these watercolor 101 tips.
Quality of Supplies Matters
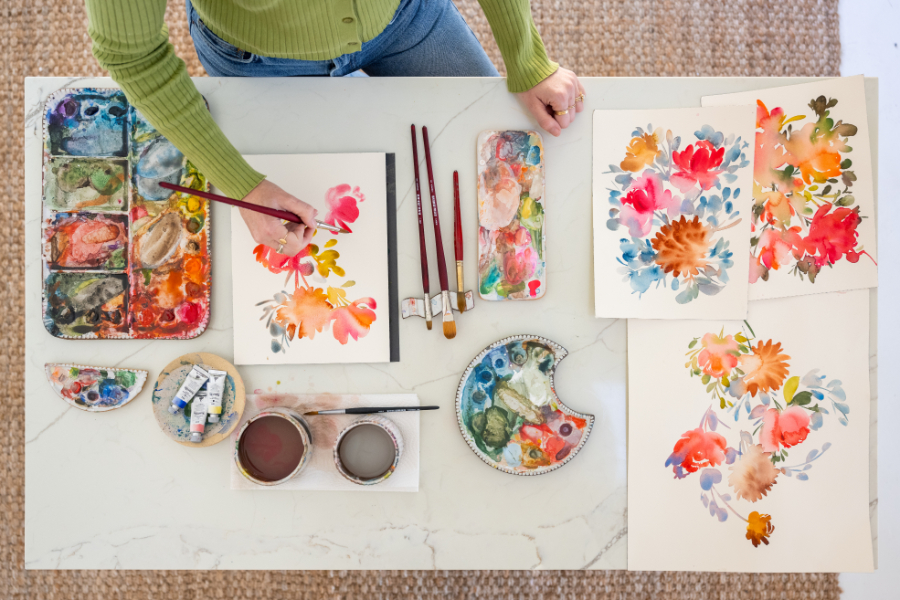
First things first: not all watercolor supplies are created equal. When I started, I went for the cheapest materials I could find, thinking they’d be “good enough.” They weren’t. Investing in quality supplies doesn’t have to break the bank, but it does make a huge difference! Here’s a quick breakdown of what you’ll need:
- Paper: Look for 100% cotton watercolor paper, which absorbs water beautifully and won’t warp like cheaper alternatives. Cold-pressed paper is a great middle ground—textured enough to create interest but smooth enough for detailed work.
- Brushes: Start with a round brush (sizes 6-8 are versatile for most projects) and a flat brush for washes. Quality brushes will hold their shape and deliver smoother strokes.
- Paints: Choose artist-grade paints if you can. They have richer pigments and mix beautifully. If you’re on a budget, a good student-grade brand is still better than those chalky “kids’ sets.”
For my tried-and-true recommendations, check out my supply guide here.
(And don’t forget the extras! A palette, clean water, and a paper towel are essentials.)

Mistakes Are Part of the Process
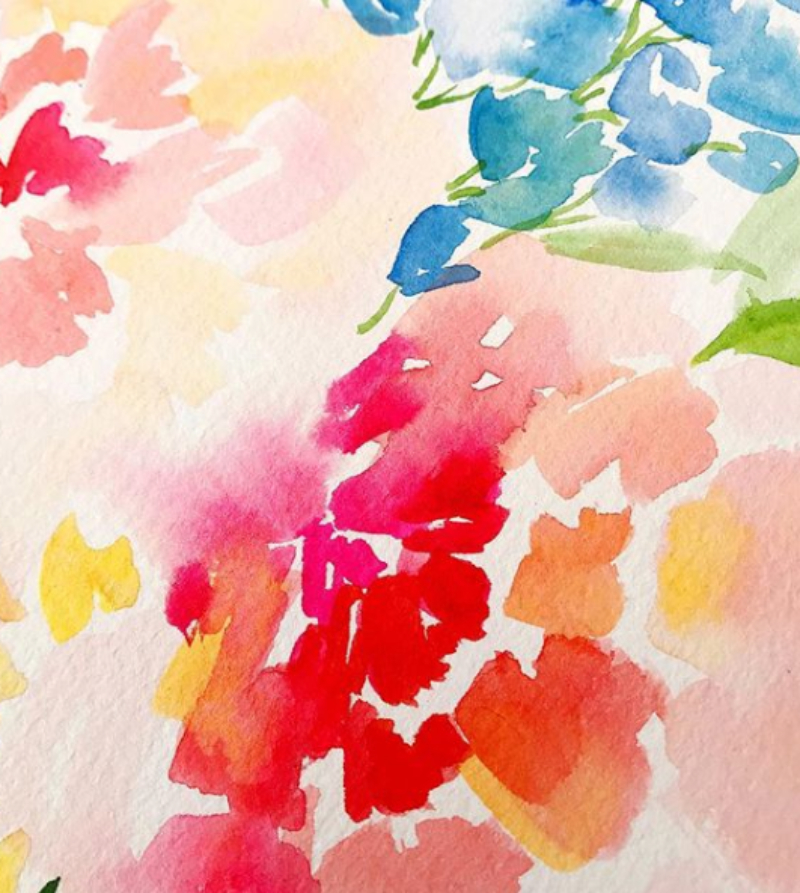
One of the hardest lessons I had to learn was to embrace my mistakes. Watercolor has a mind of its own—it blooms, it bleeds, and sometimes it doesn’t do what you expect. (Honestly, now that I know that, it’s part of what makes it so magical!)
When I first started, I’d get upset if a painting didn’t look “perfect.” After all, I’m an artist! But over time, I realized that those little imperfections are what give watercolor its charm. That accidental splash of blue might become the perfect shadow for your landscape. Those unpredictable blooms can create beautiful textures.
Pro Tip: If you’re feeling stuck in perfectionism, try this: set aside 10 minutes to paint something without any pressure. Don’t aim for a masterpiece—just experiment with colors and strokes to see where it takes you. Some of my best ideas have come from moments like these!
Learn Basic Techniques First
When you’re new to watercolor, it’s easy to get overwhelmed by all the possibilities. But starting with the basics will set you up for success.
Here are three techniques every beginner should master:
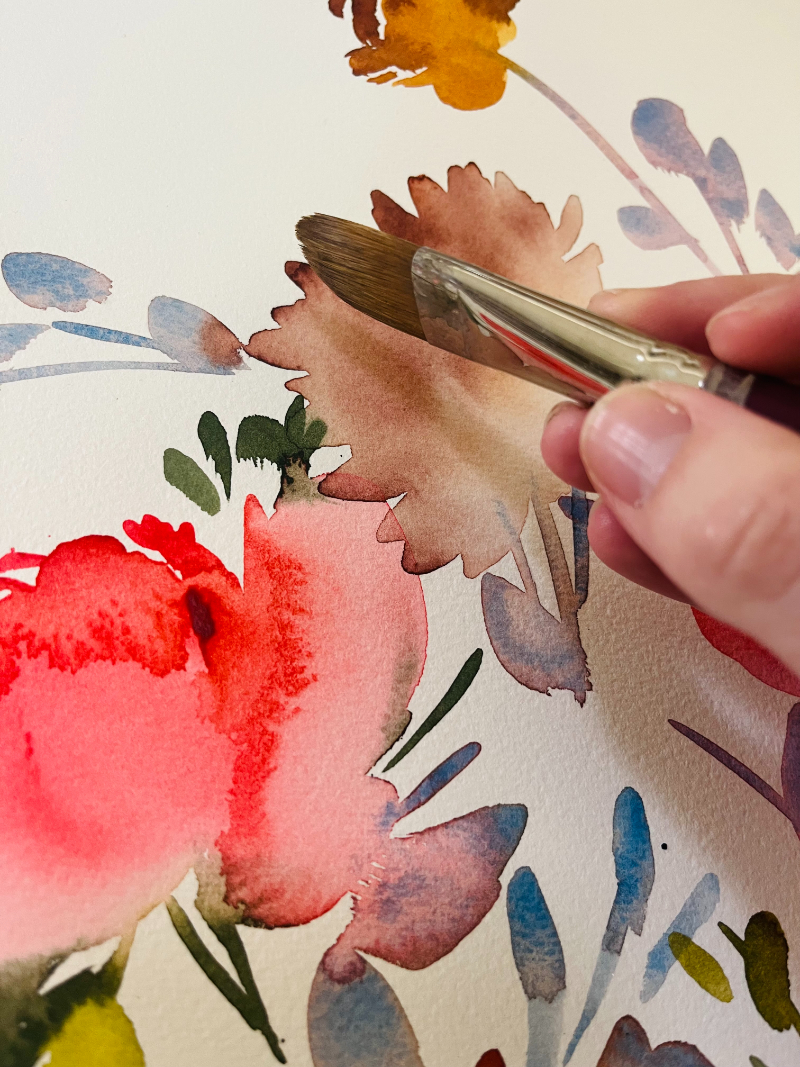
- Wet-on-Wet: This technique creates soft, blended effects that are perfect for skies, backgrounds, and dreamy florals. Just wet your paper first, then add pigment and let the colors flow.
- Wet-on-Dry: Use this technique for more controlled details, like outlines or small shapes. Apply wet paint directly onto dry paper for crisp, clean edges.
- Layering: Watercolor is transparent, so layering is key to building depth and dimension. Start with light washes and gradually build darker layers on top.
For a step-by-step walkthrough, check out my YouTube video on Three Essential Watercolor Techniques. I hope you find it helpful!
Watercolor Requires Drying Time, Layering, and Patience
If you’re anything like me, patience doesn’t always come naturally. (I’ve definitely smudged more than a few pieces by jumping in too soon.) But with watercolor, waiting is part of the process.
What I’ve learned it, drying time isn’t just a technical requirement—it’s also an opportunity to reflect and plan your next steps. While you wait for one layer to dry, think about where you want your painting to go. Are there details you want to add? Areas you’d like to enhance? This pause can make all the difference in the final result.
And don’t be afraid to let your painting evolve. Watercolor has a way of surprising you (in the best way), so lean into the process and enjoy the journey!
Watercolor 101: Experiment and Have Fun
One of the best things about watercolor is how versatile it is. You can experiment with:
- Color Mixing: Color mix to combine unexpected colors to see how they interact.
- Tools: Try using unconventional items like sponges, toothbrushes, or even plastic wrap to create unique textures.
- Styles: Play around with abstract, realistic, or loose and flowy styles to find what feels most “you.”
Tips for Building Confidence as a Beginner
The last thing I want to say is that ot’s normal to feel a little unsure when you’re starting out. Here are some watercolor 101 tips to boost your confidence:
- Start Small: Practice simple shapes or swatches before diving into full paintings.
- Set a Routine: Even 10-15 minutes a day can help you improve and build momentum.
- Celebrate Progress: Keep your early paintings as a reminder of how far you’ve come.
Remember, every brushstroke is a step forward. Give yourself grace and enjoy the process—it’s supposed to be fun!

Ready to Dive Deeper?
If you’re excited to start your watercolor journey but still feel like you need a bit of guidance, I’ve got just the thing for you. My Complete Beginner’s Guide to Watercolor is a 40-page companion packed with tips, resources, and tutorials to help you get started with confidence.
Download it for FREE here to get started!
Watercolor 101: Your Guide to Unleashing Creativity
Watercolor is one of the most rewarding and accessible art forms out there, but like any craft, it takes time to learn the ropes. Whether you’re practicing basic techniques, embracing happy accidents, or experimenting with new styles, every brushstroke brings you closer to discovering your unique artistic voice.
So grab your supplies, remember these watercolor 101 tips, and dive in. (And don’t forget to have fun along the way—because that’s what it’s all about!) You’ve got this.


+ show Comments
- Hide Comments
add a comment