


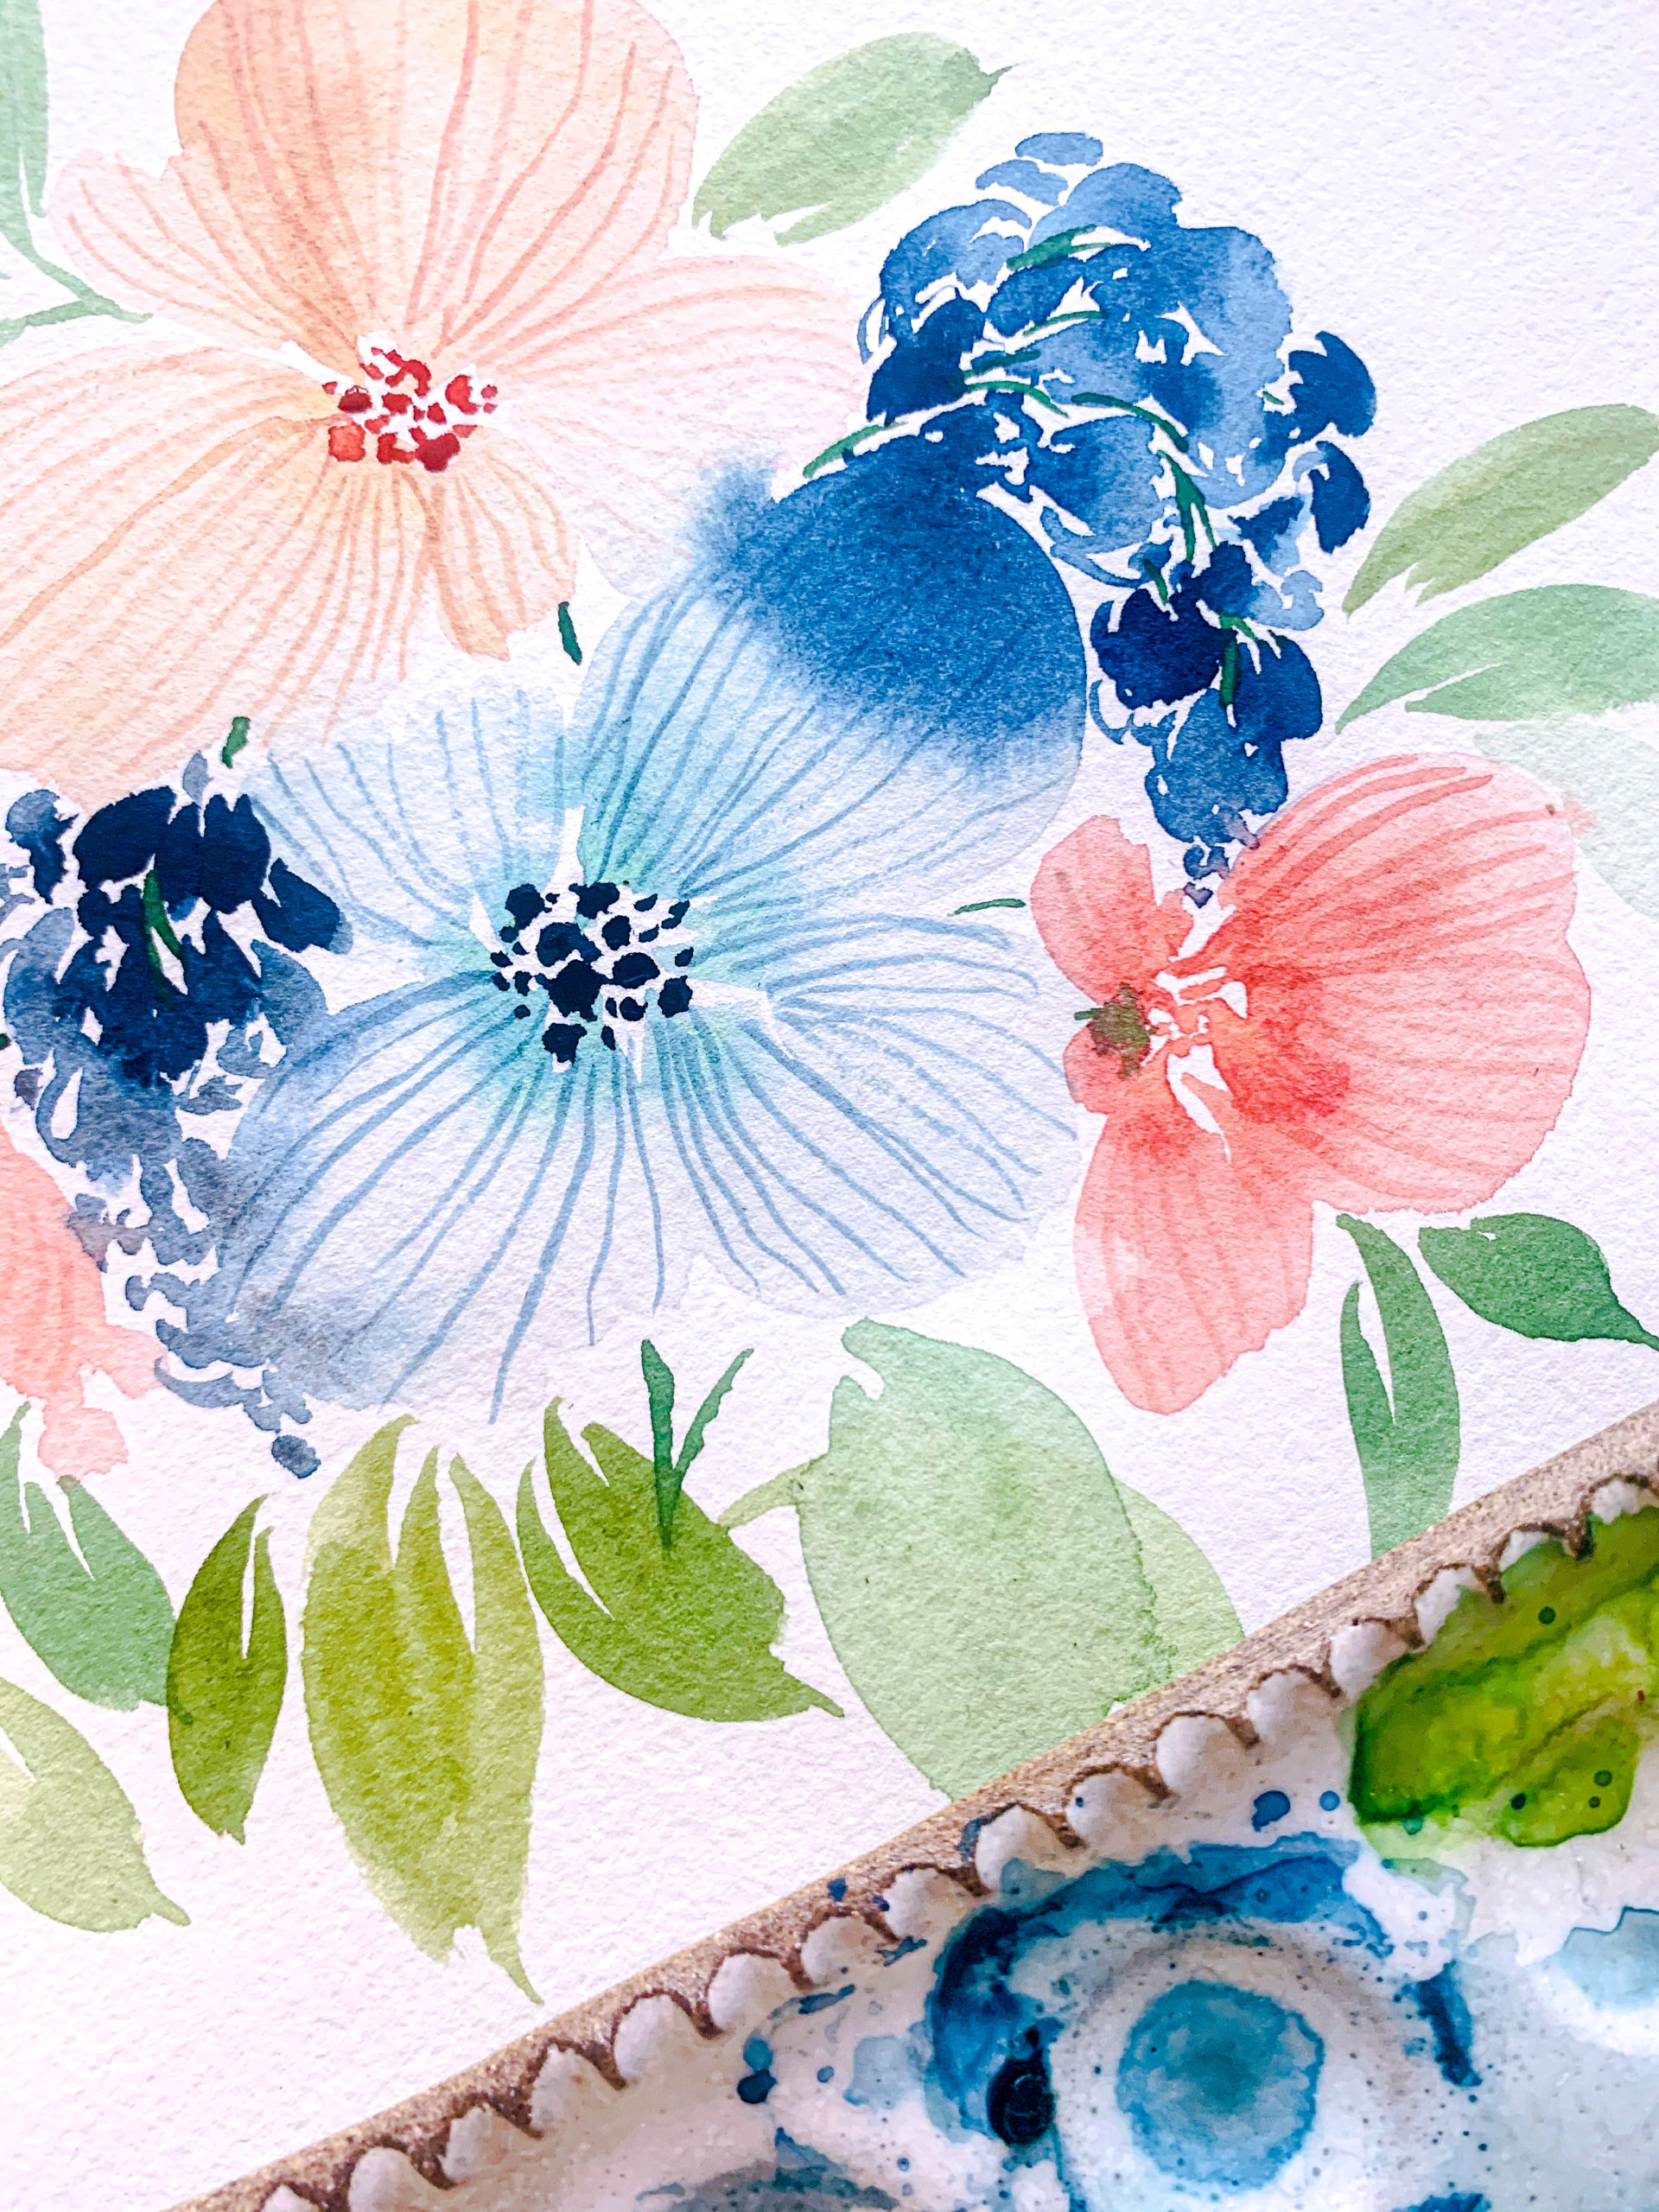
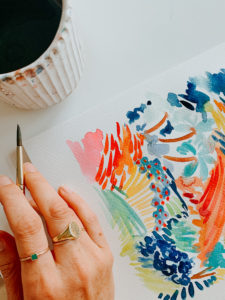
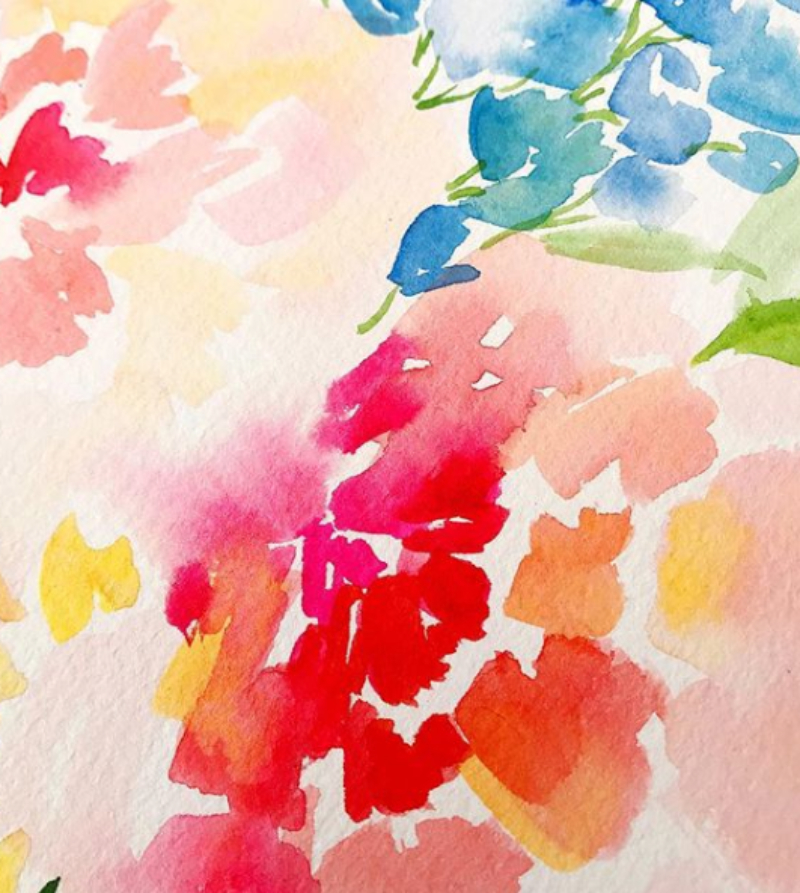
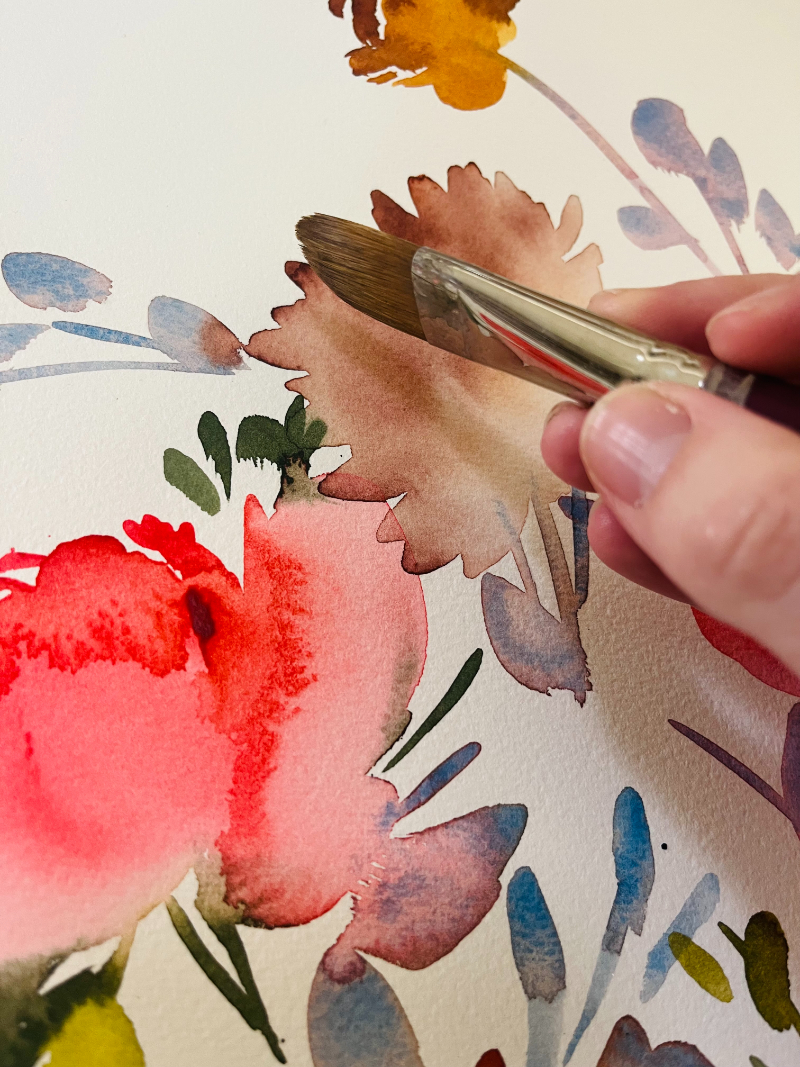
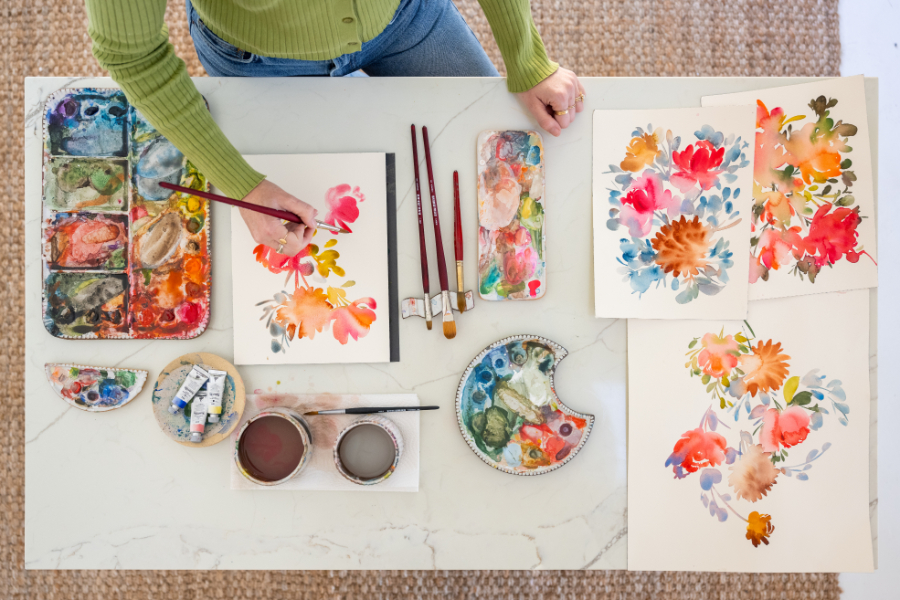
Creating quality prints starts with the perfect scan of your artwork.
Why might you consider selling prints? Here’s the harsh truth: painting commissions and selling original work is a hard biz. First of all, not many people can afford shelling over the big bucks for an original painting. Second of all, painting originals and taking commissions is TIME CONSUMING.
Creating digital files of your artwork to create into prints or to license and sell to brands is THE best way to make a scalable living as an artist. But first you’ve gotta figure out alllll that tech stuff that comes with digitizing your artwork.
I remember getting so frustrated with researching how to do this in my early days (9 years ago!), so in this post, I’m going to compile all of my best tips for digitizing your artwork. Let’s get to it!
Scanning vs. Photographing
First step is to get your artwork on a screen somehow and the best way to do this is either through scanning or photographing your artwork. Scanning is best for artwork that has minimal amounts of texture, like thick globs of acrylic paint. Along with that, most scanners only go up to 16”x24”, so if your original paintings/pieces are larger than that, you’ll need to use the Photomerge tool if it’s slightly bigger (more on that below) or you’ll need to photograph your work with a professional camera (no, your phone won’t cut it!).
The scanner I use and recommend is this Epson guy right here*. Scanners are inexpensive and incredibly high quality these days, so it’s the way to go if your artwork fits the above criteria. If you need to take a photo of your work, then I’d recommend renting out a Canon 5D or 70D with a 50mm lens*. Or just paint smaller 🙂
*This is my affiliate link which means I may earn a small commission at no extra cost to you to support all the free content I share.
How to get the best scan
To get the perfect scan, here’s a list of things to look out for:
- The correct file type
- Choosing the right pixel density or count
File Types
TIFF (aka Tag Image File Format) is the way to go. I used to scan all my work in as a JPEG, but changed to TIFFs and here’s why:
- TIFFs are compatible across all editing softwares and platform types
- These files can be saved uncompressed which helps it retain all the image detail
- TIFFs are CMYK based, which is going to give you the most accurate colors when you go to print
You can still use JPEGs as your file type, however, every time you save a JPEG, you lose some quality in the image due to compression. And that’s very sad. TIFFs will be a larger file size, but it’s worth it for retaining the image quality!
The Correct Pixel Density (DPI)
Choosing the correct DPI (dots per inch) is incredibly important to achieving a high quality scan. At the very least, your artwork should be scanned at 300 DPI. This is the minimum pixel density for printing artwork.
I always increase the DPI in my scanner to either 600 or 1200DPI, depending on how large I want to scale the piece up when printed. If you scale the DPI up later in Photoshop, this will result in a low quality image and distortion, so always do this in the scanning step! Remember, the higher the DPI, the higher you’ll be able to increase the size of the art without losing quality.
What if my art is slightly too big for my scanner?
Not to worry! There’s an amazing tool in Photoshop called the Photomerge tool! Just scan your painting in pieces and use the Photomerge > “Collage” and watch it work some magic!
If you’re curious on how to do some color correcting, remove the paper background and edit your watercolor pieces in Photoshop, then check out my course Brand Plus Brand. I also teach you how to create repeating patterns, find brands to work with, negotiate and create a business from your art through licensing!


Thanks so much for this info, Nikki.
Thank you so much for this post! I was having a hard time decided which dpi to scan my smaller paintings at and this helped so much!
🙌🏼
I scanned my artwork at 600 DPI but the colors don’t show up quite as good. A sky with different shades of light blue almost don’t even show up. Any tips on better colors?