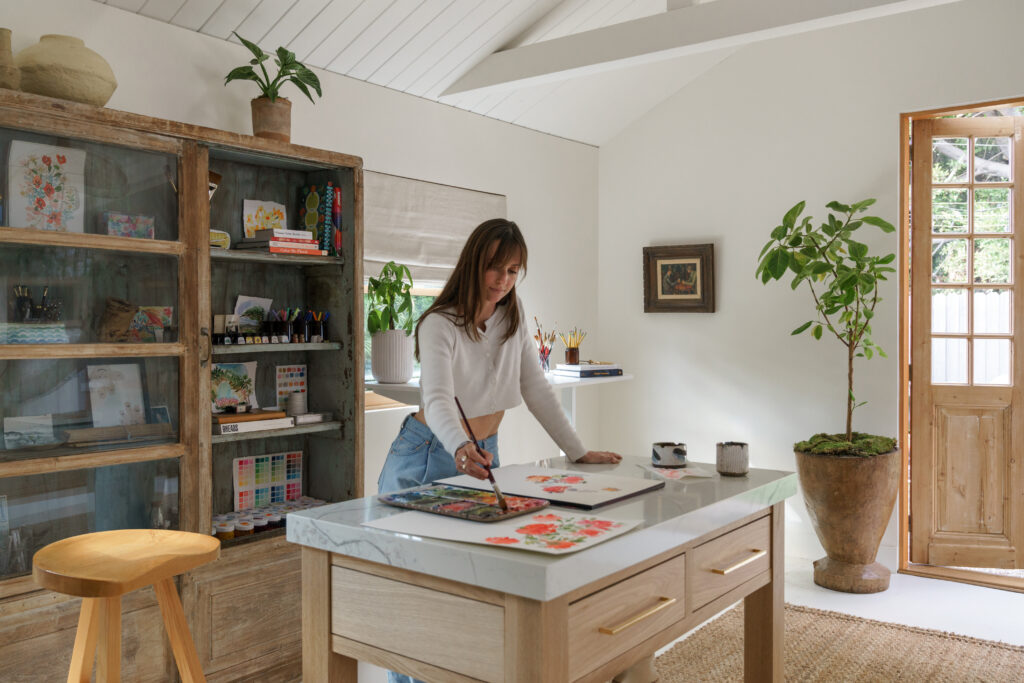
My brain can be messy but that doesn’t mean I want my art space to be. Today, I want to talk all about organizing your art space, and share a little bit about what I’ve learned over the past decade or so creating art (from starting at my kitchen table to now living in a home with a separate art studio). Now, let’s dive into why organizing your art space matters and explore some tips for creating a functional and inspiring workspace.
Why You Need To Organize Your Art Space
After connecting with creatives and artists for many years now, I want to talk a little bit more about WHY it’s so important to have an organized art space first.
It Boosts Creativity
Despite what you might think, a well-organized art space can significantly boost your creativity. When your materials are easily accessible and your workspace is clear, you can dive into your projects without distractions. If you’re working in chaos and clutter right now, trust me, it’s an incredible feeling to be able to sit down at your art table, know exactly where everything is, and be able to start creating immediately, the moment inspiration hits.
A Clean and Organized Space Reduces Stress
Clutter can be incredibly stressful. When your art space is messy, it can be hard to focus on your work. Constantly searching for supplies or working in a chaotic environment can increase anxiety and frustration. On the other hand, a clean and organized space can promote a sense of calm and order, making your art practice more enjoyable and relaxing. If you’ve been hoping to achieve flow state with your art practice, a clean and organized space will help.
It Will Help You Use The Space
When your art space is well-organized, you’re more likely to use it. Especially in small pockets of time, which might be all you have in the beginning. If your supplies are scattered or your workspace is cluttered, it can be tempting to avoid it altogether. But when everything has its place, and your space is inviting and functional, you’ll feel more motivated to spend time creating. This can lead to more consistent practice and greater progress in your art.
Now, let’s jump into some tips for organizing your art space.

Start With Your Favorite Things
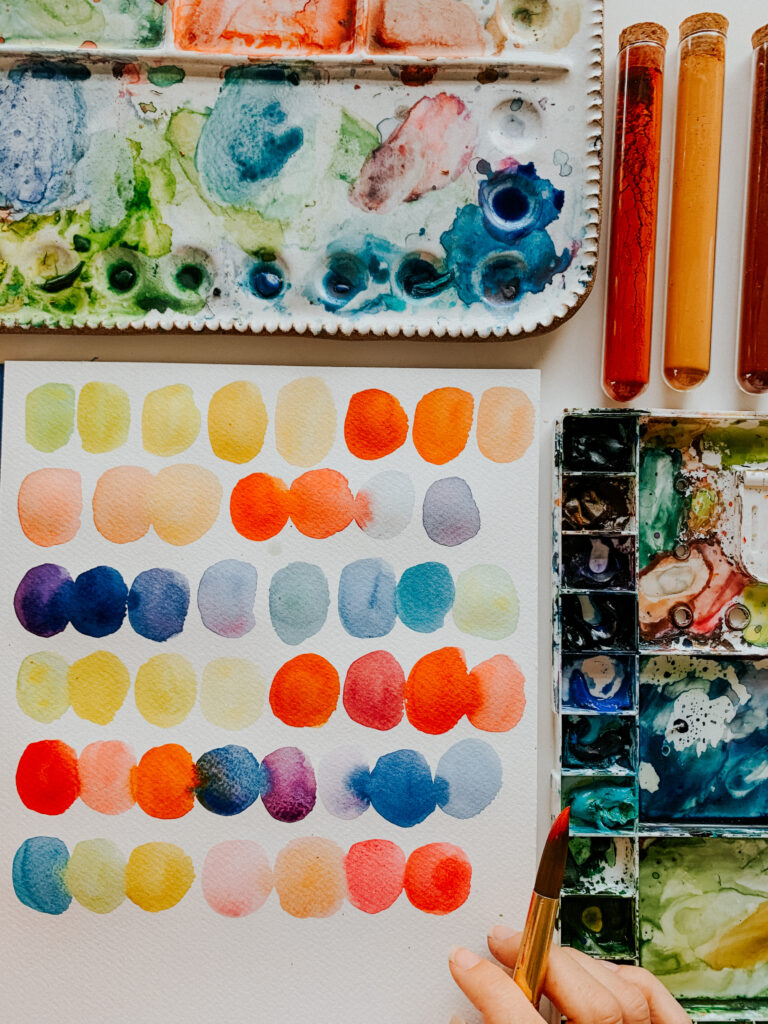
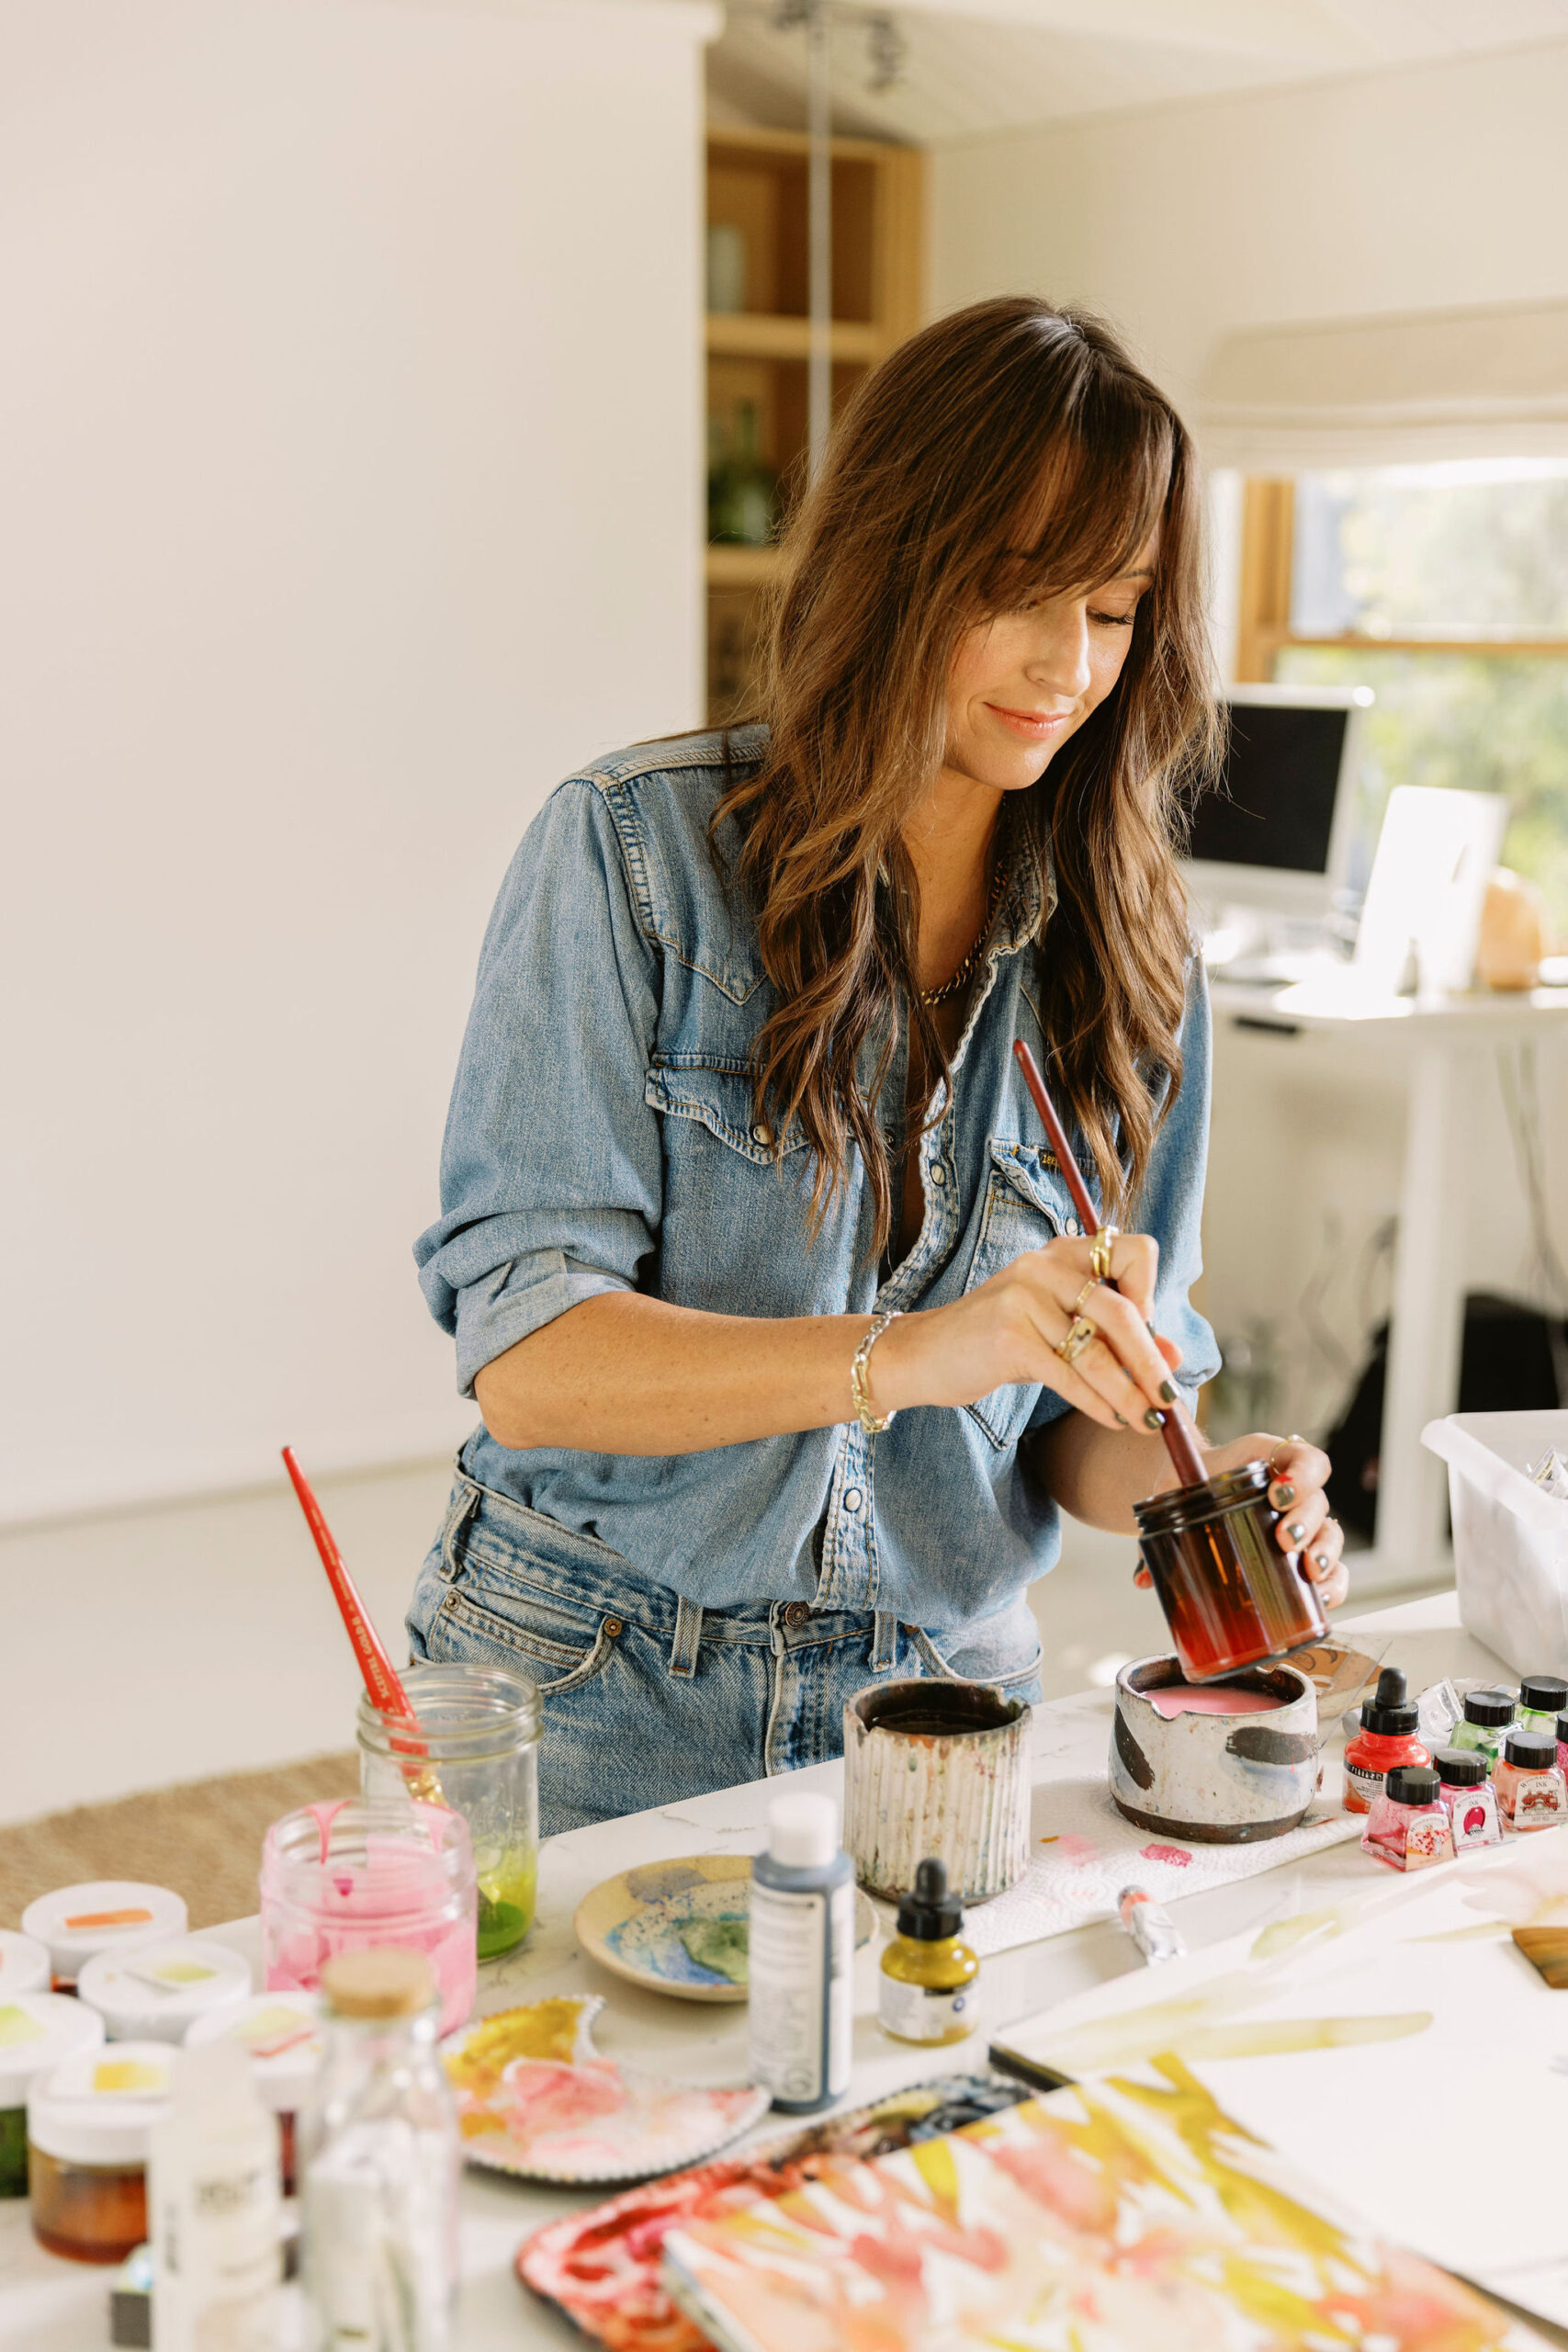
One of the best ways to start organizing your art space is by looking at (or stocking up on your) favorite things. Which materials and tools do you use most frequently and enjoy the most? Prioritizing these items ensures that they are easily accessible (and ideally in view, motivating you) will give you an added dose of motivation to dive into your creative projects.
Here’s how to choose your favorite things:
- Identify Your Essentials: Take some time to think about the supplies you use regularly. These might include your favorite brushes, paints, sketchbooks, or any other tools that are essential to your art practice.
- Evaluate Your Space: Look at your current workspace and see where these essential items are located. Are they easy to reach? Do they have a designated spot?
- Reorganize and Prioritize: Arrange your workspace so that your “favorite things” are within easy reach. This might mean using storage containers, shelves, or drawers to keep everything organized and accessible.
Don’t have favorite things, yet? While you could trial-and-error it, I’ve gathered up all of my favorite things (Amazon and otherwise) here if you want a shortcut to the best stuff at reasonable prices!
5 Tips For Organizing Your Art Space
1. Find good lighting
Good lighting is crucial for any art space. Natural light is ideal, so try to set up your workspace near a window. If that’s not possible, invest in quality lighting that mimics natural daylight. Proper lighting not only helps you see colors and details more accurately but also reduces eye strain, which ultimately will make your art sessions more comfortable and enjoyable.
2. Invest in an ergonomic chair
If you spend a lot of time sitting while creating art, a comfortable, ergonomic chair is a must. I know it’s not a sexy thing to talk about, but an ergonomic chair supports good posture, reduces the risk of back pain, and helps you maintain focus for longer periods. Look for a chair that is adjustable and provides good lumbar support.
3. Have a routine for restocking supplies and regular clean-up
Keeping your art space organized is an ongoing process. I wish it were a one-and-done thing. If it helps, establish a routine for restocking your supplies and regular clean-up. This might mean setting aside time each week to tidy up your workspace, put away tools, and check your inventory. Regular maintenance prevents clutter from building up and more importantly makes sure that you always have the materials you need.
4. Personalize Your Space
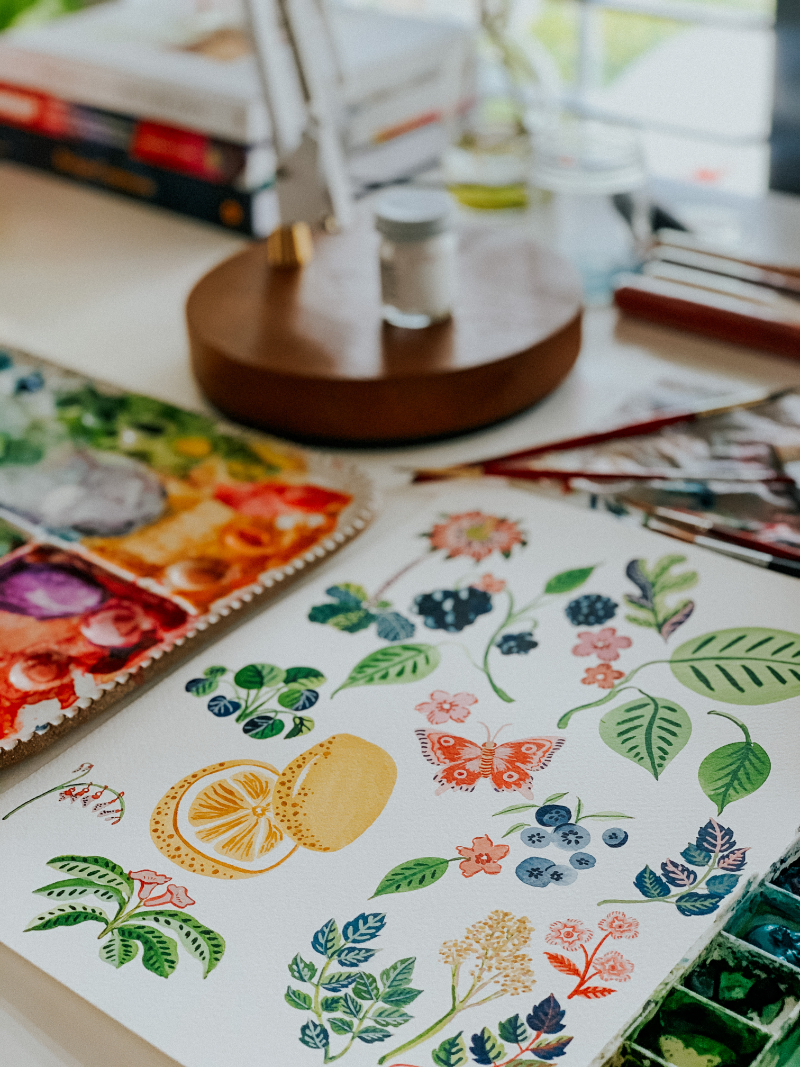
While I think it’s fun to gather art studio ideas on Pinterest, don’t forget that your art space should reflect your personality and inspire you. Add personal touches like artwork, plants, or decorative items that make you feel happy and motivated. A space that feels uniquely yours can be a powerful source of inspiration and creativity.
5. Use Storage Solutions
Ahhh, another thing that is oh-so-fun to talk about. But my last tip for you is to invest in storage solutions that work for your space and your needs. This might include shelves, bins, drawers, or pegboards. Label containers to make it easy to find what you need. Clear storage options can be particularly useful because they allow you to see your supplies at a glance (which is something I’ve always really appreciated).

The Goal Is To Create a Space You Love
Organizing your art space is not a one-time task but an ongoing process. It’s about creating a system that works for you and adapting it as your needs change. Don’t be afraid to experiment with different organizational methods until you find what works best. The goal is to create a space that supports your creativity and makes your art practice more enjoyable.
Lastly, organizing your art space is a form of self-care. It’s an investment in your creative practice and your well-being. Take the time to create a space that feels inviting, functional, and inspiring. Your art deserves it, and so do you. If you’re looking for more tips and inspiration, be sure to check out my YouTube tutorials and follow me on Instagram.


+ show Comments
- Hide Comments
add a comment