


If I had to pick one rule that completely changed my watercolor paintings, this would be it. Painting watercolor light to dark. Seriously. Once this clicked for me, everything felt easier. Less muddy. More intentional. More magical, honestly.
Watercolor light to dark isn’t just a suggestion or a “nice to try” tip. It’s the backbone of watercolor. It affects how your colors glow, how your layers behave, and how much control you actually have over your painting (which feels like a miracle some days).
So today I want to break this down in a simple, no-pressure way. We’re talking why it matters, how watercolor transparency plays into it, and how to actually apply watercolor light to dark step by step. I’ll also share common mistakes I see all the time, plus a fun practice project you can try right away.
Let’s get into it.

Why Painting from Light to Dark Matters
Watercolor is not forgiving in the same way acrylic or oil can be. Once you put a dark value down, it’s there. You can’t just paint white over it and pretend nothing happened (ask me how I know).
That’s why painting light to dark is so important. When you start light, you give yourself room to adjust. You can slowly build depth. You can respond to what’s happening on the paper instead of panicking halfway through.
Painting light to dark also helps you understand light and dark in art on a deeper level. You start to see where the highlights live. You notice where shadows naturally fall. Your paintings feel more dimensional because you’re respecting how light and dark work together.
When artists struggle with dark painting, it’s often because they jumped into the dark values too fast. Watercolor light to dark forces patience. And yes, patience is annoying sometimes. But it’s also what makes watercolor shine.
Understanding Watercolor Transparency
This part is huge.
Watercolor is transparent by nature. That means every layer shows through the layers underneath. When you paint watercolor light to dark, you’re letting those lighter layers glow through the darker ones.
If you start dark and try painting dark to light, you lose that glow. The paper can’t shine through anymore. The colors feel flat. Mud sneaks in. Everyone gets frustrated.
Transparency is what makes watercolor special. It’s why painting light and dark feels different in watercolor compared to other mediums. The light comes from the paper itself. Your job is to protect it.
Think of watercolor light to dark as stacking sheets of colored glass. Each layer adds depth, but you can still see through them. Once you block that light, it’s gone.
Step by Step: Applying the Light to Dark Principle
This is where watercolor light to dark becomes practical and not just theoretical. Here’s how I approach it every single time.
Plan Your Values
Before I touch paint to paper, I pause. I ask myself one question. Where are my lightest lights and darkest darks?
This doesn’t have to be fancy. Sometimes I do a quick value sketch. Sometimes I just squint at my reference. Planning values helps you avoid guessing later.
Painting light and dark works best when you already know where you’re headed. You don’t need every detail planned, but you do need a value roadmap.
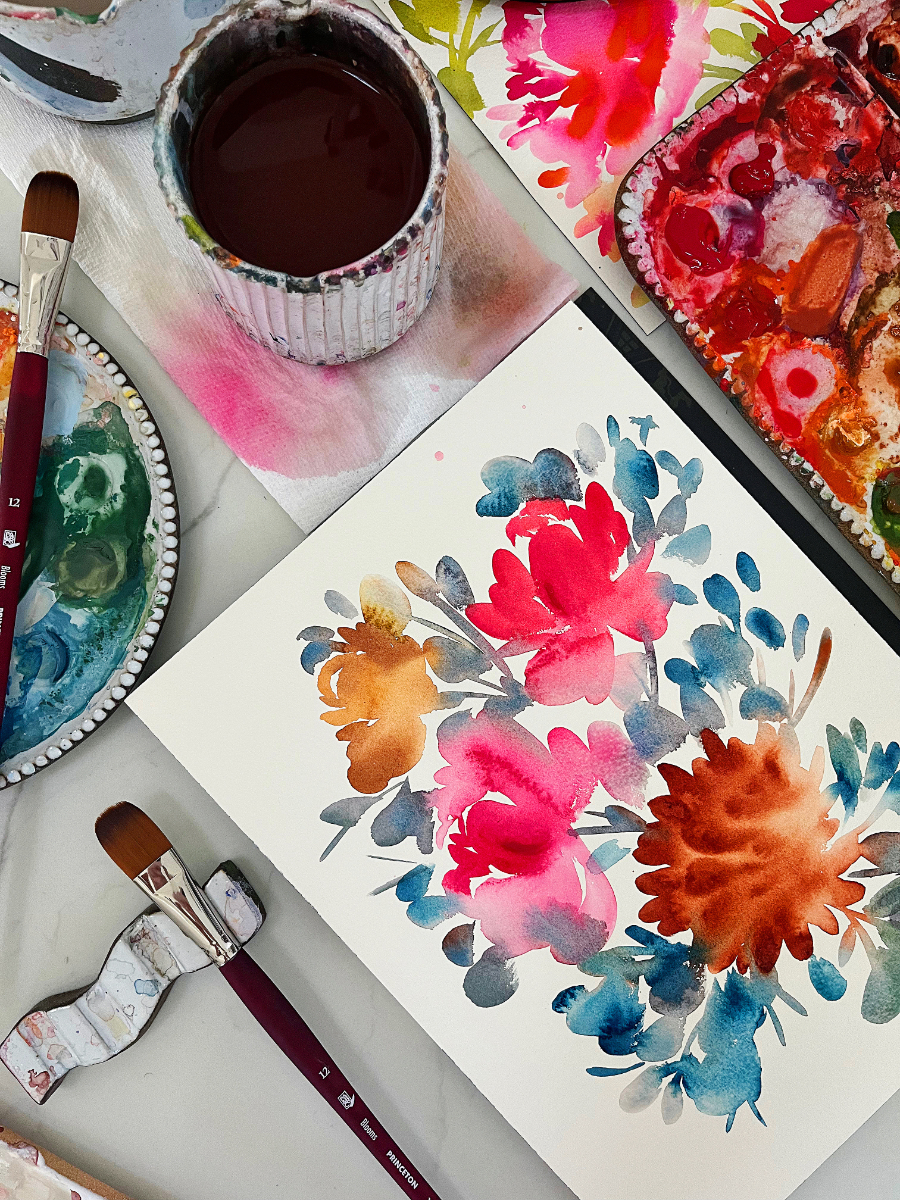
Start with a Light Wash
This is the hardest part for most people. Go lighter than you think you should. Then go even lighter.
Your first wash sets the mood. It establishes the lightest values in the painting. This is the foundation of watercolor light to dark.
Use lots of water. Use less pigment. Let the paint breathe. If it looks almost too pale, you’re probably doing it right.
I remind myself that I can always go darker later. I can’t go lighter.
Let It Dry
I know. Waiting is the worst. But this step matters.
When you don’t let layers dry, colors bleed together in ways you might not want. You lose control. Everything softens when maybe you wanted structure.
Letting layers dry gives you clean layering. It keeps your painting light to dark instead of turning into one big blended blob.
Sometimes I use a hair dryer. Sometimes I grab a snack. Both are valid.
Layer Midtones Next
Once the light wash is dry, it’s time for midtones. This is where things start to feel exciting.
Midtones add form. They help shapes pop. They bridge the gap between light and dark in art.
When painting light to dark, midtones should still feel gentle. You’re building slowly. Think of this as adding definition, not drama.
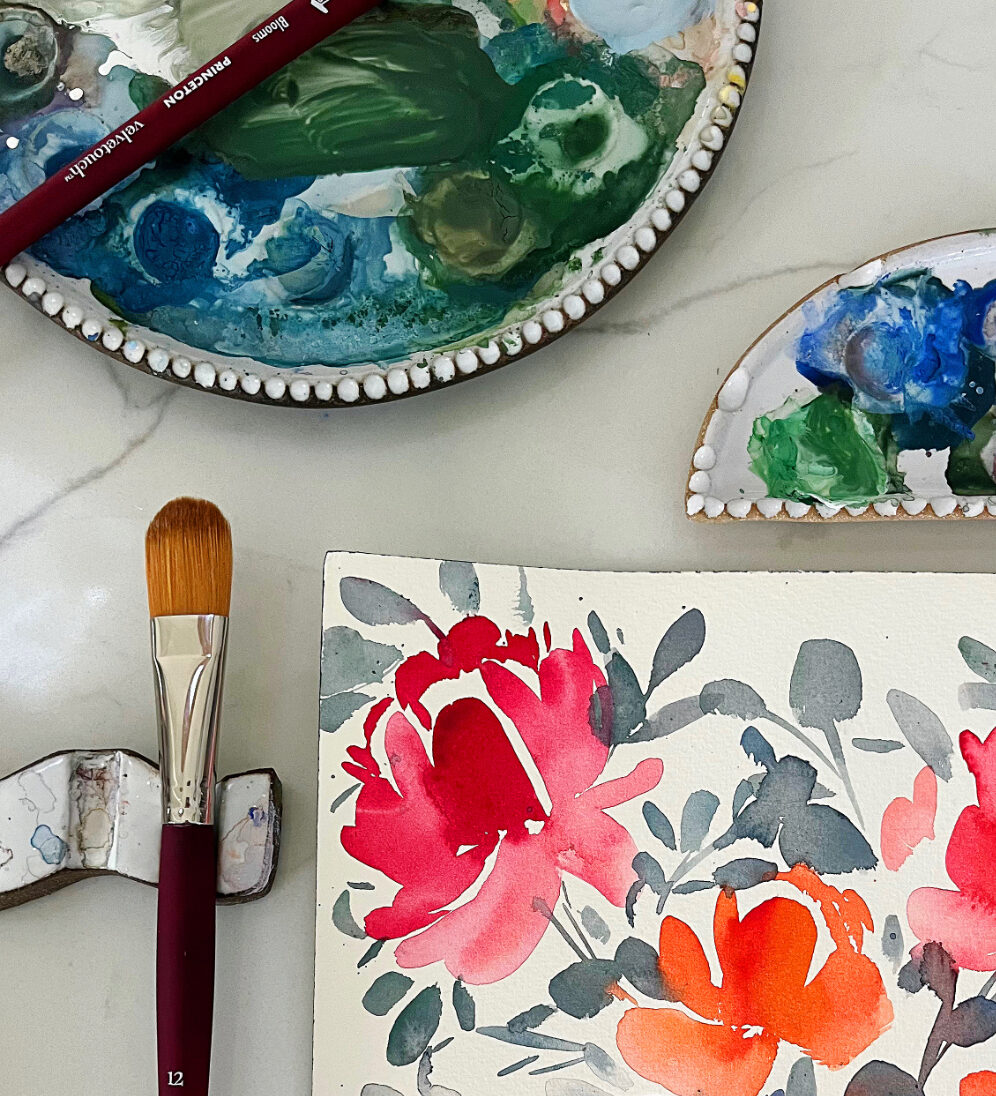
Add Shadows and Dark Accents
This is the final act. The darks.
Dark painting should be intentional and minimal. A little goes a long way. These darker values create contrast and depth. They tell the viewer where to look.
Because you followed watercolor light to dark, your darks will sit on top of glowing layers. They’ll feel rich instead of heavy.
This is my favorite part (finally).
Common Mistakes and How to Avoid Them
Even when you understand painting light to dark, mistakes still happen. Totally normal. Here are a few big ones I see all the time.
Going in Too Dark Too Soon
This is the classic mistake. You’re excited. You want contrast. You jump straight into dark painting.
Slow it down. Trust the process. Watercolor light to dark works best when you give it time.
Not Letting Layers Dry
Wet layers plus more paint equals chaos. Sometimes beautiful chaos. Sometimes not.
If you want control, let layers dry. Especially when painting light and dark intentionally.
Overmixing or Using Too Much Paint
Overmixing leads to muddy color. Heavy paint leads to flat results.
Use fresh mixes. Keep your palette clean. Let transparency do the work for you.
Skipping Value Planning
If you skip planning, you’re guessing. Guessing usually leads to overworking.
Even a quick mental plan helps painting dark to light feel less tempting. It keeps you aligned with watercolor light to dark from start to finish.
I learned these watercolor lessons the messy way so you don’t have to. From muddy colors to overworking, these hard-earned tips will save you time, frustration, and a whole lot of paper. Perfect if you’re still figuring things out. Read my watercolor lessons here.
Practice Project: Light to Dark Fruit Slice or Floral
If you want to practice watercolor light to dark without pressure, this exercise is for you!
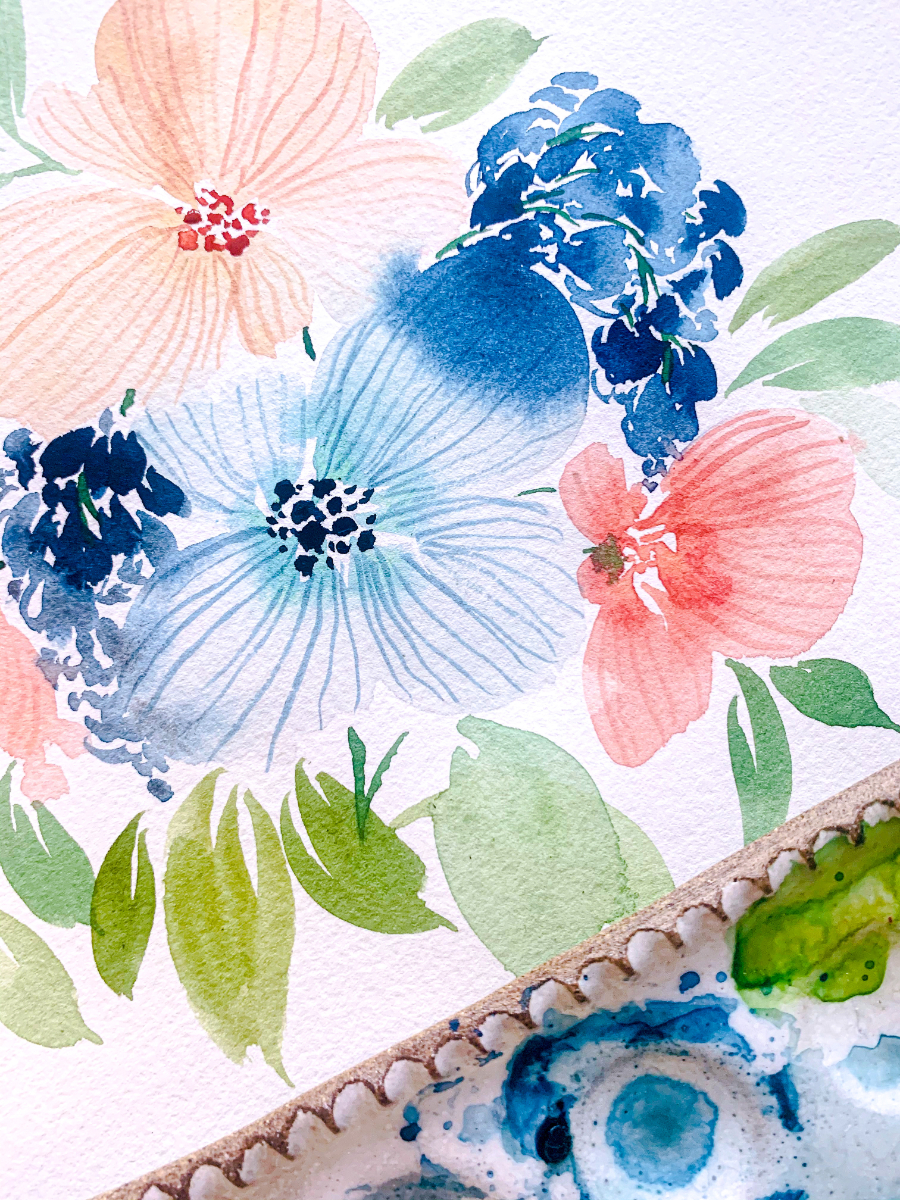
Choose a simple subject. A citrus slice. A single flower. Something with clear light and shadow.
Start with a very light wash for the whole shape. Let it dry. Add midtones where the form curves. Let it dry again. Finish with a few dark accents for shadows or details.
That’s it.
This project teaches painting light to dark in a controlled, repeatable way. You’ll see how art light and dark create depth even in simple shapes.
Do it a few times. Change colors. Try it loose. Try it detailed. Each time, you’ll feel more confident.
Want to watch a super quick video of this in action? Check out the YouTube video below.
Want some more painting prompts? I put together a full year of simple, doable painting prompts to spark ideas and keep you showing up. It’s perfect for building a steady watercolor habit without the pressure. Check out the painting prompts here.
Bringing It All Together
Painting watercolor light to dark isn’t about perfection. It’s about trust. Trusting the process, the paper and trusting that you don’t need to do everything at once.
When you understand painting light and dark, watercolor becomes less scary. You stop fighting the medium. You work with it instead.
If you want more guided practice with watercolor light to dark, layering, and value control, this is exactly what I teach inside my Everyday Watercolor Companion Course. It’s designed to help you build these skills gently, consistently, and without overwhelm (because who needs more of that).
Watercolor should feel joyful. Light to dark is one of the easiest ways to get there.
And if you mess it up along the way, welcome to the club. That’s how we learn.


+ show Comments
- Hide Comments
add a comment